crwdns2915892:0crwdne2915892:0
Follow this guide to replace the buttons (directional, action, create, options, and PS) in your Sony PlayStation DualSense V5 controller.
crwdns2942213:0crwdne2942213:0
-
-
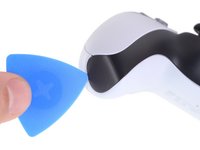
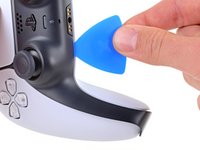
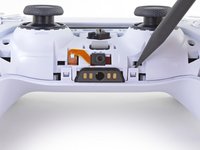
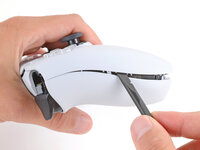
Insert an opening pick underneath the middle trim at the bottom-right corner of the controller to release the clips securing it to the case.
-
-
-
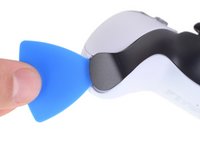
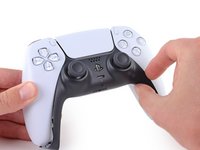
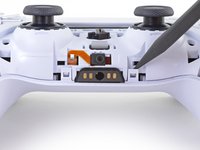
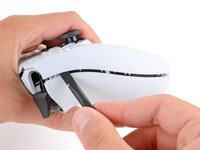
Slide the opening pick along the lower-right edge of the middle trim to release the clips securing it to the case.
-
-
-
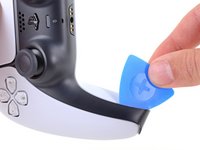
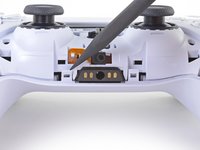
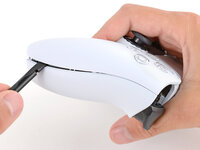
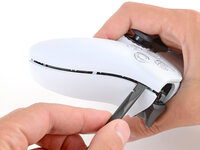
Insert an opening pick underneath the middle trim at the bottom-left corner of the controller to release the clips securing it to the case.
-
-
-
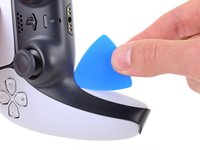
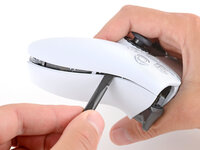
Slide the opening pick along the lower-left edge of the middle trim to release the clips securing it to the case.
-
-
-
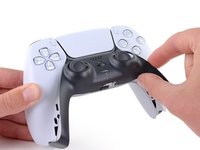
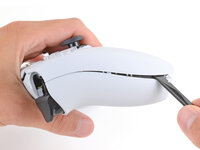
Use your fingers to lift up the bottom edge of the middle trim to release the remaining clips.
-
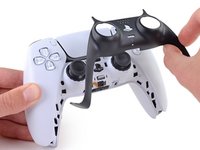
Lift the middle trim over the joysticks to remove it.
-
-
-
With one hand, grip the controller and use your thumb to hold down the left trigger.
-
With your free hand, insert the flat end of a spudger between the L1 and L2 buttons.
-
Use the spudger to gently pry the L1 button away from the controller and remove it, holding your finger over the button so it doesn't eject.
-
-
-
Repeat the previous step to remove the R1 button.
-
-
-
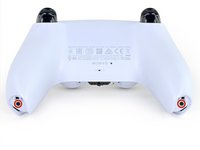
Use a Phillips screwdriver to remove the two 6.4 mm screws securing the bottom corners of the lower case.
-
-
-
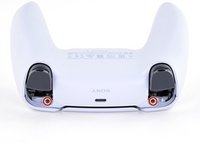
Use a Phillips screwdriver to remove the two 6.4 mm screws behind the L1 and R1 buttons.
-
-
-
Use the point of a spudger to release the two clips on either side of the headset jack.
-
-
-
-
Insert the flat end of a spudger between the front and rear shells near the bottom of the left edge.
-
Slide the spudger along the left edge and gently pry the shells apart to release the clips.
-
-
-
Repeat the previous step on the right edge to release its clips.
-
-
-
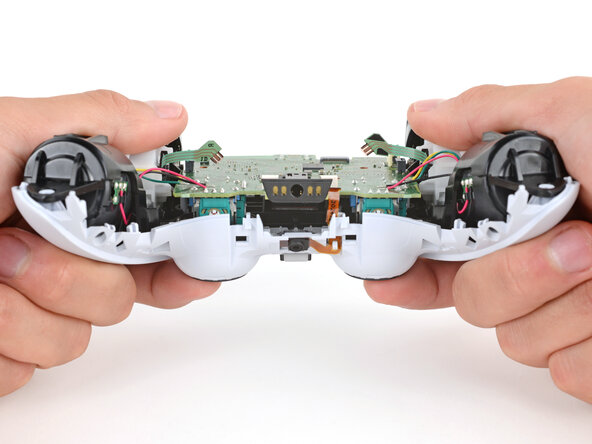
Lay your controller upside down so the joysticks are on your work surface.
-
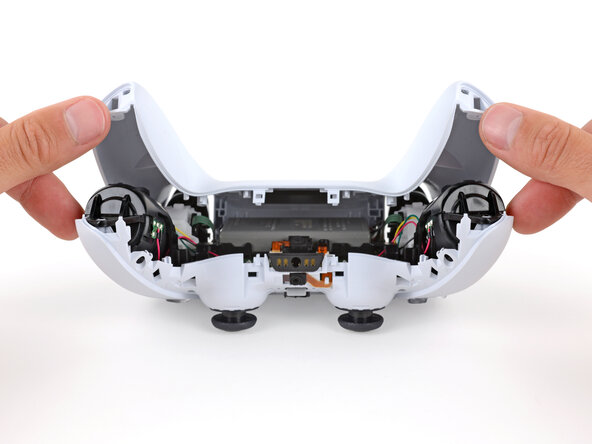
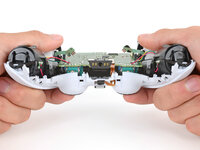
Hold the controller down with your fingers and use your thumbs to lift the rear case away from the controller to fully separate it.
-
-
-
Remove the rear case.
-
-
-
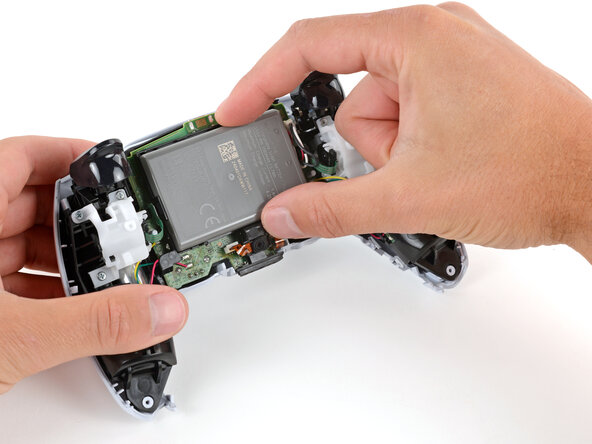
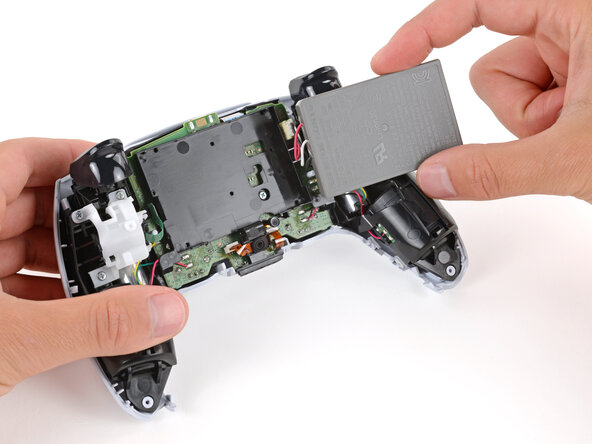
Swing the battery out of its recess so you can access its connector, making sure to not strain the cables.
-
Keep the battery supported so it doesn't fall during the next step.
-
-
-
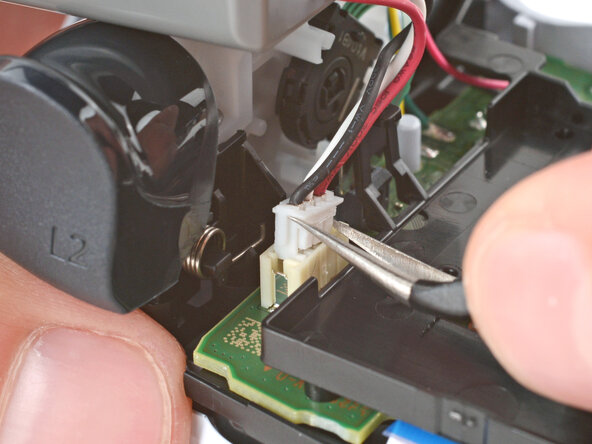
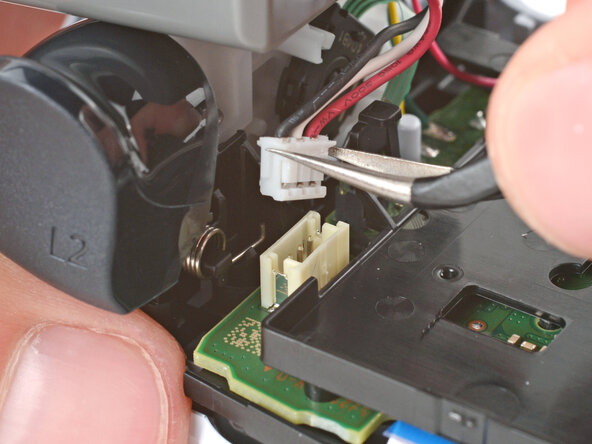
Use a pair of angled tweezers to firmly grip the short sides of the battery connector.
-
Rock the connector side‑to‑side to walk it out of its socket and disconnect it.
-
-
-
Remove the battery.
-
-
-
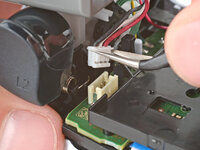
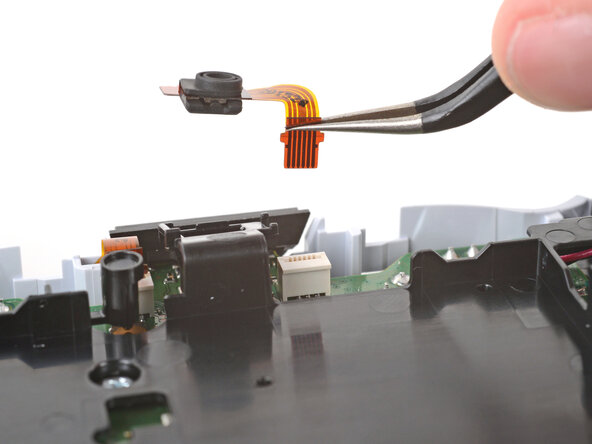
Use tweezers to grip the lower microphone cable's plastic tab and pull it straight out of the socket to remove the microphone.
-
-
-
Use a Phillips screwdriver to remove the 6.5 mm‑long screw securing the battery bracket.
-
-
-
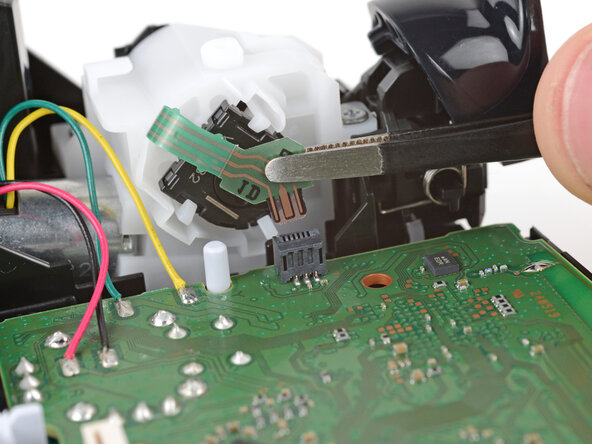
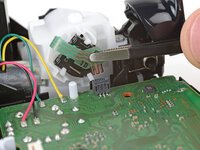
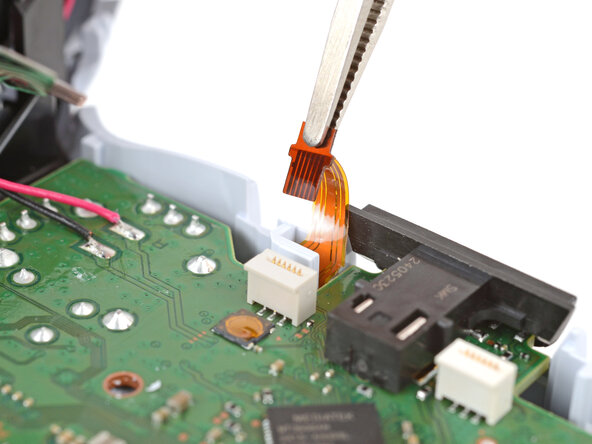
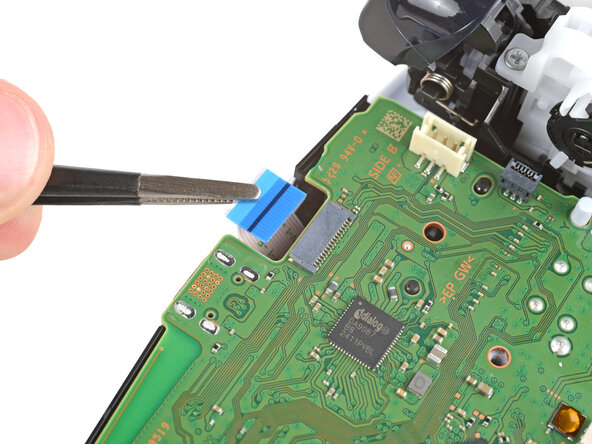
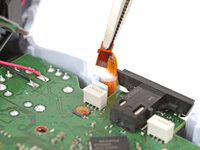
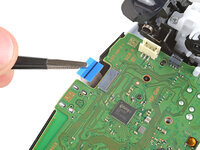
Use tweezers to grip the hard plastic section of the right trigger ribbon cable and pull the cable straight out of its socket to disconnect it.
-
-
-
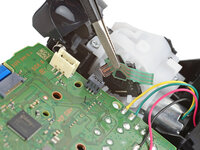
Repeat the previous step to disconnect the three other ribbon cables that connect to the motherboard.
-
-
-
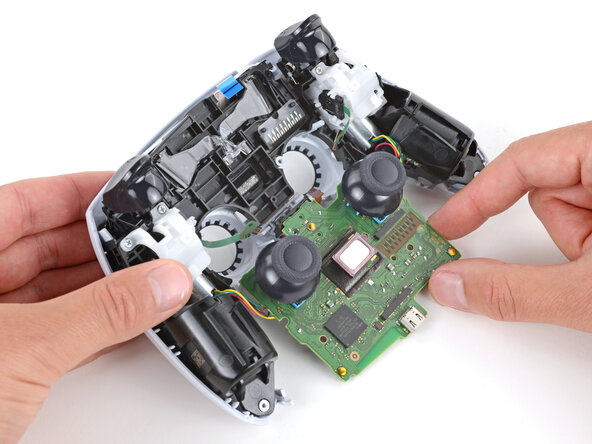
Use your fingers to gently push the joysticks through their cutouts on the shell to separate the motherboard.
-
-
-
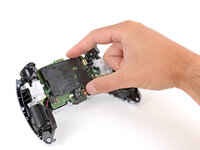
Carefully flip the motherboard down so the joysticks are facing up.
-
-
-
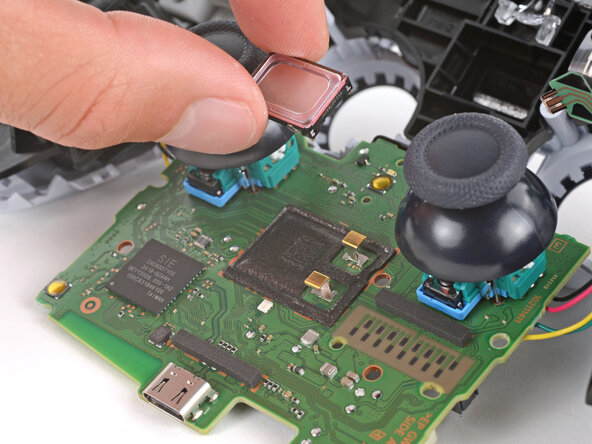
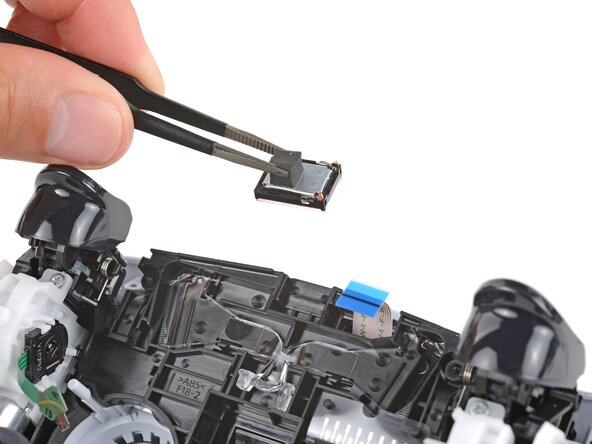
Use your fingers or tweezers to remove the speaker.
-
-
-
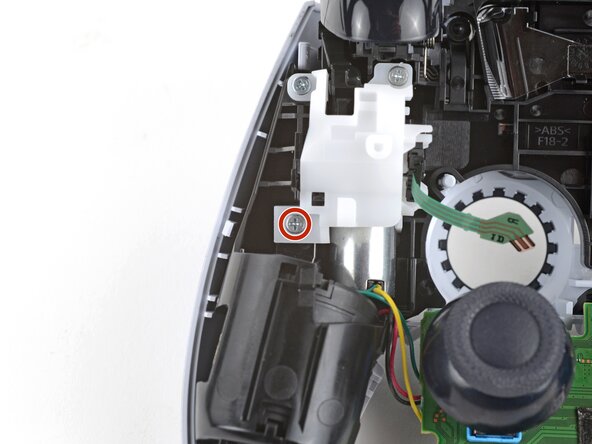
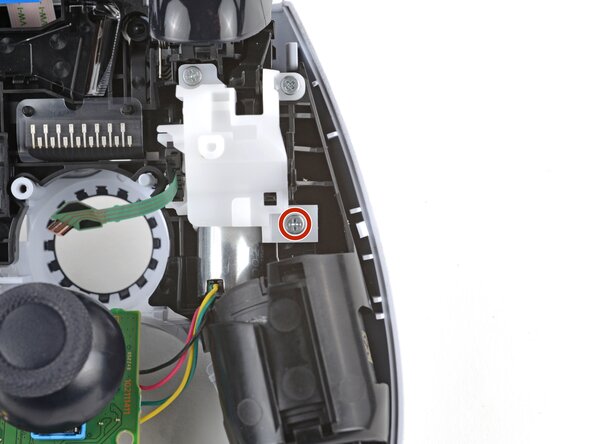
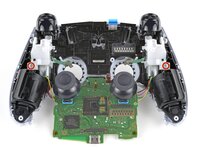
Use a Phillips screwdriver to remove the two 6.5 mm‑long screws securing the midframe.
-
-
-
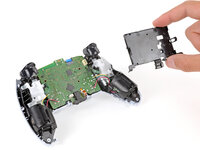
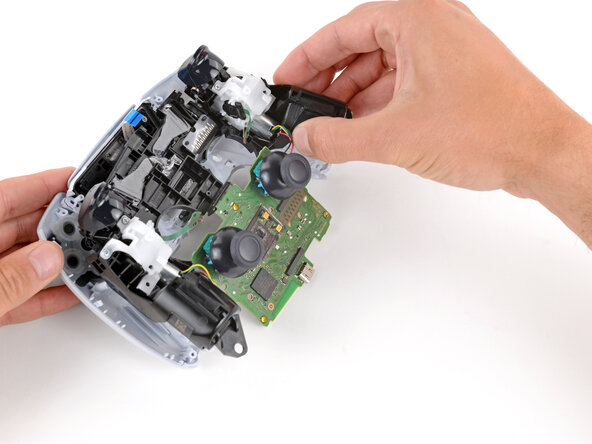
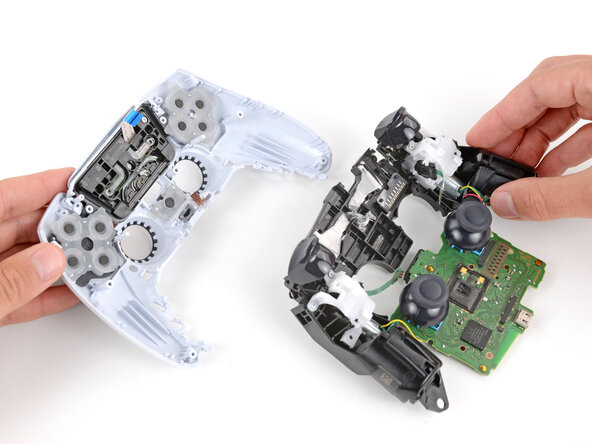
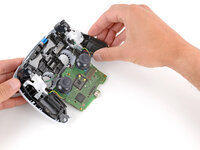
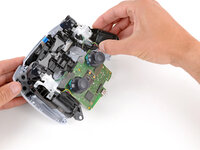
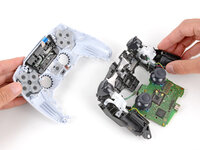
Carefully lift the midframe and motherboard up and out of the front case.
-
-
-
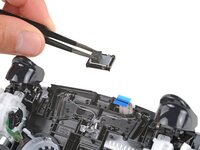
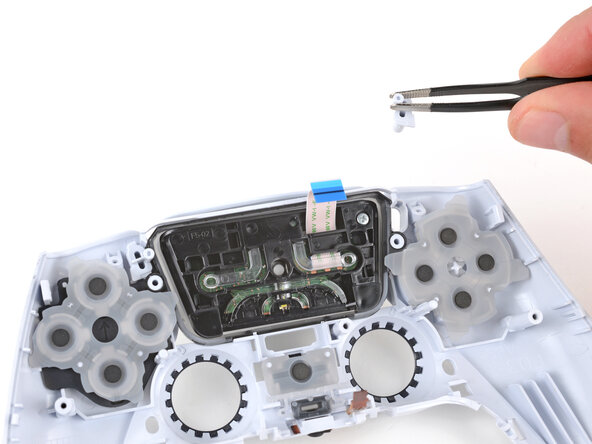
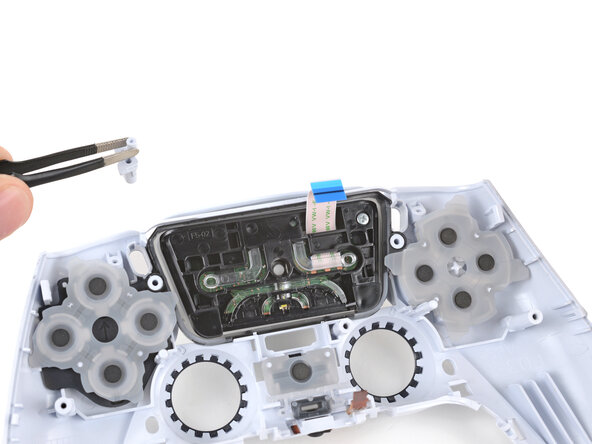
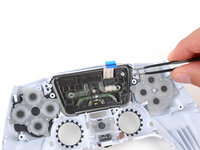
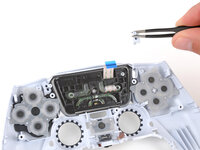
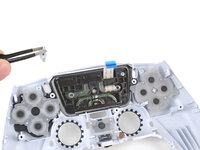
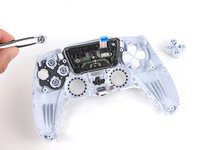
Use tweezers or your fingers to remove the Options and Create buttons.
-
-
-
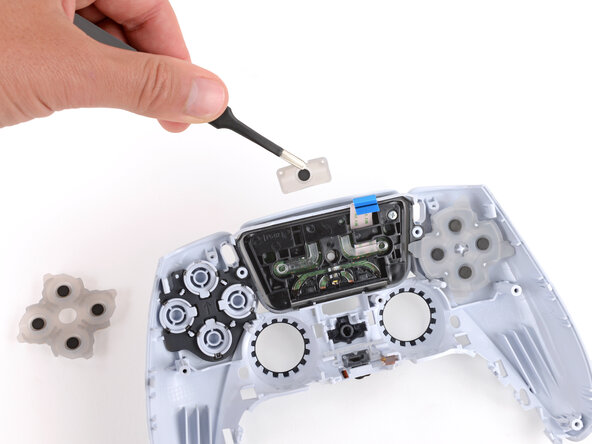
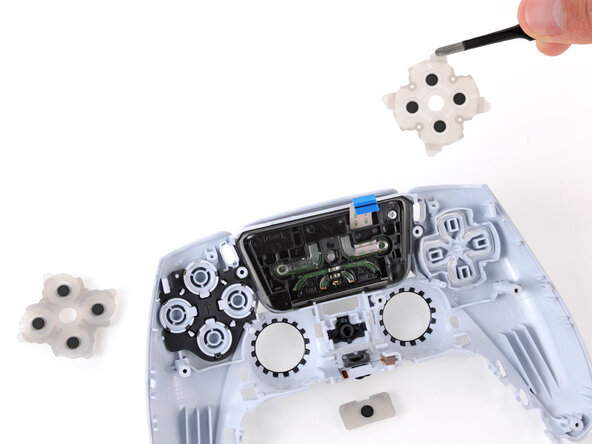
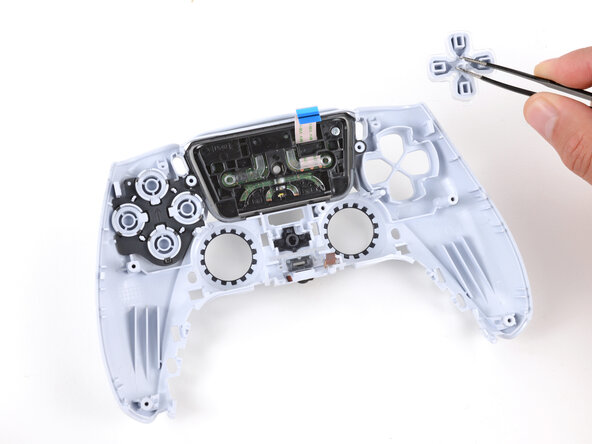
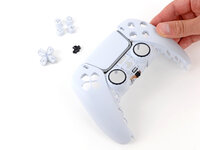
Use tweezers or your fingers to remove the three silicone pads covering the Action, PS, and Directional buttons.
-
-
-
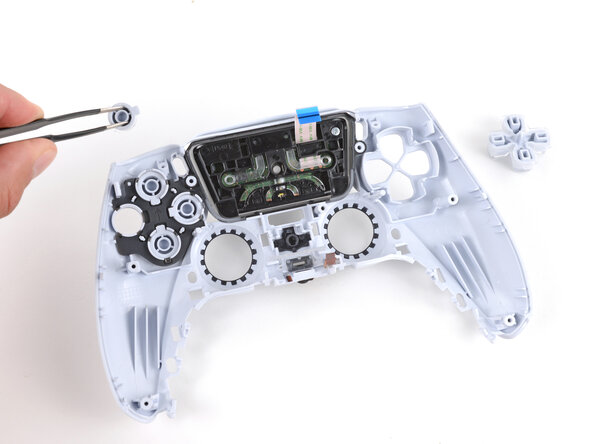
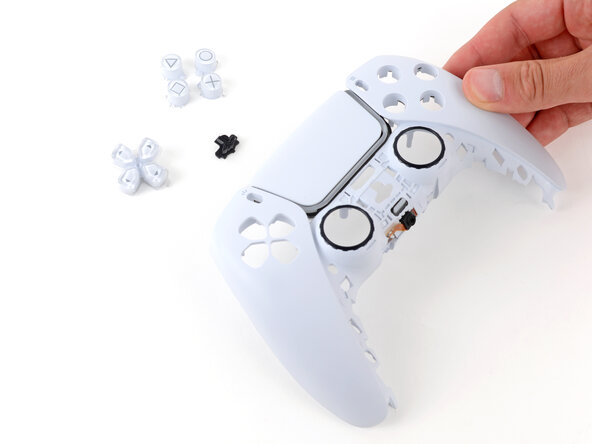
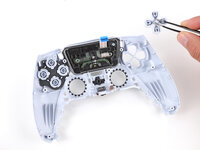
Use tweezers or your fingers to remove the Action, PS, and Directional buttons.
-
Alternatively, you can slowly flip the front case over to let the buttons fall out.
-
To reassemble your device, follow these instructions in reverse order.
Repair didn’t go as planned? Try some basic troubleshooting, or ask our Answers community for help.
crwdns2935221:0crwdne2935221:0
crwdns2935229:03crwdne2935229:0


