crwdns2915892:0crwdne2915892:0
Desmontar a medias el teclado para una limpieza profunda.
crwdns2942213:0crwdne2942213:0
-
-
Extraer la bateria/pila haciendo palanca con un destornillador plano con precaución
-
-
-
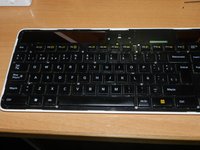
Con un secador, ir calentando la cubierta y tirar poco a poco con la mano para no romperlo.
Be careful - it’s really easy to melt the keys! The glue doesn’t need much heat so go easy. Once I got one edge lifted I didn’t use heat for the rest, just levered it up with a plastic spudger.
I did not need heat to remove the top layer. Once my pry had loosened the corner and left edge I was able to smoothly (SLOWLY) pull up the covering plastic. It went back into place with no issues. Be careful as the spot above the arrow keys will be a tough spot as well as the logo potion at the top center.
-
-
-
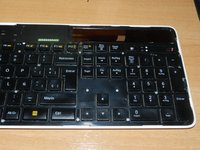
Después de extraer la cubierta, quedan visibles los tornillos
-
-
-
-
Desatornillamos los 28 tornillos "PHILIPS", ordenar conforme orden de salida al tener diferente altura y diámetro.
-
-
-
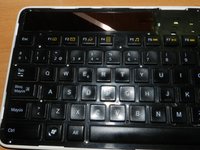
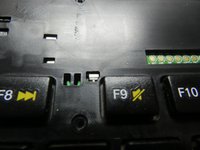
Hacer palanca con precaución en las pestañas de alrededor del cuerpo del teclado. Entre las teclas F8 y F9 hay otra pestaña mas. Para abrirla, levantar un poco desde abajo y hacer palanca con el destornillador, como si fuéramos a atornillar.
The keyboard is flexible enough that you can loosen the tabs at the top and bottom edges of the keyboard and lift from the middle to release it from the outer end tabs. From there you have full access to the underside of the keyboard for cleaning. A little canned air and isopropyl alcohol cleaned mine right up.
-
-
-
Una vez completados los pasos anteriores nos encontraríamos con el teclado medio desmontado.
-


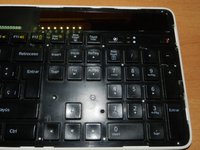

Recomendado para quitar esa suciedad que queda entre teclas, y que no se puede quitar fácilmente, es muy fácil de realizar, y con herramientas sencillas.
Recomendado para quitar esa suciedad que queda entre teclas, y que no se puede quitar fácilmente, es muy fácil de realizar, y con herramientas sencillas.
crwdns2935221:0crwdne2935221:0
crwdns2935229:05crwdne2935229:0
crwdns2947412:04crwdne2947412:0
May I ask if the keyboard was opened with a repair in mind or simply to illustrate the process?
A few keys have stopped being very responsive on my keyboard and I am looking if they can be fixed.
Hi Georgios,
I also had a button that wasn’t working well. This is why I tried to disassemble it. Since these days of confinment I did it again but followed a little more, I can recommend you that you won’t see anything since it is like a laptop keyboard also you also can damage the black label that is very sticked. This 2nd time when I did this process, I melted down one button (the left arrow) and now it is deformed and I had to repair it.
Since the keys mechanism is same as on laptop keyboards, you can try to pull it up by the one side and then the other side with care to don’t damage it.
In my case, the problem was dirty under the button that was sticking the membrane each pushin. I cleaned with alcohol and a small brush and restore it’s functionality.
Muchas gracias por el tuto!!! aunque me da algo de yuyu el tener que despegarlo... pero me veo que me tocará hacerlo, no se pq la F8 me da pulsaciones sola… Una duda… con que lo has vuelto a pegar?
Miguel Angel Espadero Sánchez - crwdns2934203:0crwdne2934203:0
hola,
l primera vez use su propio pegamento recalentando pero la segunda vez, quite que lo que habia original y use cintas finas doble cara. a mi me ha quedado mal pegado. la proxima vez usare cola de contacto como para las pantallas de los moviles. creo que debe de ir mejor