crwdns2915892:0crwdne2915892:0
In this guide, you will be shown how to replace a battery for a Dell XPS 16 9640 laptop computer. This repair may be needed if your computer is not turning on or has a reduced battery life.
While this repair is easy, it does require steady hands to avoid damaging important components.
Before you begin the repair, unplug and power off your laptop. For your safety, discharge the battery below 25% before disassembling your device. This reduces the risk of fire if the battery is accidentally damaged during the repair. If your battery is swollen, take appropriate precautions.
crwdns2942213:0crwdne2942213:0
-
-
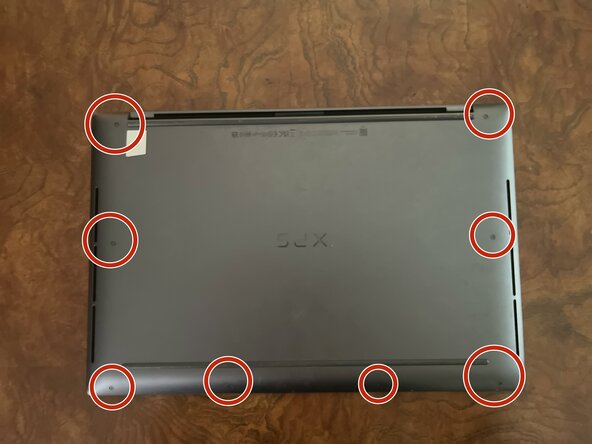
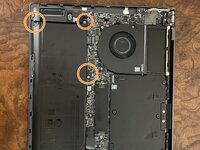
The first step is to locate the screws holding the back cover in place.
-
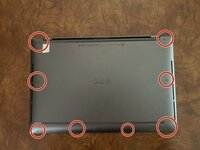
The red circles in the image highlight what the screws look like and where they are.
-
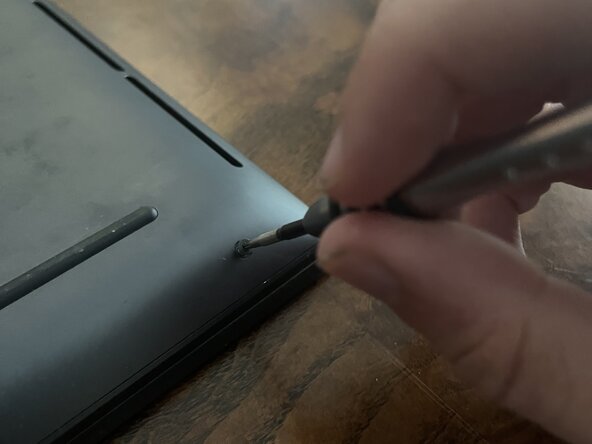
Use the torx screwdriver to remove each 3.0mm torx screw.
-
You will know when this step is fully complete when you have unscrewed a total of 8 3.0mm Torx screws.
-
Be sure to place the screws together and in a safe location.
-
-
-
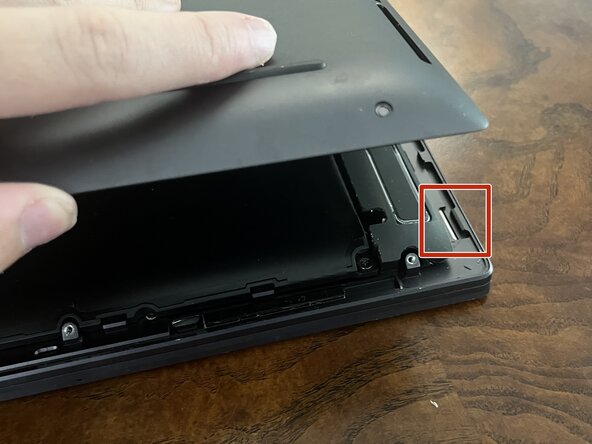
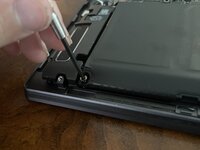
Now, pop open the back cover. The cover is attached to the body of the computer by several clips located around the perimeter of the computer, which is shown in the picture by the red square.
-
-
-
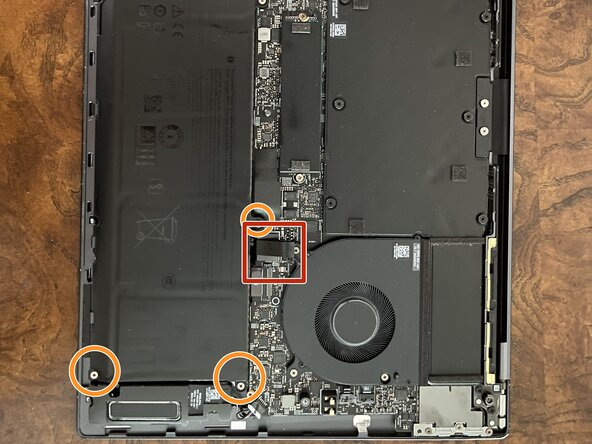
The battery is labeled. After locating the battery, identify the key parts of the battery.
-
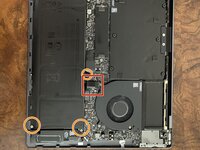
The first part is where the battery is connected to the computer. This is highlighted in red.
-
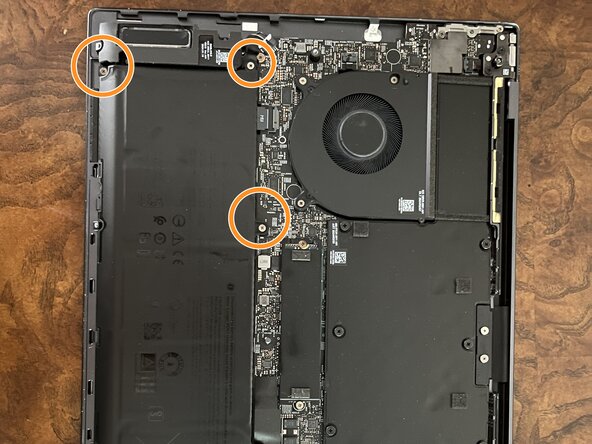
The second part is the screws that hold the battery in place. This is shown in orange.
-
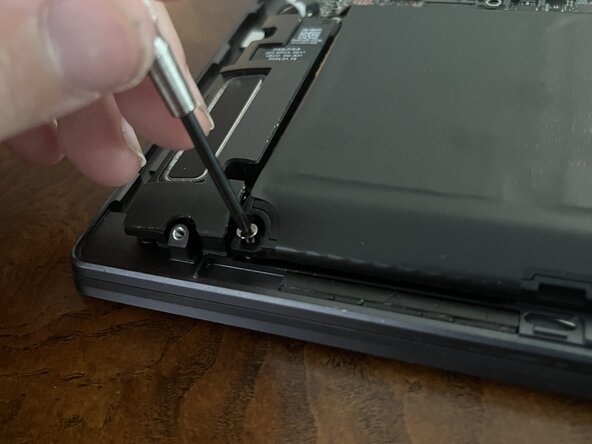
This step requires a Phillips #00 head screwdriver. Just as before, work around the battery and unscrew each 3.0mm Phillips #00 screw. There should be a total of 6. Once again, store in a safe location
-
-
-
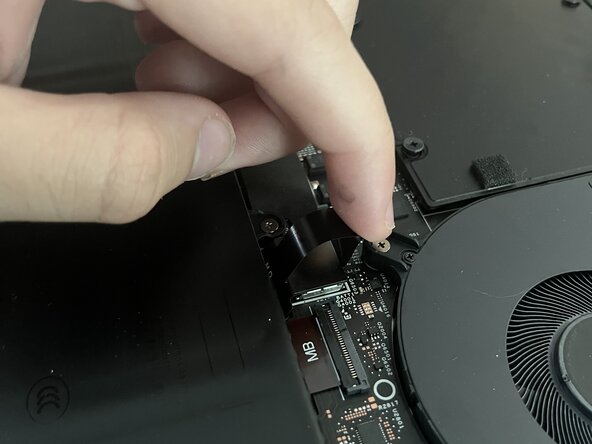
The final step in removing the battery is to unclip the point where the battery is plugged into the computer.
-
To do this, gently pull up the ring of film and hold on to it firmly. When ready, pull upwards in a swift and vertical motion to disconnect the battery.
-
You can now gently pick up the battery
-

To reassemble your device, follow these instructions in reverse order.
For optimal performance, calibrate your newly installed battery after completing this guide.
Take your e-waste to an R2 or e-Stewards certified recycler.

crwdns2935287:0crwdne2935287:0

Austin Community College, Team 28-10, Kapoor Summer 2025 crwdns2935289:0Austin Community College, Team 28-10, Kapoor Summer 2025crwdne2935289:0
AUSTINCC-KAPOOR-SU25S28G10
crwdns2934841:01crwdne2934841:0
crwdns2935303:01crwdne2935303:0