crwdns2915892:0crwdne2915892:0
This guide will walk through how to replace the display assembly of the Dell Vostro 5510 laptop. The purpose/function of a display is to be able to view information given on a laptop. Symptoms of a display not working is if it displays No Signal or if it doesn't display anything other than a black screen. If the laptop is powered on but the screen displays No Signal, see this link for troubleshooting the problem/issue: Monitor No Signal. Furthermore, if the laptop doesn't display anything other than a black screen even after powering it on, restarting the video drivers, and resetting the RAM, the parts/components of the laptop screen must be broken down and replaced by following the steps below.
crwdns2942213:0crwdne2942213:0
-
-
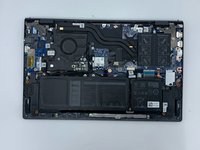
Place the laptop so the bottom cover is facing upwards.
-
-
-
Remove the remaining (M2x4mm) screws with the screwdriver.
-
Loosen the two captive (M2x7.5mm) corner screws with the screwdriver.
-
-
-
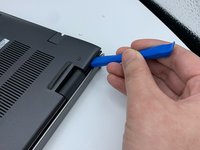
Pry open the top left corner of the cover with the opening tool.
-
Pry open the top right corner of the cover with the opening tool.
-
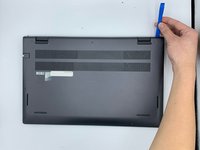
Pry the rest of the cover with the opening tool, working in a clockwise motion until it is completely loosened.
-
-
-
-
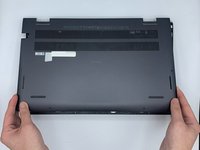
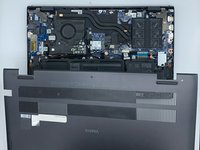
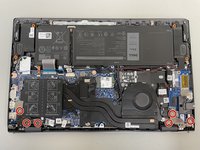
Lift the cover to remove it from the rest of the laptop.
-
-
-
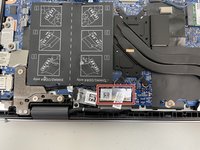
Remove the six 4 mm hinge screws using the Phillips #0 screwdriver.
-
-
-
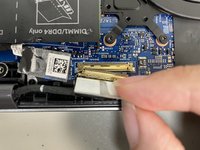
Flip up the hinge panel for the left side of the laptop.
-
Flip up the hinge panel for the right side of the laptop.
-
-
-
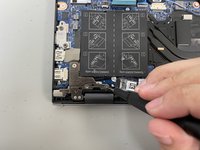
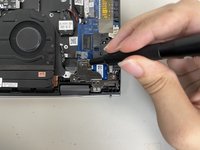
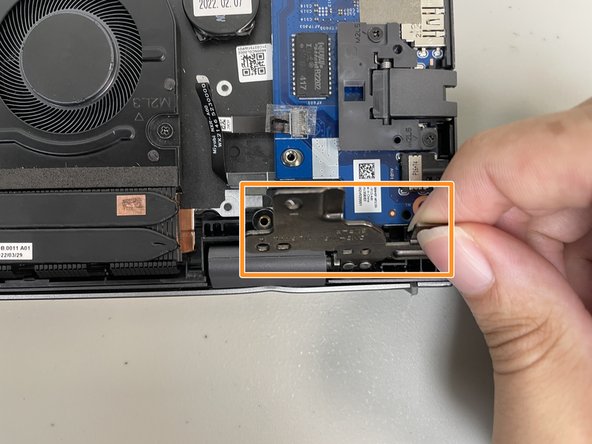
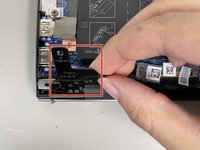
Disconnect the display cable with your hands.
-
-
-
Lift up the laptop with your hands to detach it from the display assembly.
-


To reassemble your device, follow these instructions in reverse order.
crwdns2935221:0crwdne2935221:0
crwdns2935229:02crwdne2935229:0
crwdns2935287:0crwdne2935287:0

University of North Texas, Team 5-6, Coppersmith Spring 2024 crwdns2935289:0University of North Texas, Team 5-6, Coppersmith Spring 2024crwdne2935289:0
UNT-COPPERSMITH-S24S5G6
crwdns2931471:04crwdne2931471:0
crwdns2935297:04crwdne2935297:0