crwdns2915892:0crwdne2915892:0
Replacing or upgrading your hard drive maintains your computer's performance and reliability. Over time, hard drives wear down due to limited write cycles, leading to slower data access, system instability, and frequent crashes. Additionally, as operating systems, applications, and files grow, an older or lower-capacity hard drive may quickly run out of space, forcing users to manage files or constantly rely on slower external storage solutions.
A failing or undersized hard drive doesn’t just slow down your computer; it can interrupt your workflow, reduce productivity, and even result in data loss if the drive becomes unreadable. Upgrading to a newer, larger, or faster hard drive can significantly improve boot times, application loading speeds, and responsiveness. It also enhances system reliability and reduces the risk of sudden drive failure.
Beyond performance, a new hard drive can extend the lifespan of your entire laptop. Instead of replacing your Dell 5580 laptop, simply upgrading the hard drive may be enough to make it feel like new again. A hard drive upgrade offers a cost-effective, high-impact solution to keep pace with today’s demands for users dealing with modern workloads, from everyday tasks to professional software and multitasking.
Before you begin this repair, power off and unplug your laptop. Also, before you replace the hard drive, back up your data. After you remove the bottom cover, disconnect the battery connector from the motherboard, and before you remove the hard drive as an added safety precaution.
crwdns2942213:0crwdne2942213:0
-
-
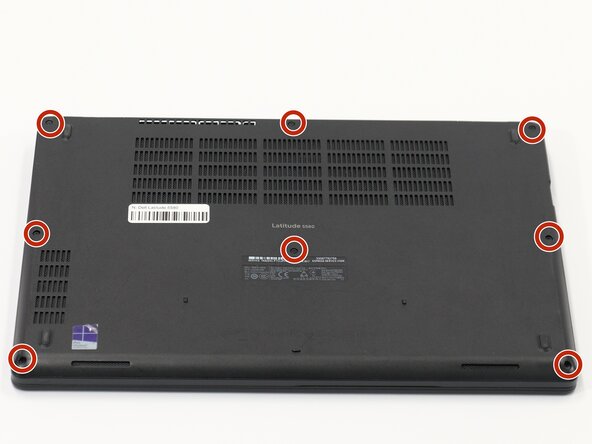
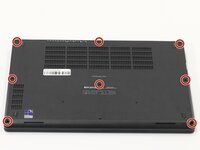
Orient your laptop to access the bottom cover, with the fan vents facing upwards.
-
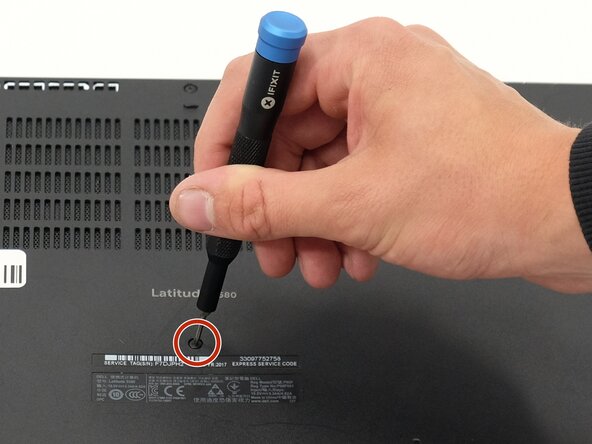
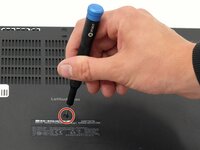
Use a Phillips #00 screwdriver to loosen the eight screws securing the bottom cover.
-
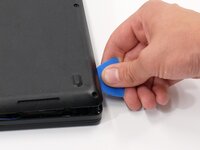
Insert the end of an iFixit opening tool or opening picks into the seam between the bottom and top case to release the clips holding them together.
-
Slide the opening tool or pick around the edge of the laptop until it is fully separated.
-
Remove the bottom cover.
-
-
-
-
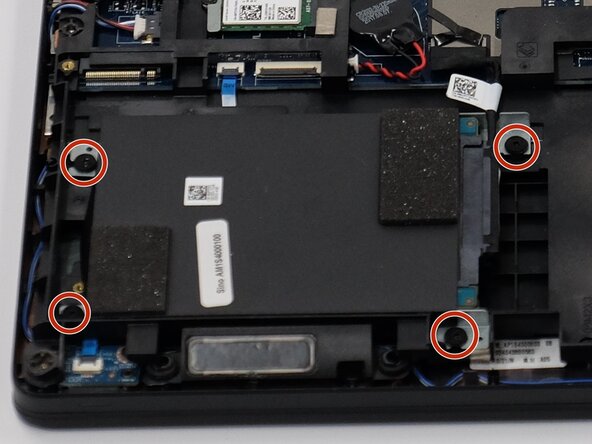
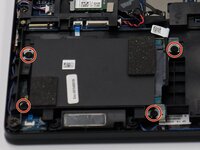
Use a Phillips #00 screwdriver to remove the four 5.8 mm screws securing the hard drive to the computer.
-
-
-
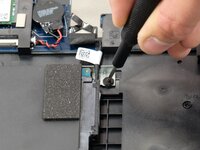
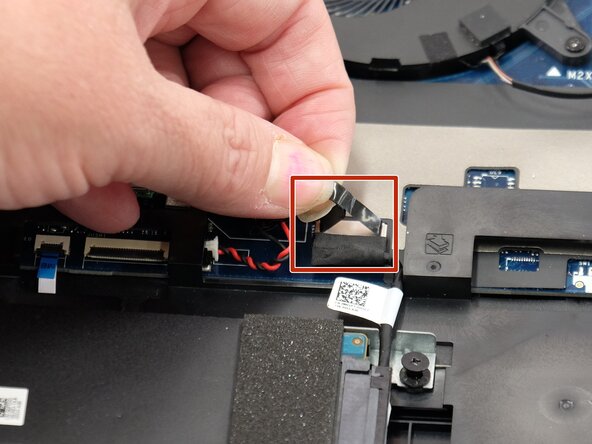
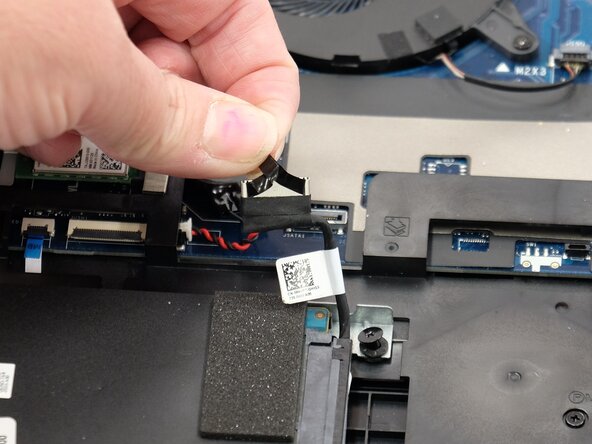
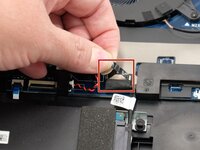
Carefully, pull straight up on the plastic strip of the hard drive connector, to disconnect the hard drive cable from the motherboard.
-
Remove the hard drive from your laptop.
-
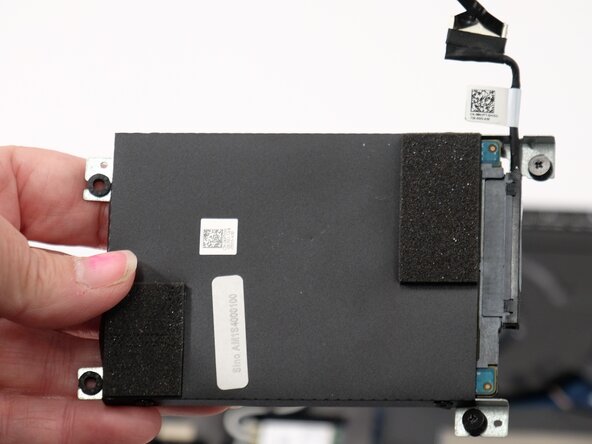
Remove the hard drive from the adapter.
-


To reassemble your device, follow these instructions in reverse order. Take your e-waste to an R2 or e-Stewards certified recycler.
To reassemble your device, follow these instructions in reverse order. Take your e-waste to an R2 or e-Stewards certified recycler.

crwdns2915084:0crwdne2915084:0

Linn Benton Community College, Team 1-5, Karnes Spring 2025 crwdns2935289:0Linn Benton Community College, Team 1-5, Karnes Spring 2025crwdne2935289:0
LBCC-KARNES-S25S1G5
crwdns2931471:04crwdne2931471:0
crwdns2935297:05crwdne2935297:0