crwdns2933423:0crwdne2933423:0

Core Assembly Removal

crwdns2942213:0crwdne2942213:0

  1. Core Assembly Removal, Power down your watch: crwdns2935265:01crwdnd2935265:01crwdnd2935265:01crwdne2935265:0
    • Before starting repairs, take your watch off the charger and power it down.

    • Remove the watch band.

  2. Core Assembly Removal, Unscrew the back cover: crwdns2935265:02crwdnd2935265:01crwdnd2935265:01crwdne2935265:0
    • Use a Tri-point Y00 screwdriver to remove the four 4.0 mm-long screws securing the back cover.

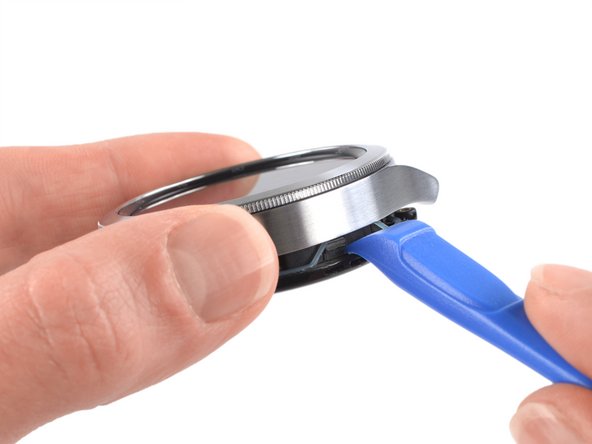
  3. Core Assembly Removal, Pry open the back cover: crwdns2935265:03crwdnd2935265:01crwdnd2935265:02crwdne2935265:0 Core Assembly Removal, Pry open the back cover: crwdns2935265:03crwdnd2935265:02crwdnd2935265:02crwdne2935265:0
    • Insert an opening tool into the seam between the back cover and the metal housing.

    • Twist the opening tool to create a gap.

    • Don't try to remove the back cover all the way yet. The sensor flex cable is still connected to the motherboard.

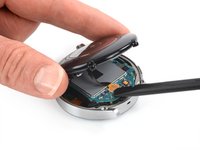
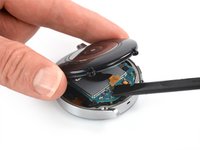
  4. Core Assembly Removal, Disconnect the sensor flex cable: crwdns2935265:04crwdnd2935265:01crwdnd2935265:02crwdne2935265:0 Core Assembly Removal, Disconnect the sensor flex cable: crwdns2935265:04crwdnd2935265:02crwdnd2935265:02crwdne2935265:0
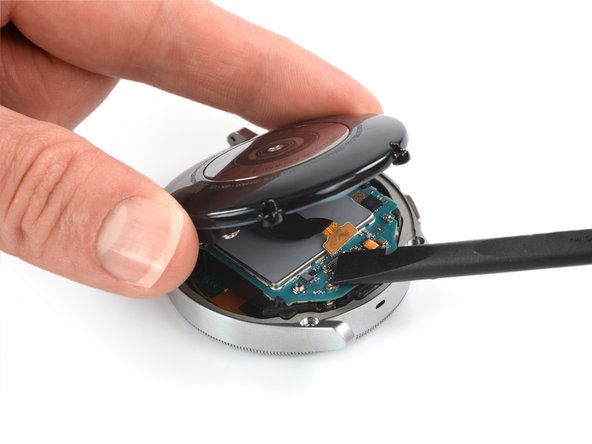
    • Lay the watch face down.

    • Carefully swing open the back cover by folding it to the opposite site of the created gap.

    • Use the flat end of a spudger to pry up and disconnect the sensor flex cable from the motherboard.

  5. Core Assembly Removal, Remove the back cover: crwdns2935265:05crwdnd2935265:01crwdnd2935265:01crwdne2935265:0
    • Remove the back cover.

    • Make sure the rubber gasket is undamaged. If damaged, replace it with a new one during reassembly to maintain proper water resistance.

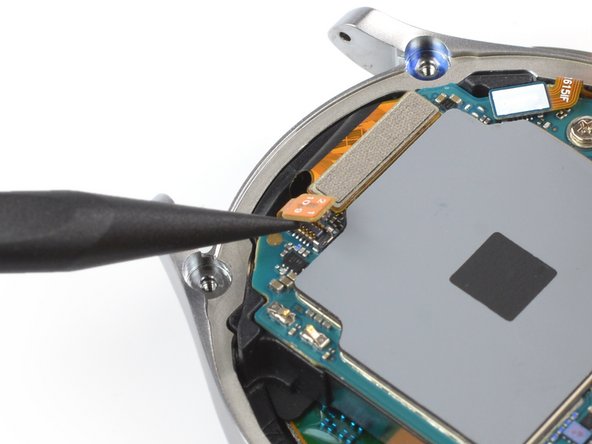
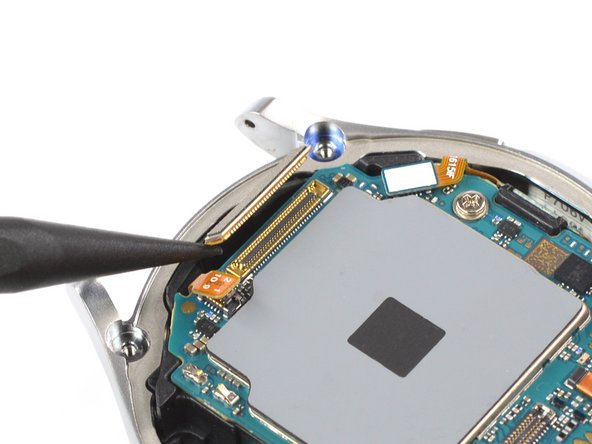
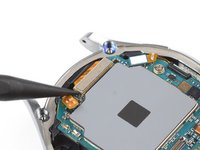
  6. Core Assembly Removal, Disconnect the hall sensor flex cable: crwdns2935265:06crwdnd2935265:01crwdnd2935265:02crwdne2935265:0 Core Assembly Removal, Disconnect the hall sensor flex cable: crwdns2935265:06crwdnd2935265:02crwdnd2935265:02crwdne2935265:0
    • Use the pointed end of a spudger to disconnect the hall sensor flex cable.

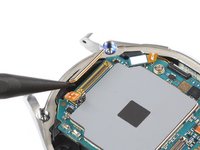
  7. Core Assembly Removal, Disconnect the display flex cable: crwdns2935265:07crwdnd2935265:01crwdnd2935265:02crwdne2935265:0 Core Assembly Removal, Disconnect the display flex cable: crwdns2935265:07crwdnd2935265:02crwdnd2935265:02crwdne2935265:0
    • Use a spudger to disconnect the display flex cable.

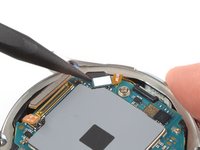
  8. Core Assembly Removal, Disconnect the side buttons: crwdns2935265:08crwdnd2935265:01crwdnd2935265:02crwdne2935265:0 Core Assembly Removal, Disconnect the side buttons: crwdns2935265:08crwdnd2935265:02crwdnd2935265:02crwdne2935265:0
    • Use a spudger to disconnect the crown button flex cable.

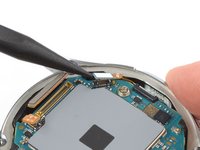
  9. Core Assembly Removal, Unscrew the motherboard: crwdns2935265:09crwdnd2935265:01crwdnd2935265:01crwdne2935265:0
    • Use a Phillips screwdriver to remove the 4.4 mm-long screw securing the motherboard.

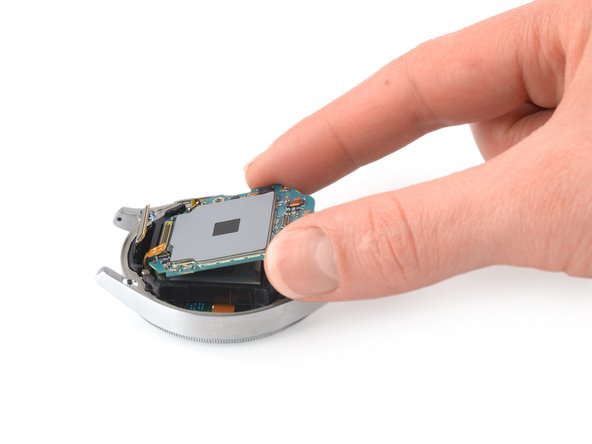
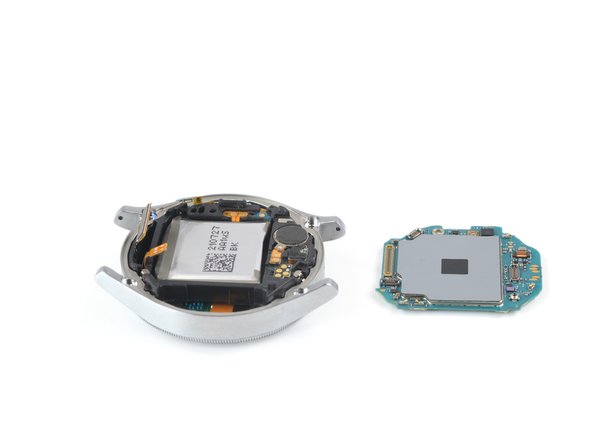
  10. Core Assembly Removal, Remove the motherboard: crwdns2935265:010crwdnd2935265:01crwdnd2935265:03crwdne2935265:0 Core Assembly Removal, Remove the motherboard: crwdns2935265:010crwdnd2935265:02crwdnd2935265:03crwdne2935265:0 Core Assembly Removal, Remove the motherboard: crwdns2935265:010crwdnd2935265:03crwdnd2935265:03crwdne2935265:0
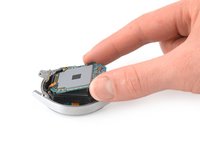
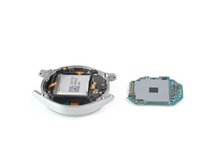
    • Use your fingers to lift the motherboard out from the watch assembly towards the bottom of the watch.

    • During reassembly, make sure none of the flex cables become trapped underneath the motherbaord.

  11. Core Assembly Removal, Lift the core assembly: crwdns2935265:011crwdnd2935265:01crwdnd2935265:03crwdne2935265:0 Core Assembly Removal, Lift the core assembly: crwdns2935265:011crwdnd2935265:02crwdnd2935265:03crwdne2935265:0 Core Assembly Removal, Lift the core assembly: crwdns2935265:011crwdnd2935265:03crwdnd2935265:03crwdne2935265:0
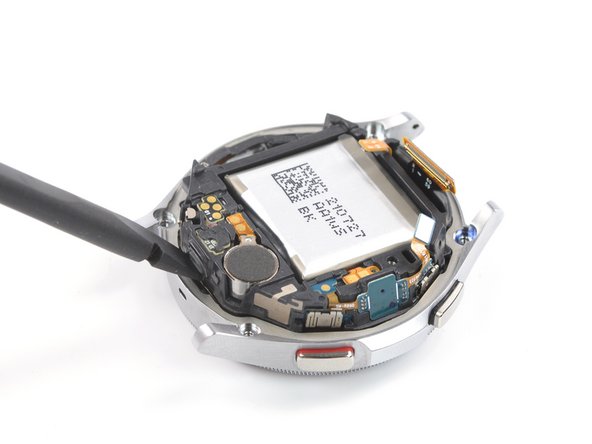
    • Place the corner of the flat end of a spudger in the small opening of the barometric sensor, on the opposite side of the display connector.

    • Twist and tilt the spudger to lever the core assembly out of the metal housing.

  12. Core Assembly Removal, Release the core assembly: crwdns2935265:012crwdnd2935265:01crwdnd2935265:02crwdne2935265:0 Core Assembly Removal, Release the core assembly: crwdns2935265:012crwdnd2935265:02crwdnd2935265:02crwdne2935265:0
    • Thread the display flex cable through the opening in the core assembly.

  13. Core Assembly Removal, Remove the core assembly: crwdns2935265:013crwdnd2935265:01crwdnd2935265:01crwdne2935265:0
    • Remove the core assembly.

crwdns2915888:0crwdne2915888:0

If possible, turn on your device and test your repair before installing new adhesive and resealing.

To reassemble your device, follow these instructions in reverse order.

Take your e-waste to an R2 or e-Stewards certified recycler.

Repair didn’t go as planned? Try some basic troubleshooting, or ask our Answers community for help.

crwdns2935229:02crwdne2935229:0
Adriana Zwink

crwdns2935283:012/18/19crwdne2935283:0

48,810 crwdns2915208:0crwdne2915208:0

crwdns2935297:0167crwdne2935297:0

crwdns2915084:0crwdne2915084:0

iFixit crwdns2935289:0iFixitcrwdne2935289:0

Staff

crwdns2931471:0136crwdne2931471:0

crwdns2935297:017,439crwdne2935297:0

crwdns2944067:00crwdne2944067:0

crwdns2917038:0crwdne2917038:0

crwdns2936625:0crwdne2936625:0:

crwdns2936751:024crwdne2936751:0 3

crwdns2936753:07crwdne2936753:0 9

crwdns2936753:030crwdne2936753:0 24

crwdns2942667:0crwdne2942667:0 705