crwdns2942213:0crwdne2942213:0
-
-
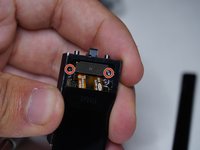
Remove both T3 screws
-
Slide off the plastic piece by lifting out and then up
-
Slide plastic and spring assembly off the rail
-
-
-
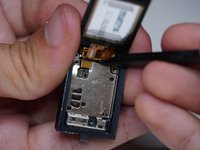
Heat the glass screen with a blowdryer to soften the adhesives
-
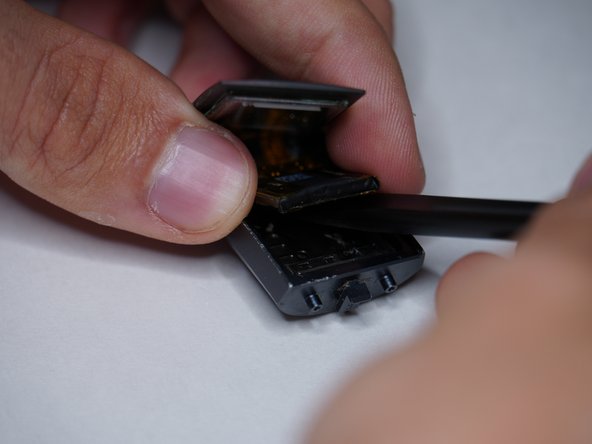
Insert a razor blade between the glass and the body
-
Keep going around the rim of the display until loose
For me, this step caused the back color of the display glass to be damaged (but my screen was to be replaced anyway, due to it being really dim), which looks bad if you keep your screen. Also, I looked around a bit and people seem to be using T-8000 glue/adhesive to put the display back in place (the adhesive that was there originally isn't really usable anymore after opening the whole thing up). Also, this whole step made me wonder why Fitbit would tell us we could swim with it.
-
-
-
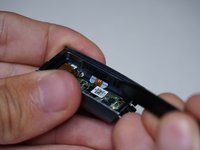
Lift display up gently
-
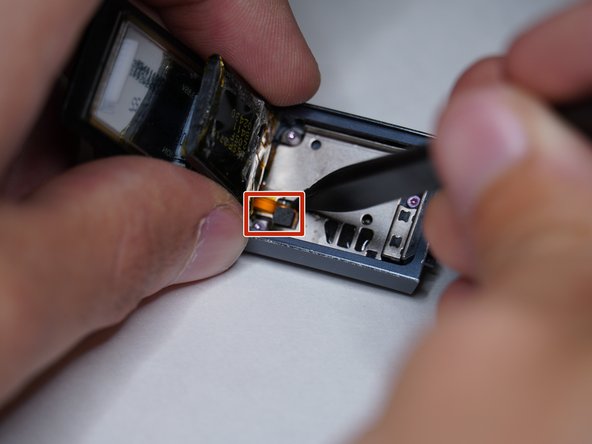
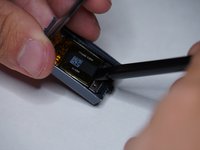
Remove battery connector
-
-
-
-
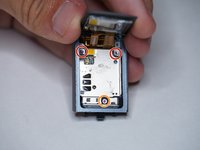
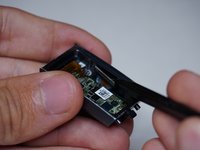
Remove both T2 screws
-
Liftoff metal shield
-
-
-
Remove two T2 screws
-
Remove T3 screw
-
Liftoff metal shield
-
-
-
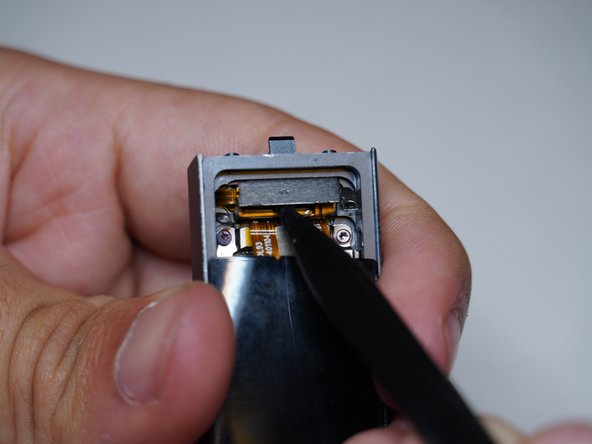
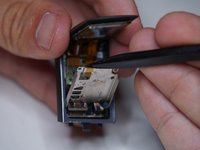
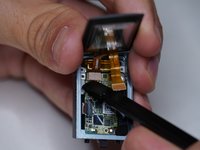
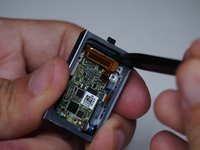
Liftoff both display connectors
The shorter ribbon cable is for the display itself, the longer one for the digitizer (the touch screen sensor).
-
-
-
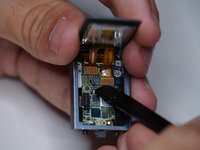
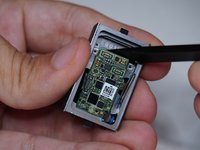
Disconnect vibrator motor
-
Disconnect heartrate and charging connector
-
Remove altimeter
-
-
-
Remove button assembly from case
-
Remove vibrator motor
-
-
-
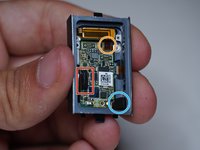
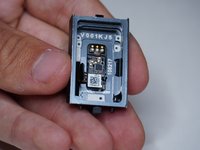
Remove motherboard
-
It seems as if the heart rate sensor and charging pins are molded into the case, and I was not able to remove them
-


crwdns2935221:0crwdne2935221:0
crwdns2935229:02crwdne2935229:0

crwdns2915084:0crwdne2915084:0

Repair For You crwdns2935289:0Repair For Youcrwdne2935289:0
Business
crwdns2934841:01crwdne2934841:0
crwdns2935297:012crwdne2935297:0
crwdns2947412:012crwdne2947412:0
The tear down pictures are great, but in my Charge 3 I needed a T-1 and a T-2 driver
Same, my ifixit pro kit only had a driver for the external screws and did not come with a small enough driver to remove the screws inside the charge 3 unit. I'll need to get the smaller bit from a different kit.
Which step in the teardown guide needed the T1 driver?
Great job on this tear-down. Thank you, it really helped in my screen replacement.
This tear down was very easy to follow. The heart rate monitor was also sealed in with some adhesive for me too but a little heat gun took it right off. I had suspected water leaked in and that in fact was the culprit after inspecting the connection. corrosion all around the HR monitor.
Great teardown guide! Here is a replacement battery for the Fitbit Charge 3 for around $20 shipped if anyone is looking:
Fitbit Charge 3 Replacement Battery
It includes all the necessary installation tools and it has a one year replacement warranty!
por favor en español
I followed this guide to replace the screen, it was really good. One thing to note, is that if you order a replacement screen, out of the three cables one might be ending in a different position. It is still possible to connect it, but much harder due to this.
I think it might have been the difference between my charge 3 being special edition, and the replacement screen is for the standard edition. I also think that since I replaced the screen with the standard edition one, my fitbit pay might not work anymore. So be sure to check what you order :)
Actually fitbit pay works. So it is just an annoyance if the cables don't fully line up.
Gabor -
If following this to put it back together, do NOT forget the thin metal part that shields the vibration motor specifically. I did at first and was going mad trying to figure out why my screen wasn't working. I checked my own pictures and realized I had left it out. Whoops!
Also, small springs go small side against the metal bracket. Don't know why, but they are tapered and this is important.
Yeah! go for it!
I have an old Fitbit Charge 3 that I took apart and I got the heart rate/charging terminal board out by pushing on it from the inside and it just popped out instantly.
Be careful of the small spring, it can jump away!
Niels Fennema - crwdns2934203:0crwdne2934203:0
Mine are definitely T2 torx screws (not T3 as written here). I'm pretty sure mine is the fitibt is Charge 3. Maybe they come in different versions. The rest of the instructions, up to the battery, are the same. I only needed to change the battery.
S C - crwdns2934203:0crwdne2934203:0
Confirmed that mine also had T2 torx screws for all the screws (also for the internal screws). The strap connectors on both sides are the same, so don't worry if you mix them up. But to open up the Fitbit, you actually only need to remove one side (the side opposite of the logo).
Kenneth - crwdns2934203:0crwdne2934203:0