crwdns2915892:0crwdne2915892:0
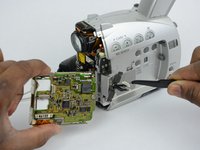
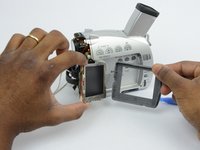
If your Canon ZR70MC camcorder’s LCD screen is cracked, damaged, or no longer displaying properly, this guide will walk you through the process of replacing the LCD component. A faulty or broken LCD can significantly impact the usability of your camcorder, but with the right tools and steps, you can restore its functionality.
This 12-step guide will help you safely and efficiently remove the damaged LCD and install a new one. If the LCD screen is cracked, follow this guide for additional safety.
Before you begin the repair, make sure to power off the camcorder and disconnect it from any power sources to ensure safety during the repair.
crwdns2942213:0crwdne2942213:0
-
-
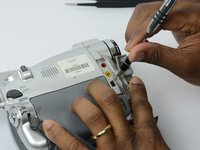
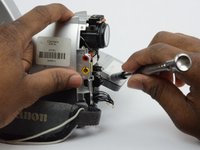
Unscrew the 3.35mm screw.
-
-
-
Turn the ZR70MC so that you can see the bottom of the camcorder.
-
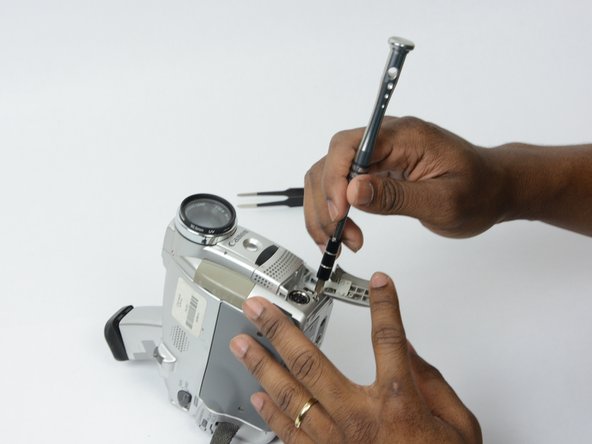
Unscrew the 3.35 mm located in the top left portion of the camera.
-
-
-
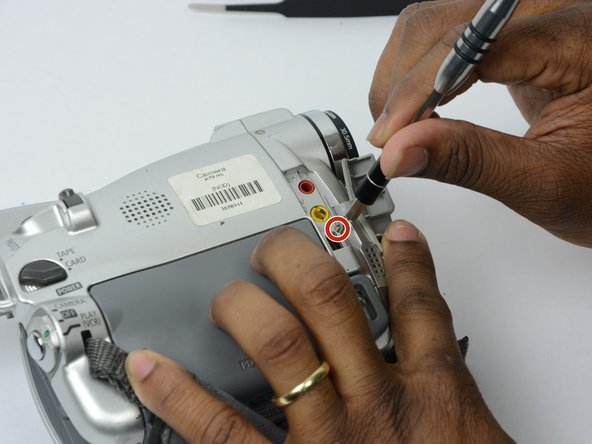
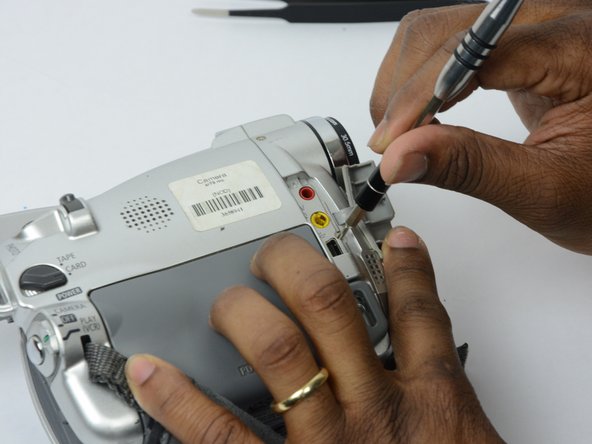
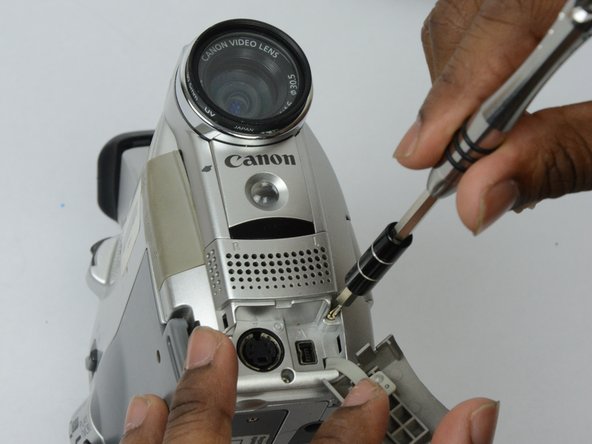
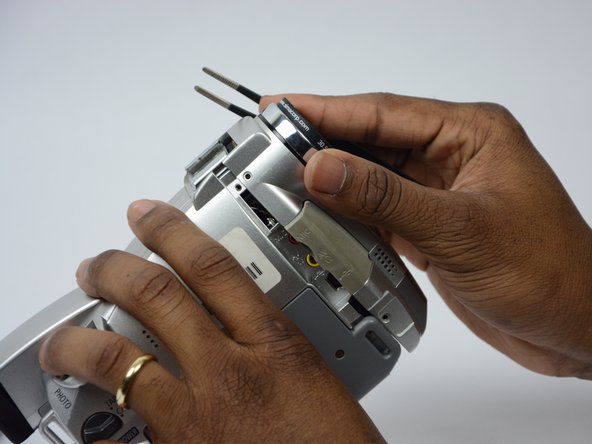
Turn the camera on the side and remove the cover for the audio inputs. There is a 2.65 mm screw located behind the cover.
-
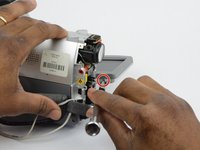
Remove the 2.65 mm screw.
-
-
-
Remove the cover located on the front of the camcorder and remove the cover by pulling on the bottom groove.
-
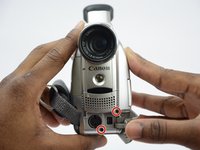
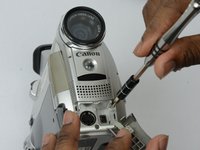
Locate and remove the two 3.35 mm screws.
-
-
-
-
Turn the camcorder so that the bottom is facing up and open the tape cassette compartment.
-
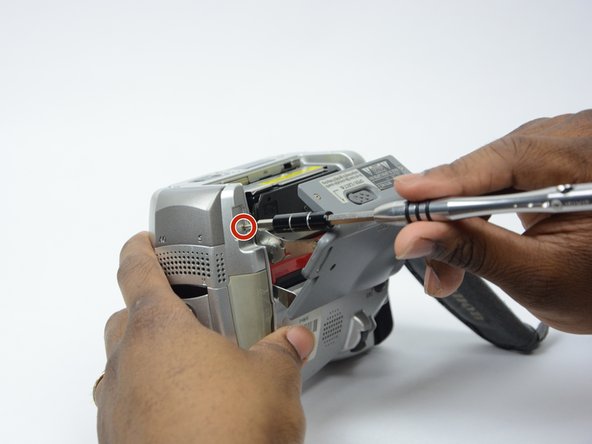
There is one 3.35 mm screw located under the tape cassette panel on the front left side of the camcorder. Remove the screw.
-
-
-
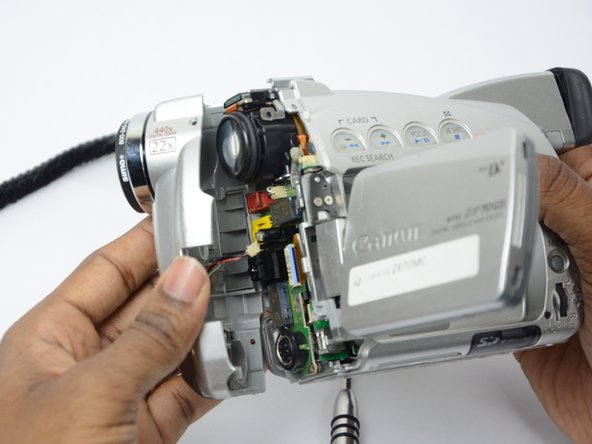
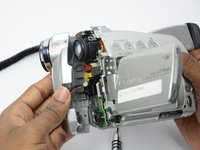
Now that all of the screws are removed, remove the front panel by gently pulling on the front panel.
-
-
crwdns2935267:0crwdne2935267:0Tweezers$4.99
-
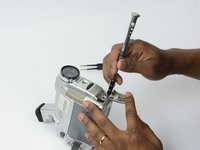
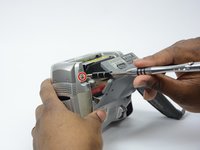
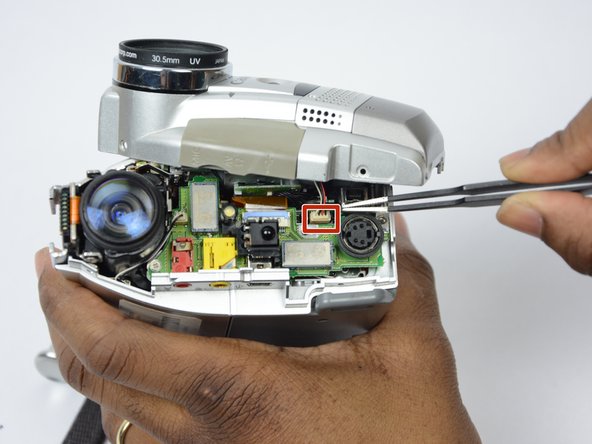
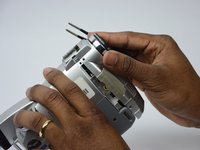
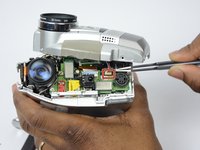
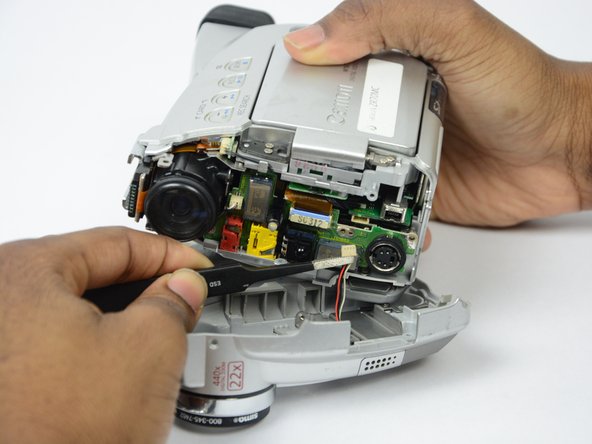
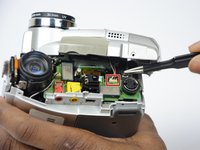
Use tweezers to gently pull the speaker wire from the main body of the camcorder.
-
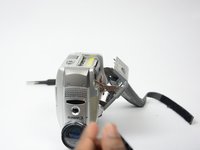
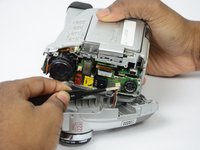
Pull the front panel completely away from the main body of the camcorder.
-
-
-
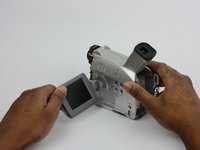
Open the LCD screen.
-
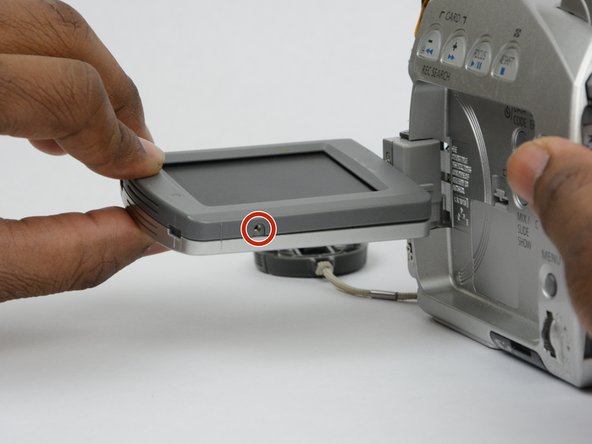
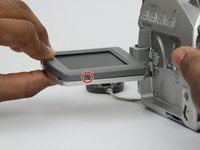
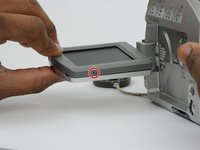
Locate and remove the 2.7 mm screw on the bottom of the LCD monitor.
-
-
-
Turn the LCD monitor so that the screen is facing down.
-
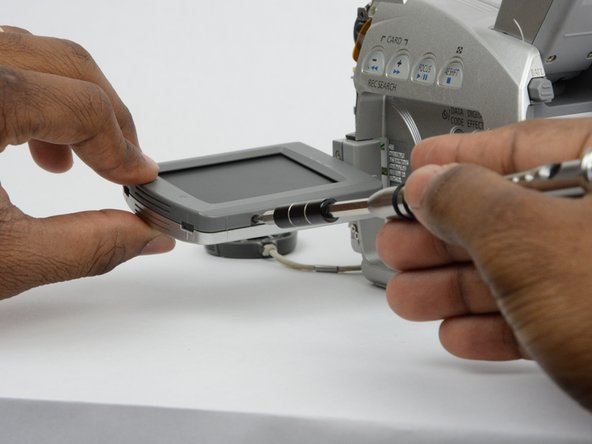
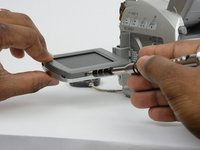
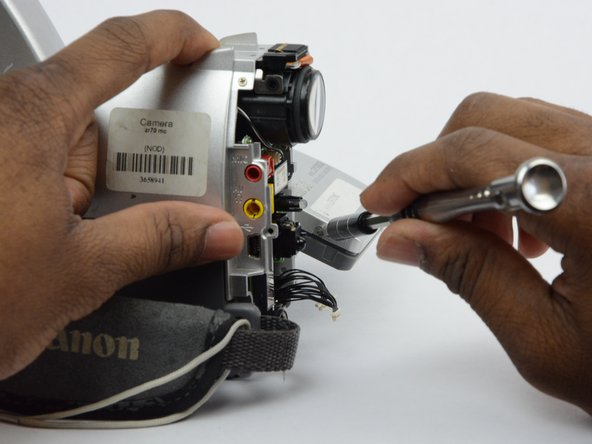
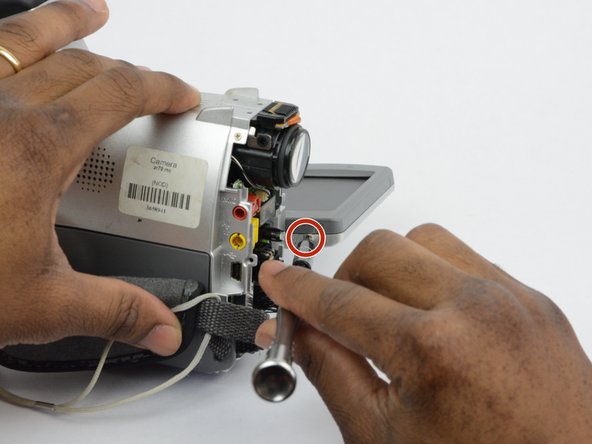
There is a 2.7 mm screw on the LCD monitor where the monitor is connected to the main body of the camcorder. Remove the 2.7 mm screw.
-
-
-
Turn the LCD monitor so that the screen is facing up.
-
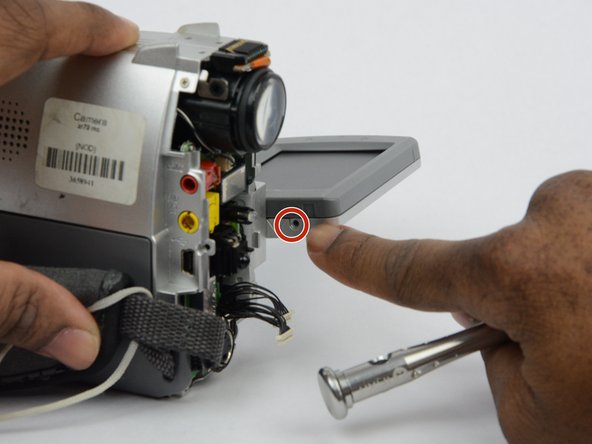
There is a 2.7 mm screw located where the LCD monitor is connected to the main body of the camcorder. Remove the 2.7 mm screw.
-
-
-
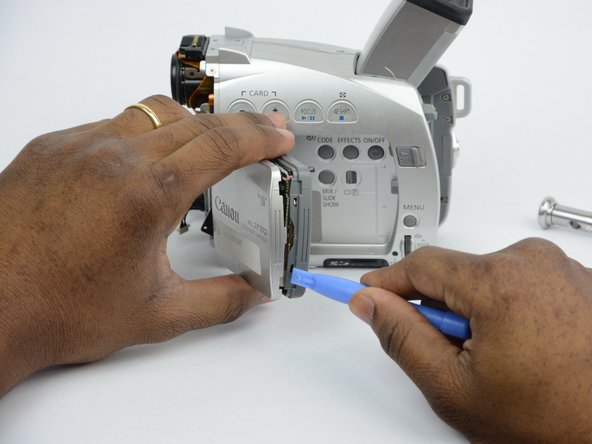
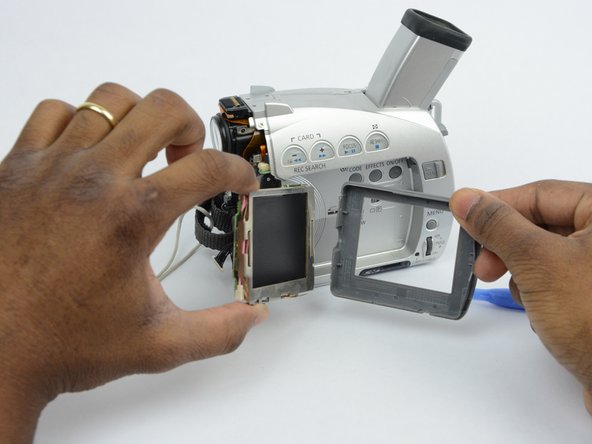
Now that all the screws are removed, use the plastic opening tool to gently pry the LCD monitor case open.
-
-
crwdns2935267:0crwdne2935267:0Tweezers$4.99
-
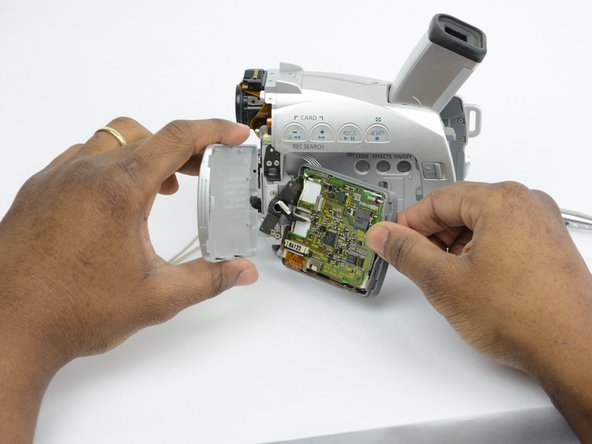
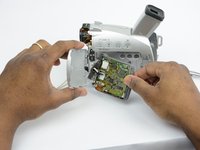
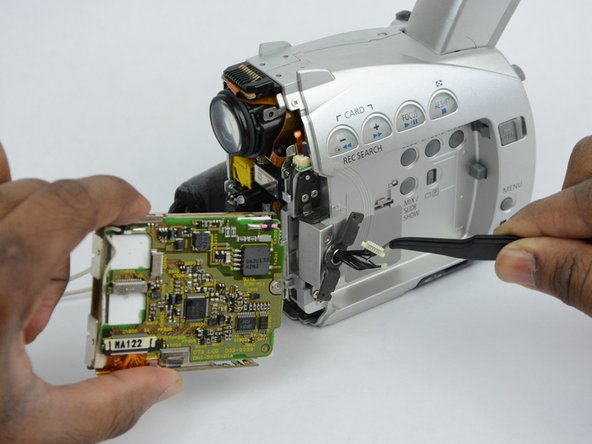
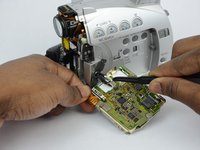
Use tweezers to remove the wire connections that hold the LCD screen in place.
-
Remove the entire LCD screen.
-
To reassemble your device, follow these instructions in reverse order. Take your e-waste to an R2 or e-Stewards certified recycler.
To reassemble your device, follow these instructions in reverse order. Take your e-waste to an R2 or e-Stewards certified recycler.
crwdns2935221:0crwdne2935221:0
crwdns2935227:0crwdne2935227:0


