crwdns2915892:0crwdne2915892:0
The Cannon PowerShot ELPH 310 HS may experience problems with the lens. The lens may be stuck inside the camera, or will not retract back into the camera. This guide is to assist in the replacement of the lens.
crwdns2942213:0crwdne2942213:0
-
-
Use the Phillips #000 screwdriver from the iFixit tool kit to unscrew the two image stabilizer panel’s 2 mm Phillips head screws.
-
Using your hands, remove the image stabilizer panel.
-
-
-
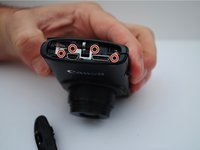
Unscrew the two 4 mm Phillips head screws from the bottom side of the camera.
-
-
-
Using your hand, open the battery portal located on the bottom left of the camera. The screw is in the bottom left of the battery portal.
-
Unscrew the hidden 4mm Phillips head screw inside the battery portal.
-
-
-
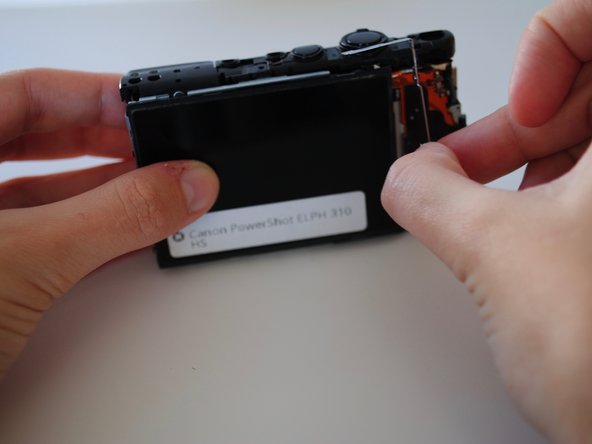
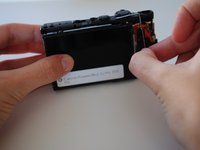
Remove the HDMI side panel with your hands.
-
Unscrew the four 4 mm Phillips head screws from the inside of the camera.
-
-
-
The back side of the camera should pop off or be removed by hand.
-
-
-
-
Unscrew the one 3 mm Phillips head screw on the top of the camera.
-
-
-
Manually remove the front panel from the camera.
-
-
-
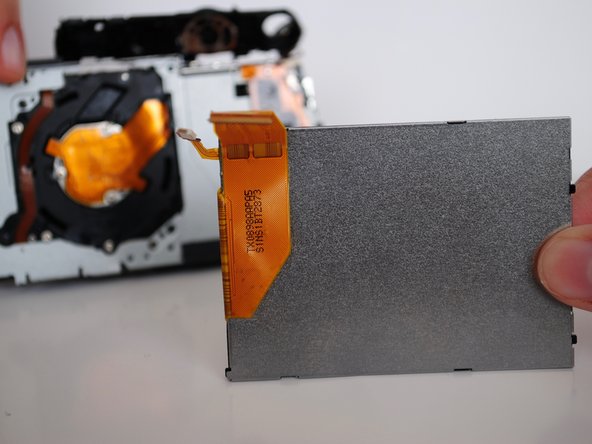
Using your hands, remove the metal piece (surrounding the right side of the screen) from the right side of the camera.
-
-
-
Using your hands, lift up the screen.
-
-
-
Manually lift the shutter button plate and remove the white ZIF connector, which is the white clasp underneath.
-
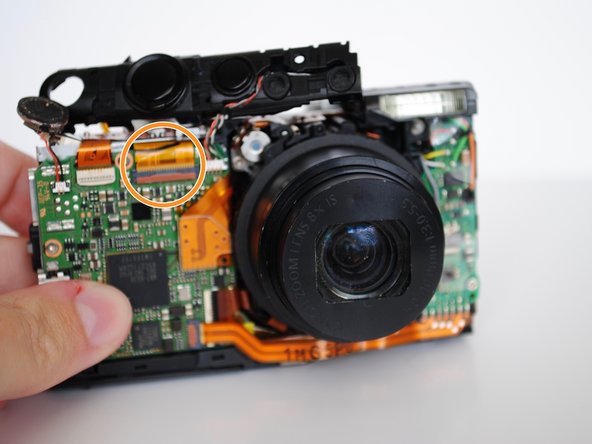
On the front of the camera, using your fingers, undo the orange ribbon from the gray clasp and pull the ribbon through the shutter deck.
Do NOT follow these photos for removing the “white ZIF connector”; the white part stays on the camera and the film slips out easily. You shouldn’t have to pry or pull anything.
-
-
-
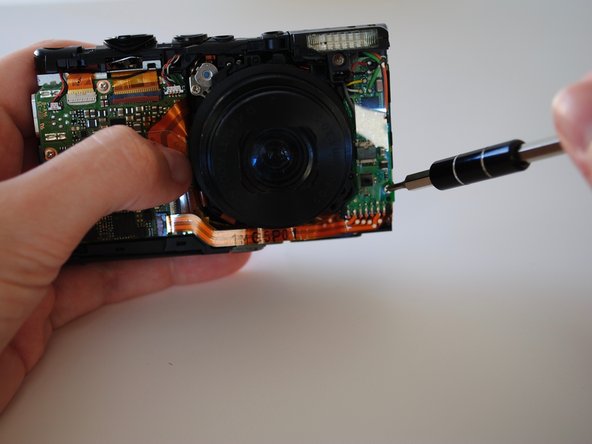
On the front motherboard, unscrew the one bottom right 3 mm Phillips head screw.
-
-
-
Unscrew the four 3 mm Phillips head screws attached to the metal casing on the back of the camera, behind where the LCD screen once was.
-
-
-
Using your hands, carefully lift the flash housing up and remove it from the area.
-
-
-
Using a plastic spudger, remove the bottom front ZIF connector.
-
-
-
Using your hands, carefully remove the center ribbon.
-
Manually remove the lens.
-


To reassemble your device, follow these instructions in reverse order.
To reassemble your device, follow these instructions in reverse order.
crwdns2935221:0crwdne2935221:0
crwdns2935229:04crwdne2935229:0
crwdns2915084:0crwdne2915084:0

University of Alabama, Team 1-4, Sydow campbell Fall 2015 crwdns2935289:0University of Alabama, Team 1-4, Sydow campbell Fall 2015crwdne2935289:0
UA-SYDOW CAMPBELL-F15S1G4
crwdns2931471:04crwdne2931471:0
crwdns2935297:04crwdne2935297:0
crwdns2947410:01crwdne2947410:0
excellent procedure. nice pix too. hint about those fragile flex cables is important, they are thinner than a human hair!