crwdns2915892:0crwdne2915892:0
The following steps will help you replace the flash assembly for the Canon PowerShot A3400 model. You would want to do this if the camera's flash is no longer functioning and you have exhausted your troubleshooting to the point where the source of the issue lies with the flash assembly.
crwdns2942213:0crwdne2942213:0
-
-
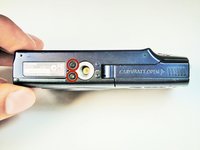
Place thumb on area right next to where it says open and slide to the right to open.
-
-
-
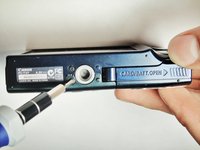
Remove the battery by pushing the orange object outwards; the battery will spring up and out.
-
-
-
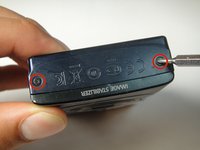
Remove the two 5.00 mm screws in the bottom of the casing with a Philips #000 screwdriver
-
-
-
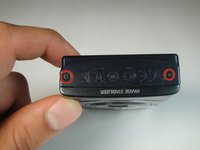
Place the camera on to the side that has the image stabilizer label.
-
Remove the 5.00 mm screws that are on this side using the screwdriver.
-
-
-
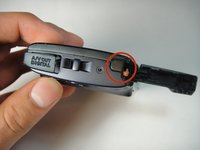
Place camera on to the side with the A/V Out Digital Cover facing up.
-
Remove this visible 5.00 mm screw.
-
Pull the A/V Out Digital cover back to uncover the next step.
-
-
-
-
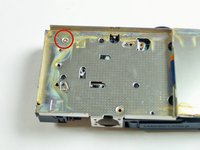
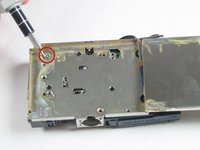
Remove the 5.00 mm screw from behind the cover.
-
-
-
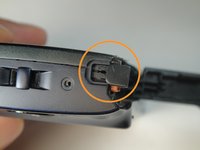
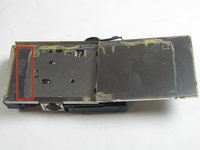
Turn the camera onto the side with the A/V out Digital cover.
-
Use your finger to pull this tab to the right.
-
-
-
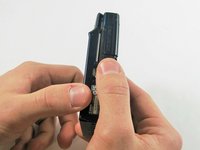
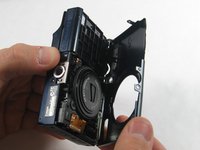
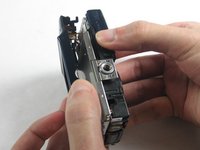
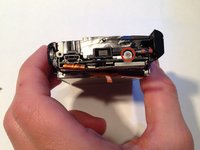
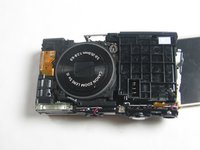
Remove the lens side by using your fingers or a spudger to pry it gently open.
-
-
-
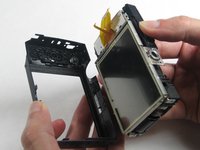
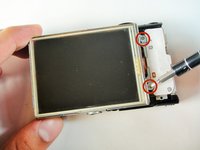
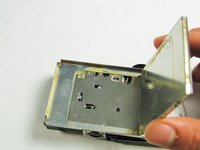
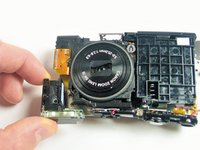
Using your fingers, pull the screen side gently off.
-
-
-
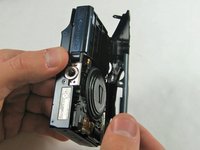
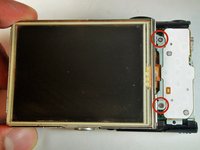
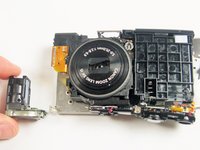
Remove the screen by pulling at the two points as shown.
-
-
-
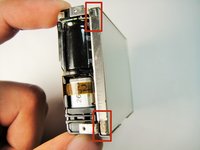
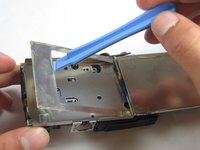
Remove the metal plate with the plastic opening tool.
-
-
-
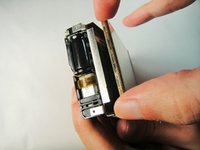
Gently pull the flash assembly away.
-


To reassemble your device, follow these instructions in reverse order.
To reassemble your device, follow these instructions in reverse order.
crwdns2935221:0crwdne2935221:0
crwdns2935229:02crwdne2935229:0
crwdns2947410:01crwdne2947410:0
easy to take off but waste of putting it back together..