crwdns2915892:0crwdne2915892:0
Lithium-ion batteries inevitably wear over time, and the battery in the BolaButty X-GO speaker is no different. If you've noticed that your speaker is losing its ability to store and deliver power efficiently, it's probably time to consider replacing the battery.
Before replacing the battery make sure your charger isn't the issue. Try using a different charger to confirm that the battery won't hold a charge. Also be sure to check the charging port to make sure it isn't having issues connecting to the charger. The battery will be the most likely issue, but it is still a good idea to make sure nothing is bent, warped, or out of place.
If your battery appears swollen, follow this guide.
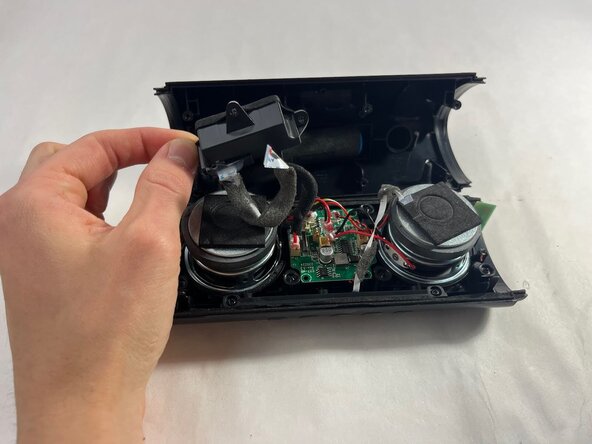
If you are replacing any other components, it's a good idea to disconnect the battery before accessing them for safety reasons. Once you open the device, you will also discover that the device separates into two halves, with the wire from the battery connecting the two.
The battery is secured underneath the charging port, so you will have to remove that first.
For optimal performance, after completing this guide, calibrate your newly installed battery. Take your e-waste to an R2 or e-Stewards certified recycler.
crwdns2942213:0crwdne2942213:0
-
-
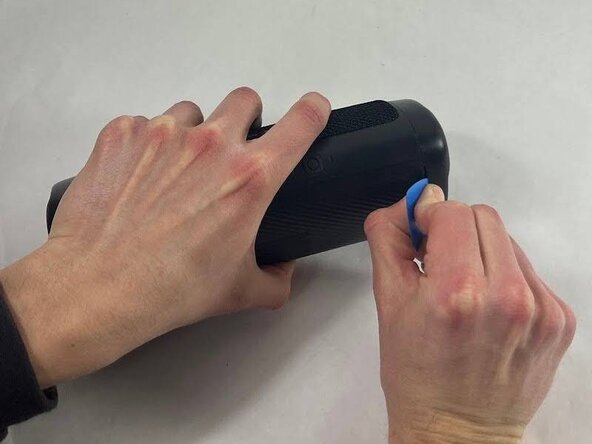
Take an opening tool or pick and wedge it into the groove between the endcap and the main casing. Wiggle it back and forth.
-
Strike the speaker endcap firmly against a solid surface to pop the end caps off.
-
-
-
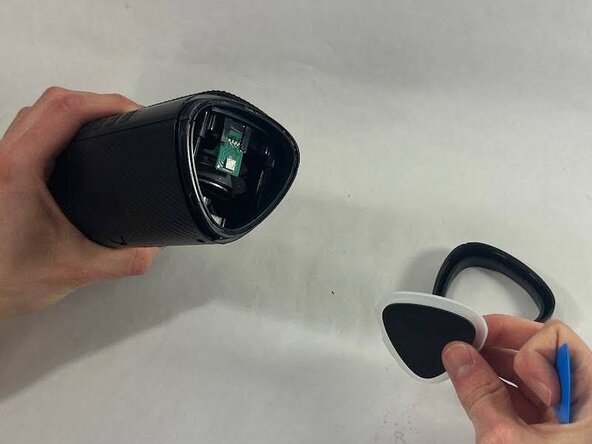
Wedge an opening tool or a pick under the speaker cover and work it back and forth to loosen it. Repeat for all four sides.
-
Remove the speaker cover.
-
-
-
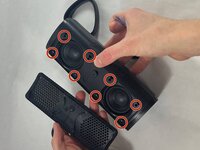
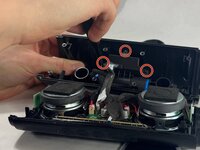
Remove the eight 12 mm screws securing the driver housing using a Phillips #0 screwdriver.
-
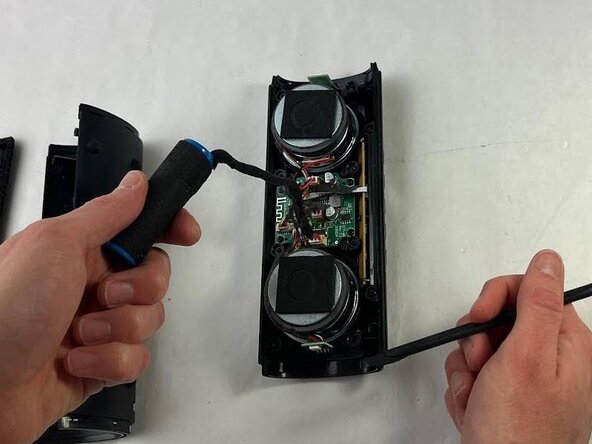
Gently pull apart the two halves of the speaker.
-
-
-
-
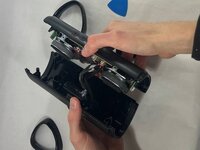
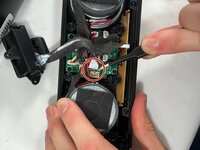
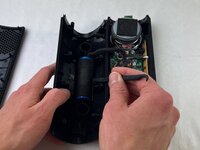
Use a Phillips #0 screwdriver to remove the three 10 mm screws securing the charging housing.
-
Separate the charging port from the battery.
-
-
-
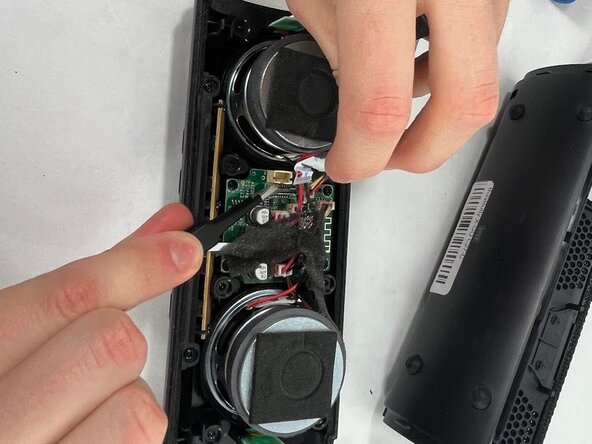
Use a pair of tweezers to lift the black ZIF locking flap securing the ribbon attached to the charging port.
-
While pulling up on the latch, remove the ribbon.
-
-
-
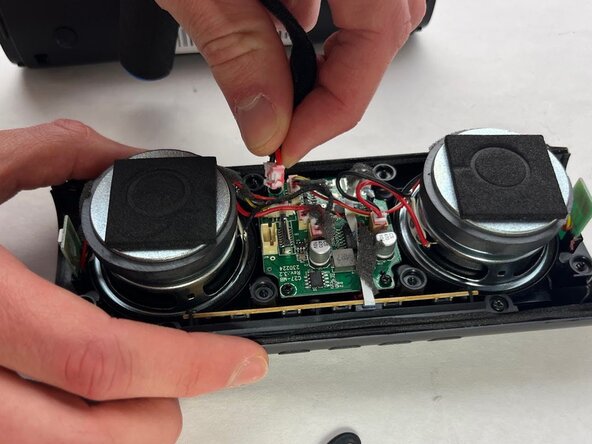
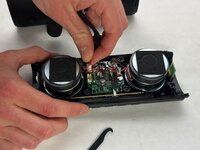
Disconnect the battery connector from its motherboard port.
-
-
-
Use a spudger to lift the battery from the casing.
-


To reassemble your device, follow the above steps in reverse order.
For optimal performance, after completing this guide, calibrate your newly installed battery.
Take your e-waste to an R2 or e-Stewards certified recycler.
Repair didn’t go as planned? Try some basic troubleshooting or ask our Answers community for help.
crwdns2935221:0crwdne2935221:0
crwdns2935227:0crwdne2935227:0

crwdns2915084:0crwdne2915084:0

UMass Dartmouth, Team 3-5, Botvin Spring 2025 crwdns2935289:0UMass Dartmouth, Team 3-5, Botvin Spring 2025crwdne2935289:0
UMASSD-BOTVIN-S25S3G5
crwdns2931471:03crwdne2931471:0
crwdns2935297:05crwdne2935297:0