crwdns2915892:0crwdne2915892:0
This guide contains the steps needed to replace the BlackBerrySQW100-1 camera if it no longer takes pictures. Camera malfunctions can be caused by water damage, fall damage, and overheating. BEWARE the dangers of puncturing a battery as it can explode, cause a fire, and cause other harmful hazards!
crwdns2942213:0crwdne2942213:0
-
-
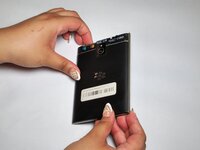
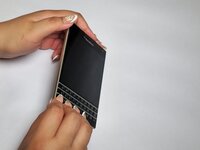
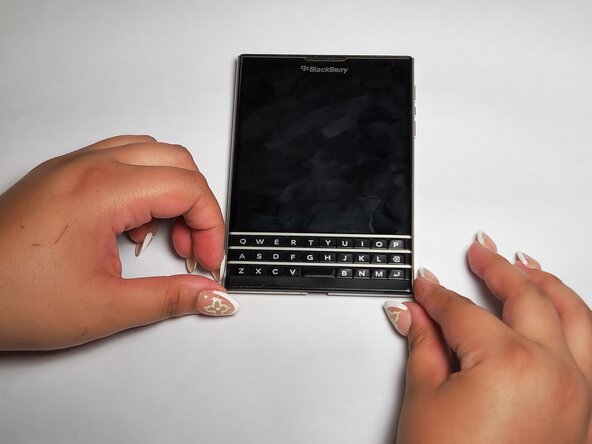
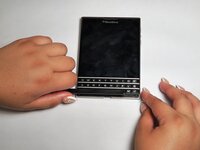
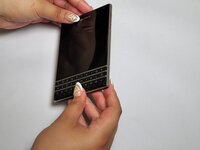
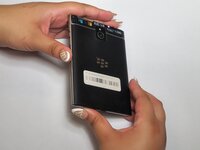
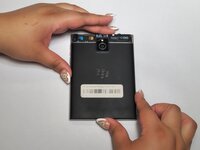
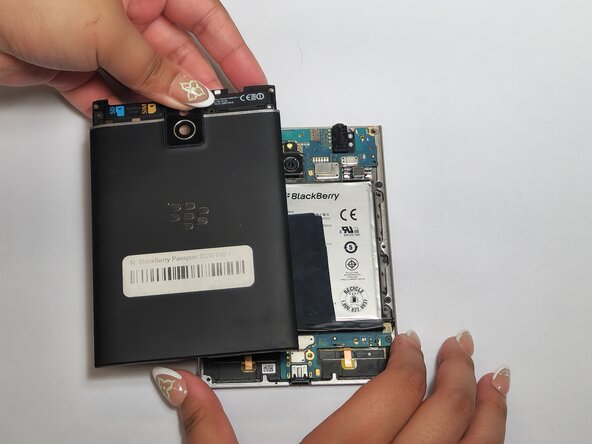
Flip the phone on its front.
-
-
-
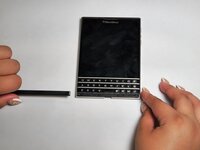
Remove the top SIM/microSD card cover by the notch.
-
-
-
Remove the top two 7 mm screws using a T4 Torx screwdriver.
-
Remove the bottom three 5 mm screws using a T4 Torx screwdriver.
-
-
-
Remove the cover located under the keyboard.
-
-
-
-
Remove the two 6 mm screws using the T4 Torx screwdriver.
-
-
-
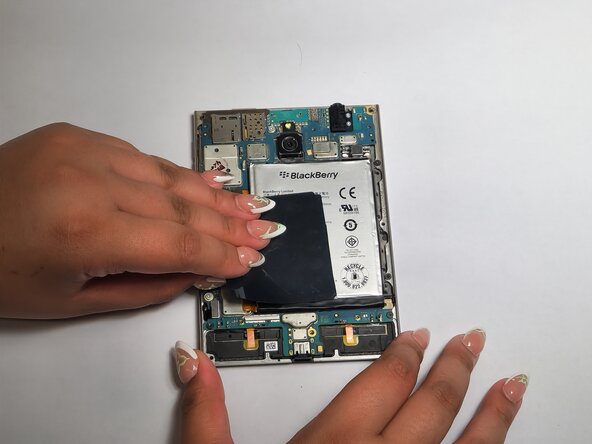
Remove the black tape from the battery and the motherboard.
-
-
-
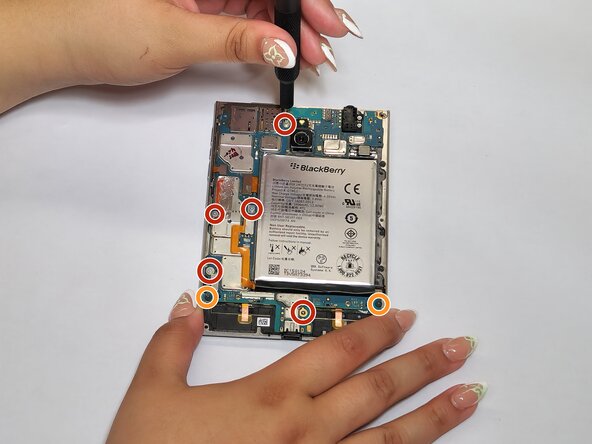
Remove the five 4 mm screws using a T4 Torx screwdriver.
-
Remove the two 3 mm screws using a T4 Torx screwdriver.
-
-
-
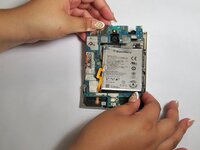
Disconnect the left four connectors.
-
-
-
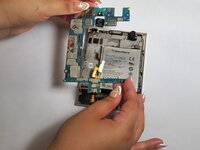
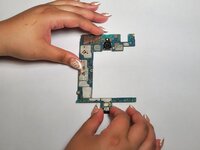
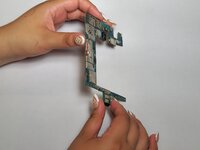
Flip the motherboard so the back of the board faces upwards.
-
-
-
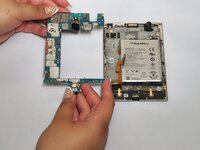
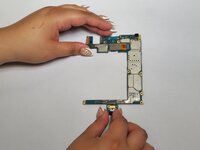
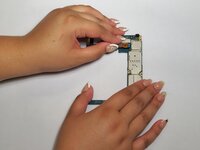
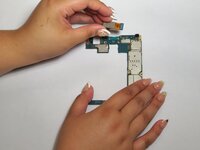
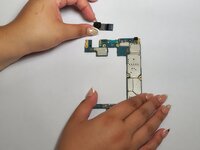
Remove the connection to the motherboard and remove the camera.
-
To reassemble your device, follow these instructions in reverse order.
To reassemble your device, follow these instructions in reverse order.


