crwdns2915892:0crwdne2915892:0
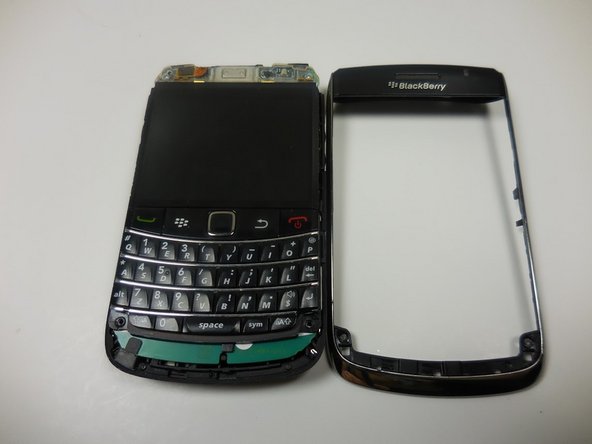
This guide will help you replace the screen of your BlackBerry and extend the device's lifespan, reducing e-waste. A working screen is one of the most important parts of an electronic device. Replacing screens can be an involved process, but following these steps will make the job easier.
crwdns2942213:0crwdne2942213:0
-
-
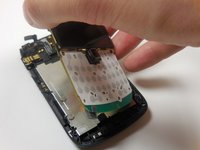
Remove the battery by prying the bottom of the battery upward.
-
Once the battery is angled up, pull it away from the top of the device.
 crwdns2952109:0crwdne2952109:0
-
-
-
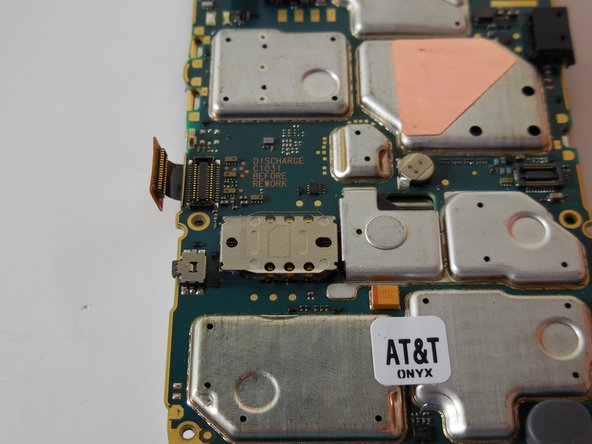
Slide the SIM card from underneath the holding bracket upward toward the battery connector pins.
-
-
-
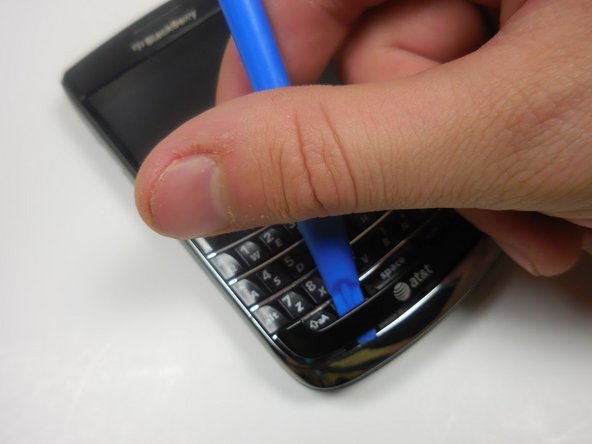
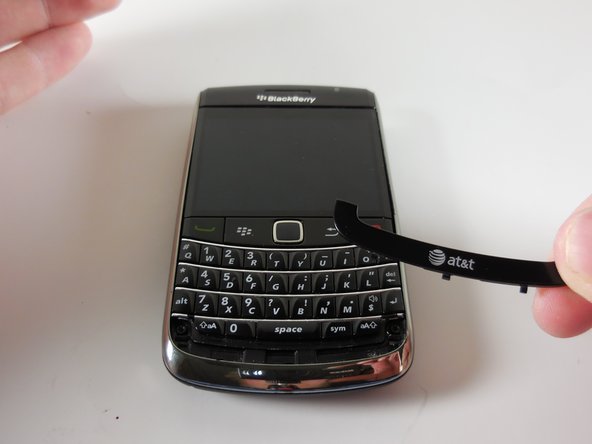
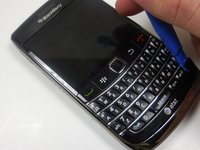
Pry off the AT&T logo panel with the plastic opening tool.
-
-
-
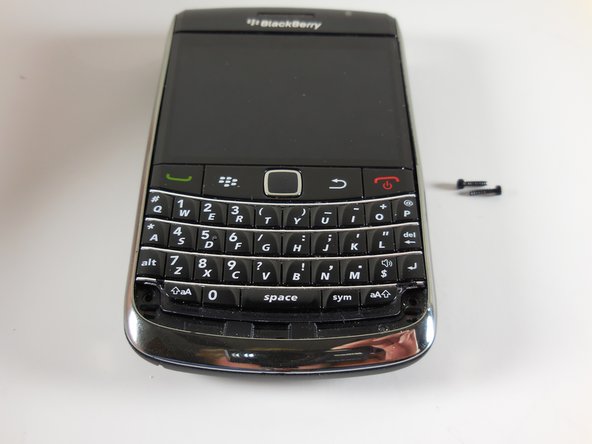
Use your T5 Torx screwdriver to remove the two black 5.57mm Torx head screws underneath the keyboard.
-
-
-
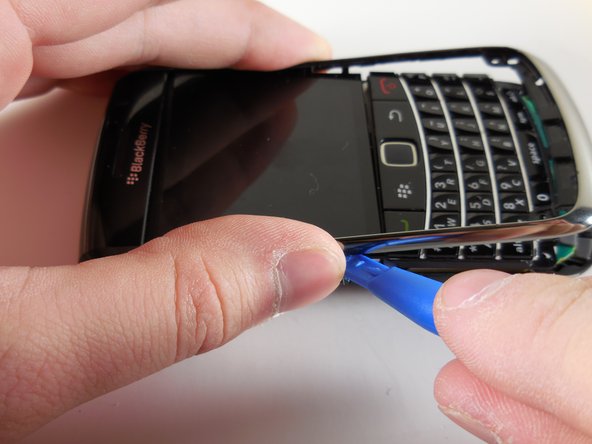
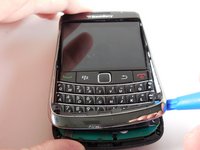
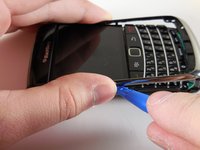
Use the plastic opening tool to remove the frame of your device.
-
Once the case is loosened from the device, slide the case away from the top of the phone.
-
-
-
-
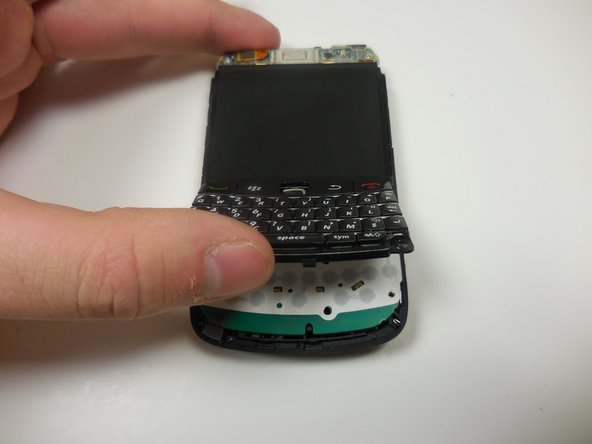
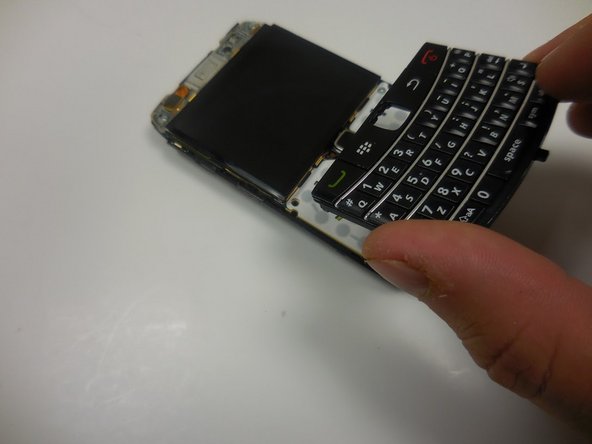
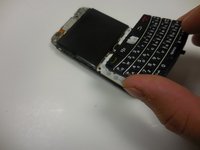
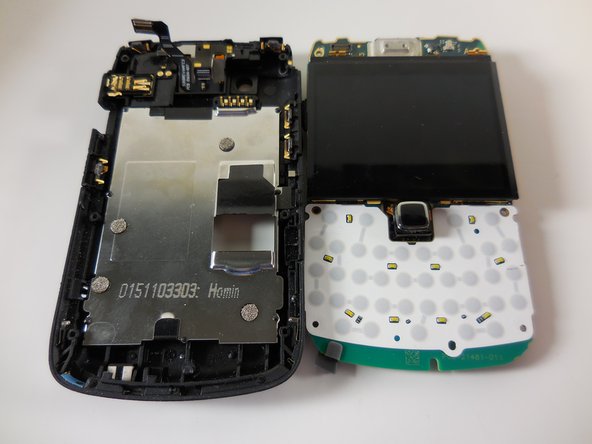
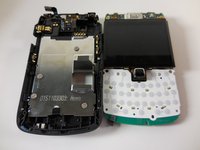
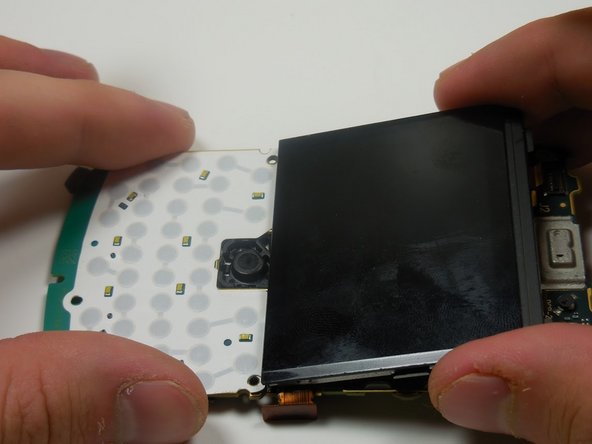
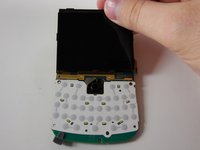
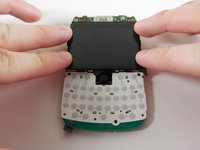
Gently lift the bottom of the keyboard upward.
-
Pull the keyboard away from the bottom of the LCD display and lift upward.
-
-
-
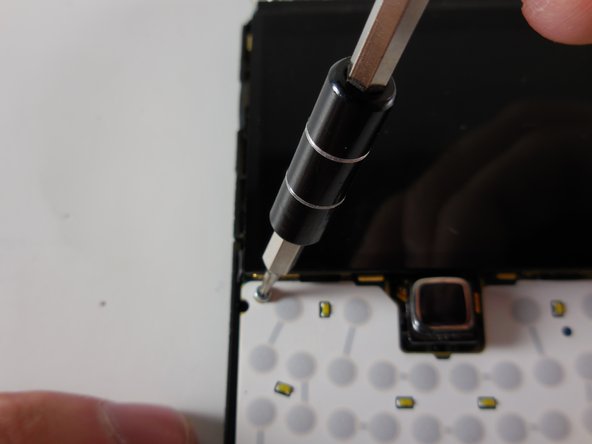
Remove the two Torx head 4.13mm steel screws with your T5 Torx screwdriver.
-
-
-
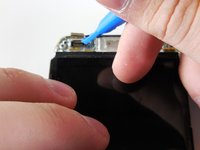
Gently pry up the ribbon connector at the top of the phone with a plastic opening tool.
-
-
-
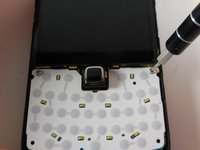
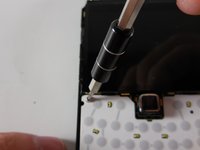
Remove the top two Torx head 4.13mm steel screws with your T5 Torx screwdriver.
-
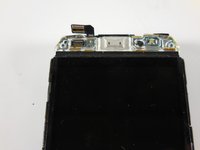
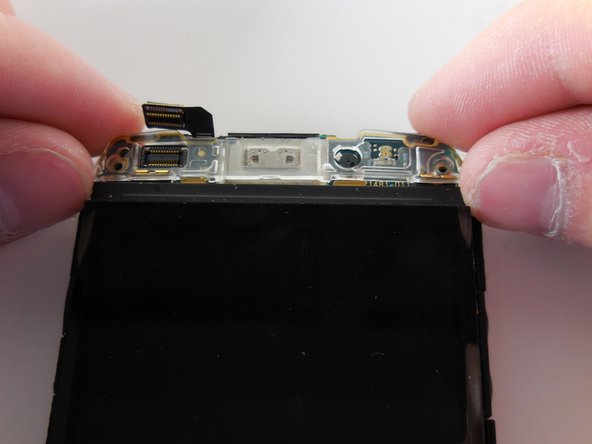
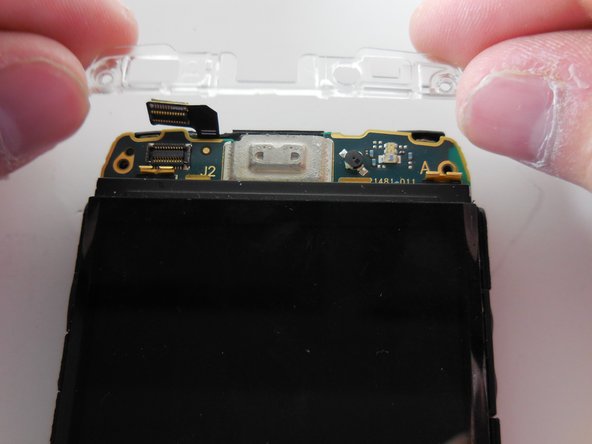
Lift the clear plastic cover directly upward.
-
-
-
Grip the motherboard by the screen
-
Lift the board away from the base of the housing and vertically up.
-
-
-
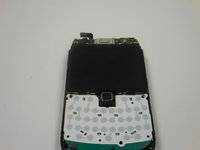
Flip the motherboard over so that the LCD display is flush with the surface of your work space.
-
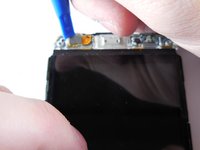
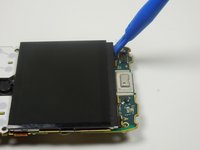
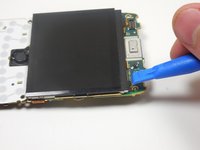
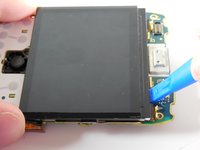
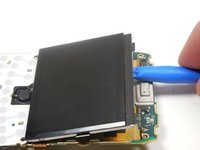
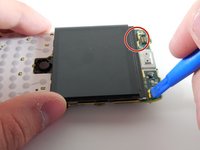
Use a plastic opening tool to gently pry up the ribbon connector located on the left hand side of the motherboard.
-
-
-
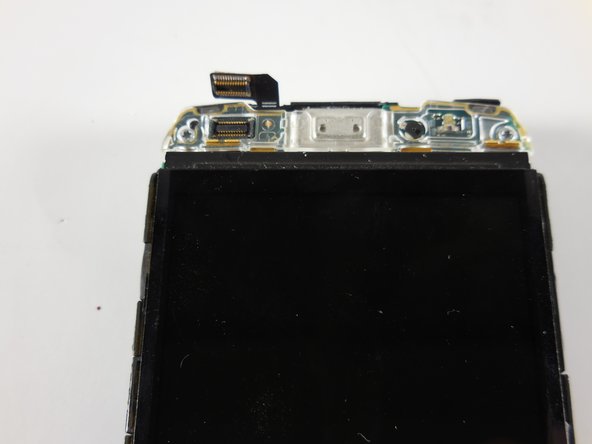
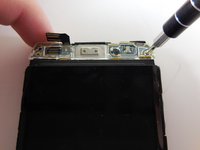
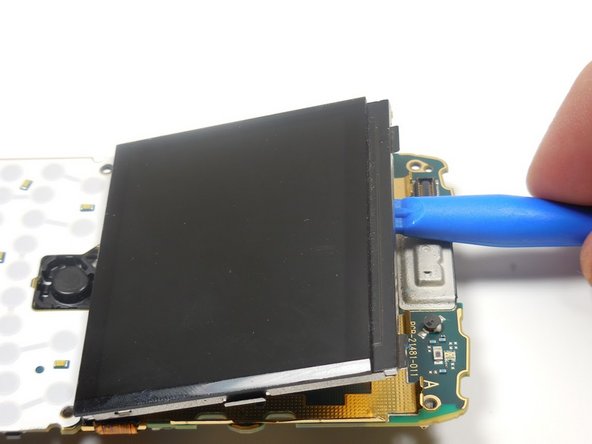
Use a plastic opening tool to gently pry back the two golden metal brackets at the top of the display.
-
-
-
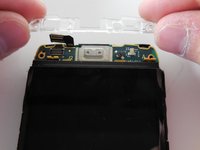
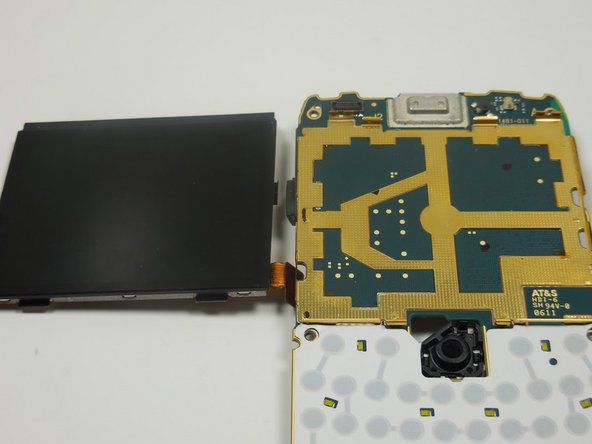
Use a plastic opening tool to pry the LCD display off the board.
-
Removing the trackpad prior to this repair is optional. If you wish to do so, follow this guide for removal instructions.
-
-
-
Insert the bottom prongs of the new LCD display into the golden slots above the trackpad resting panel.
-
Firmly press the new display into place.
-
-
-
Use a plastic opening tool to bend the golden brackets back into place
-
Press the ribbon connector into place.
-


To reassemble your device, follow these instructions in reverse order.
crwdns2935221:0crwdne2935221:0
crwdns2935229:08crwdne2935229:0
crwdns2935287:0crwdne2935287:0

Colorado Springs, Team 9-3, Panko Spring 2015 crwdns2935289:0Colorado Springs, Team 9-3, Panko Spring 2015crwdne2935289:0
UCCS-PANKO-S15S9G3
crwdns2931471:02crwdne2931471:0
crwdns2935297:07crwdne2935297:0