crwdns2915892:0crwdne2915892:0
This guide is the detailed process of how to remove broken or damaged joysticks on the Benoncool Gamepad for Nintendo Switch.
The Benoncool Gamepad has two joysticks that can be vulnerable to damage both outside and internally. The most common issues that happen to the joystick can range from joystick will not respond, joystick rubber coating has been damaged affecting gameplay, or joystick will not extend after being pressed. A broken or malfunctioning joystick is rather easy to identify when not getting the correct response or no response at all when navigating in most games. Using this guide to replace your joystick will most likely fix your problem.
crwdns2942213:0crwdne2942213:0
-
-
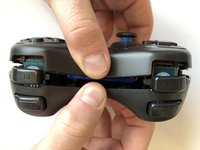
Use the plastic opening tool to remove the blue plastic grips from the sides of the controller.
-
-
-
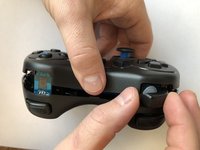
Use the Phillips #0 screwdriver to remove the seven 5mm screws from the back of the controller.
-
-
-
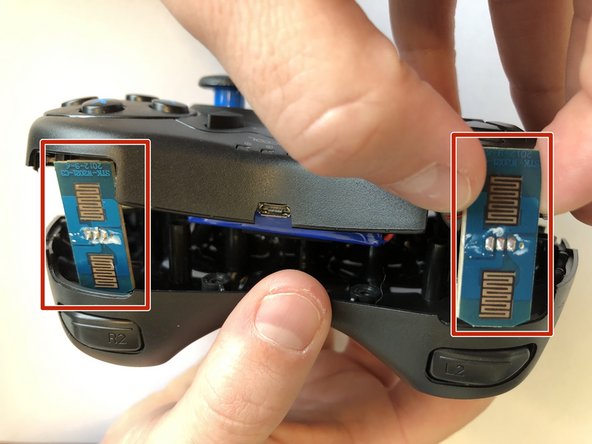
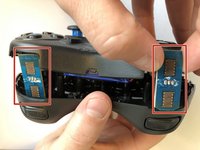
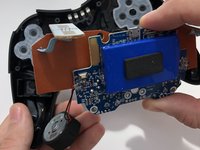
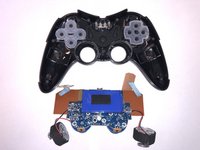
Gently separate the two halves of the controller.
-
Be sure to slide the small circuit boards out of the covers to be able to separate the two halves
It should read, “As the two covers come apart, the L1 and R1 button will fall free from the controller. “
-
-
-
-
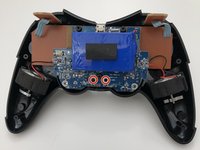
Use the Phillips #0 screwdriver to remove the two 3.5mm screws holding the circuit board in place.
-
-
-
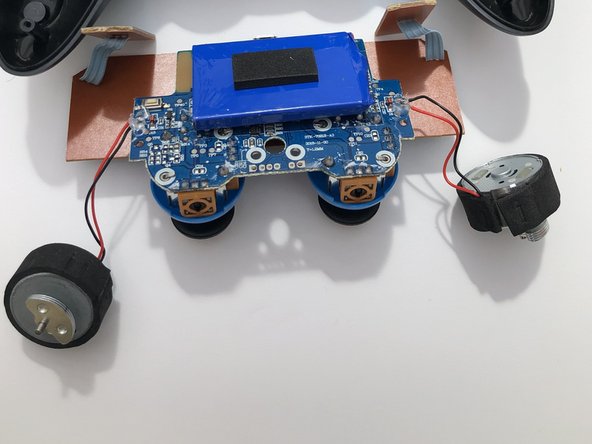
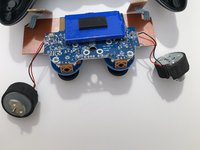
Lift the motherboard from the back case with the vibration motors and button boards attached.
It should read, “Once the circuit board is removed, you will more easily be able to repair or replace other components.”
-
-
-
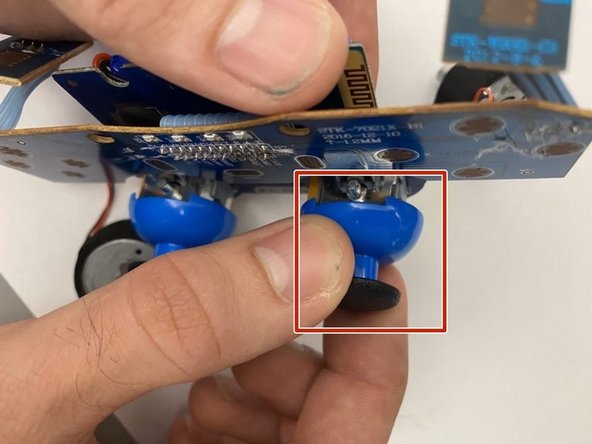
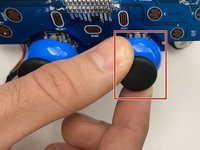
Remove the joystick cover from the joystick actuator by firmly pulling the cover away from the actuator.
I had a really bad drift that suddenly began last night on a road trip. I went as far as this step, and plucked out tons of dog hairs, and wiped out lots of dust with alcohol. I'm out of compressed air, so I moved the joystick around and wiped inside the housing with an alcohol wipe and needlepoint tweezers as best as I could. It fixed the drift! Thank you so much!
-
-
-
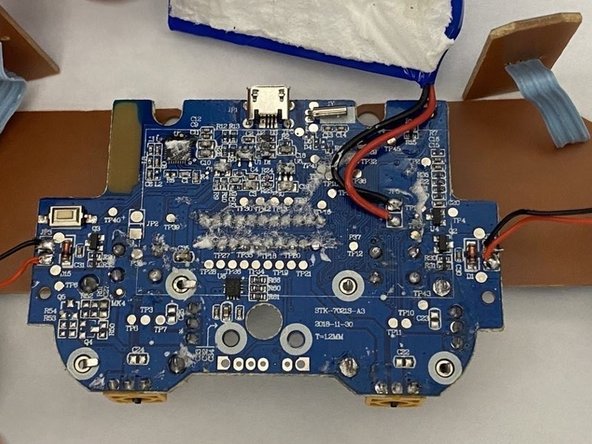
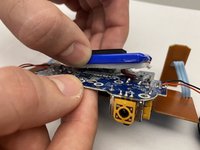
Gently separate the battery pack from the back of the motherboard, leaving it connected to the board through its lead cables.
-
-
-
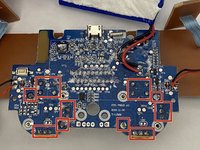
Bend each of the retaining tabs located in the the corners of each joystick actuator straight so that they can be removed.
Should they be careful not to bend them too far or to break them off? Maybe add a note?
-
-
-
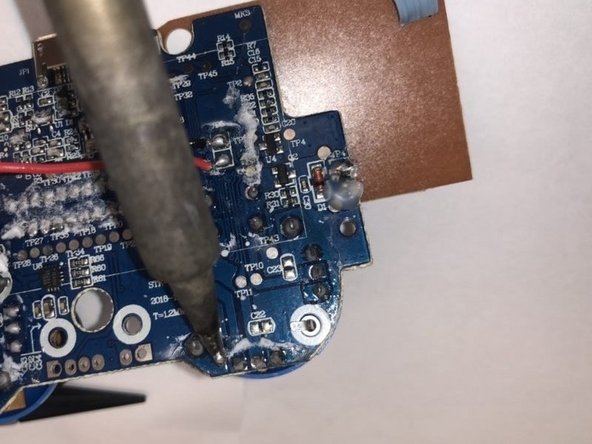
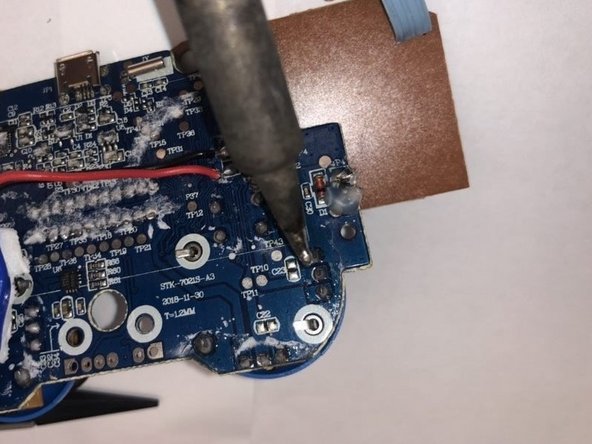
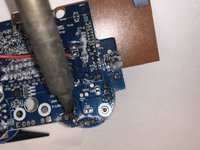
Desolder the 12 soldering points connecting the problematic actuator(s) to the motherboard.
-
Remove the actuator from the board.
-


To reassemble your device, follow these instructions in reverse order.
To reassemble your device, follow these instructions in reverse order.
crwdns2915084:0crwdne2915084:0

Embry-Riddle Aeronautical University, Team S17-G9, Lamothe Spring 2020 crwdns2935289:0Embry-Riddle Aeronautical University, Team S17-G9, Lamothe Spring 2020crwdne2935289:0
ERAU-LAMOTHE-S20S17G9
crwdns2931471:04crwdne2931471:0
crwdns2935297:012crwdne2935297:0
crwdns2947410:01crwdne2947410:0
Me who used my no longer existing nails for the grips lol
This sentence in intro is awkward and should be revised: “When the battery is no longer able to be recharged this does not mean that the the controller itself is bad, it simply means that a new, fresh battery is needed. “
John Lamothe - crwdns2934203:0crwdne2934203:0