crwdns2915892:0crwdne2915892:0
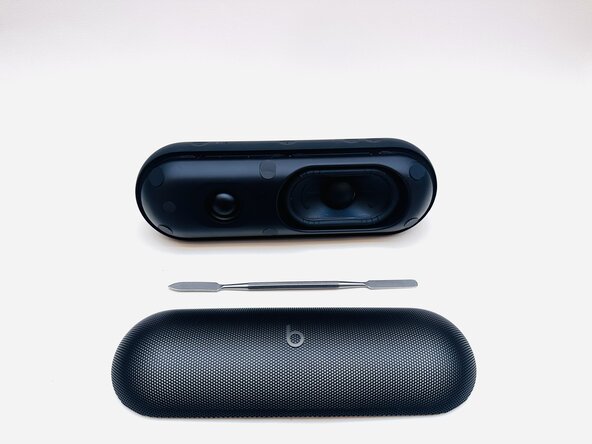
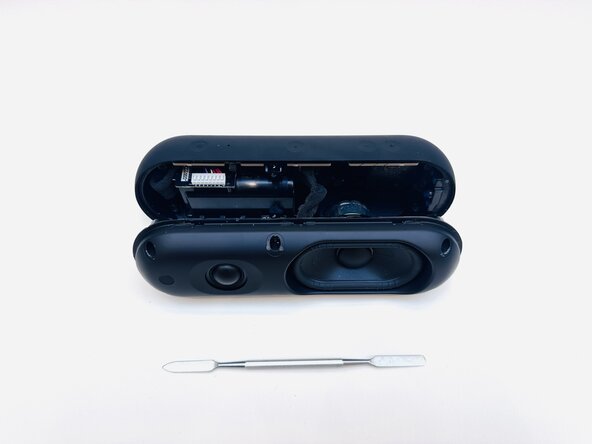
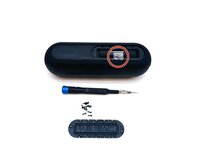
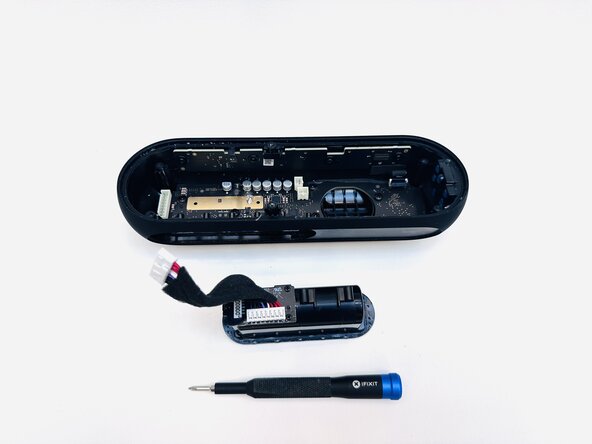
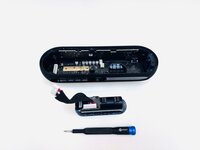
This guide details how to replace the motherboard of the 2024 Beats Pill. A motherboard replacement might be necessary after unsuccessful troubleshooting of connectivity issues or a non-functioning speaker.
crwdns2942213:0crwdne2942213:0
-
-
With the Beats Pill sitting on a flat surface, insert a spudger into the seam between the chassis and grille.
-
Slide the spudger around the entire perimeter of the grille to sever the adhesive securing the grille.
-
Remove the grille.
-
-
-
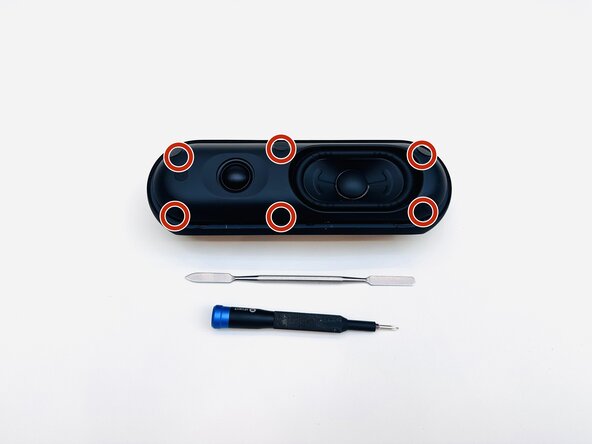
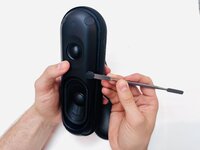
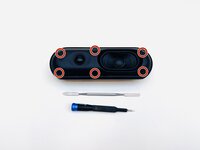
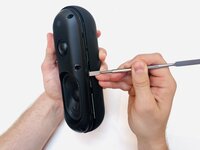
Use a spudger to remove the six stickers on the face of the driver assembly.
-
-
-
Use a Phillips #1 screwdriver to remove the six 14.3 mm screws that secure the driver assembly and speaker body together.
-
-
-
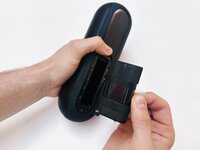
Insert a spudger into the seam between the driver assembly and speaker body.
-
Gently slide the spudger around the perimeter while prying to separate the driver assembly from the speaker body.
-
-
-
Disconnect the two subwoofer connections from their motherboard sockets.
-
-
-
-
Use a Phillips #1 screwdriver to remove the four 12.4 mm screws securing the subwoofer.
-
Use a spudger to lift the subwoofer up and off of the driver assembly.
-
During reassembly, apply an adhesive to the new subwoofer before reinstallation.
-
-
-
Use a hairdryer to lightly heat the bottom foot of the speaker.
-
Insert a spudger into the seam between the bottom foot and speaker body.
-
Pry around the perimeter of the foot until it fully releases.
-
-
-
Remove the twelve 8.6 mm T5 Torx screws that secure the battery cover.
-
-
-
To remove the battery, pull on the tape material wrapped around the middle of it.
-
-
-
Remove the two T5 Torx screws that secure the battery compartment.
-
-
-
Use a spudger to dislodge the battery compartment from its housing.
-
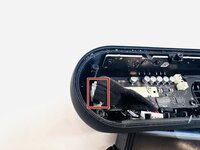
Before complete removal, disconnect the battery compartment motherboard connector.
-
-
-
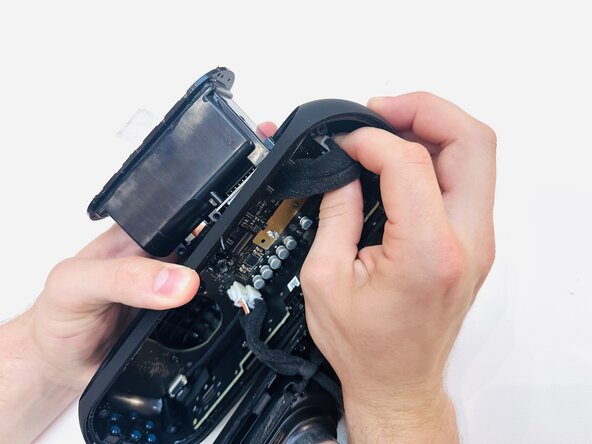
Lift the black ZIF locking tab in the top-right corner of the motherboard.
-
Disconnect the ribbon cable.
-
-
-
Remove the seven 12.4 mm Phillips screws securing the motherboard.
-
-
-
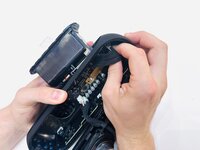
Gently lift the motherboard perpendicular to the housing, with care not to strain the connected cable.
-
Disengage the ZIF locking flap and disconnect the ribbon cable.
-


To reassemble your device, follow the above steps in reverse order.
Take your e-waste to an R2 or e-Stewards certified recycler.
Repair didn’t go as planned? Try some basic troubleshooting or ask our Answers community for help.
To reassemble your device, follow the above steps in reverse order.
Take your e-waste to an R2 or e-Stewards certified recycler.
Repair didn’t go as planned? Try some basic troubleshooting or ask our Answers community for help.
crwdns2915084:0crwdne2915084:0

Western Carolina University, Team 1-6, Virtue Spring 2025 crwdns2935289:0Western Carolina University, Team 1-6, Virtue Spring 2025crwdne2935289:0
WCU-VIRTUE-S25S1G6
crwdns2931471:04crwdne2931471:0
crwdns2935297:05crwdne2935297:0