crwdns2915892:0crwdne2915892:0
If the speaker (driver) of your Audio-Technica ATH-M40x headphones is damaged and is not producing sound or the sound is distorted and you are unable to fix it, follow this guide to replace the speaker driver.
Before you replace the driver, refer to the troubleshooting pages Audio-Technica ATH-M40x Headphone No Sound from One Ear Cup and Audio-Technica ATH-M40x Distorted Audio Output for tips on resolving the issue.
Make sure the headphones are unplugged before you begin the repair.
This repair requires soldering. If you are unfamiliar or inexperienced with soldering, refer to this guide on How to Solder and Desolder Connections for instructions and safety information. It's important to solder in a well-ventilated room and to use safety glasses to protect your eyes. Soldering irons are very hot and can burn.
crwdns2942213:0crwdne2942213:0
-
-
Grip the ear cup, gently twist it, and pull it off.
-
Use a Phillips #0 screwdriver to remove the four 3 mm screws securing the driver.
-
-
-
-
Use a spudger to pry the driver from the headphones but don't pull it or yank it off as it is connected by wire cables and could rip those out.
-
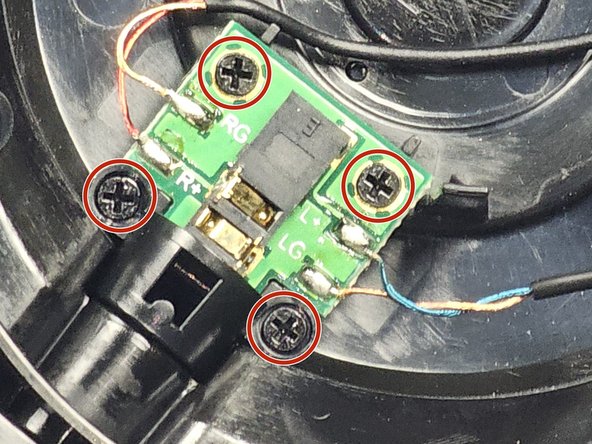
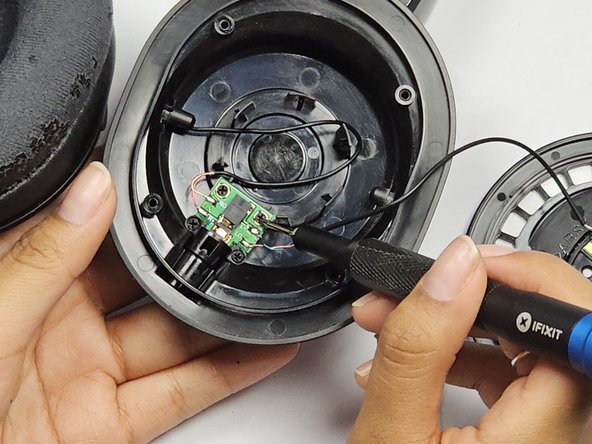
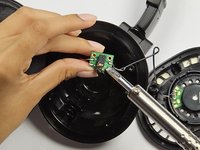
Use a Phillips #0 screwdriver to remove the four 2 mm screws from the small circuit board in the housing.
-
-
-
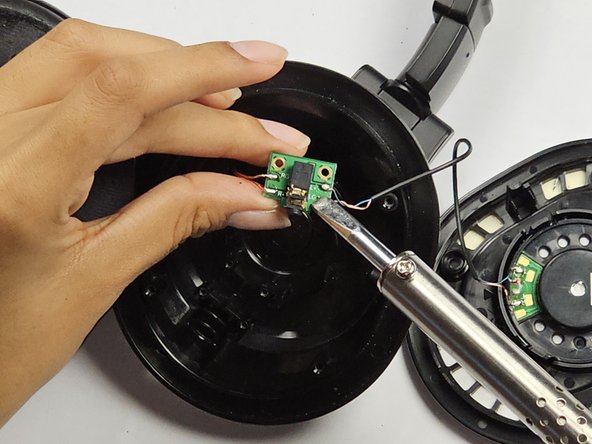
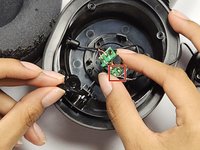
Desolder the two connections labeled L+ and LG to disconnect the left driver from the headphones.
-
Although this guide demonstrates how to replace the left driver, the right speaker wires are soldered onto this board also. When replacing the right driver, desolder the connectors labeled RG and R+.
-


To reassemble your device, follow these instructions in reverse order.
To reassemble your device, follow these instructions in reverse order.
crwdns2915084:0crwdne2915084:0

CSU Los Angeles, Team 5-1, Kershman Fall 2024 crwdns2935289:0CSU Los Angeles, Team 5-1, Kershman Fall 2024crwdne2935289:0
CSULA-KERSHMAN-F24S5G1
crwdns2931471:06crwdne2931471:0
crwdns2935303:01crwdne2935303:0