crwdns2915892:0crwdne2915892:0
This guide shows how to completely take out the motherboard for a total replacement.
crwdns2942213:0crwdne2942213:0
-
-
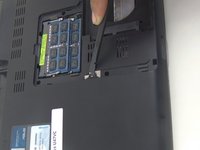
Remove the hard drive cover.
-
Unscrew one 8mm Phillips #00 screw.
-
Using the black spudger, insert its flat end under the hard drive's covering, working around to pry it off.
-
-
-
Remove the hard drive.
-
Unscrew the four 3mm Phillips #00 screws.
-
Pull the hard drive's black tab away from the laptop to free it.
-
-
-
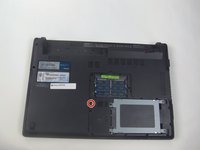
Remove 9 screws from bottom of notebook using PH00 bit + 1 under hard drive bay.
-
Remove 3 screws from bottom of notebook using PH00 bit. 1 is same screw spec as the other 9, and 2 are shorter.
-
-
-
-
Using the black spudger, insert its flat end between the crevice where the color changes from grey to black.
-
Carefully ease the spudger's end along the crevice, going around the entire frame.
You need to remove a total of 13 screws from the bottom of the laptop BEFORE prying the keyboard section off the laptop. See pics https://imgur.com/a/h5d1zJ1
-
-
-
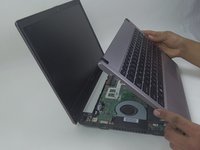
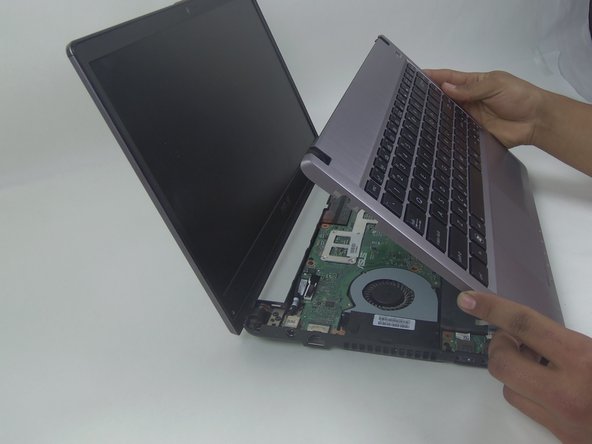
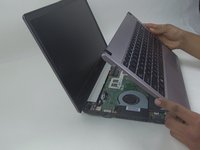
Lift the keyboard from the front where it is closest to the screen.
-
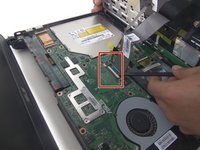
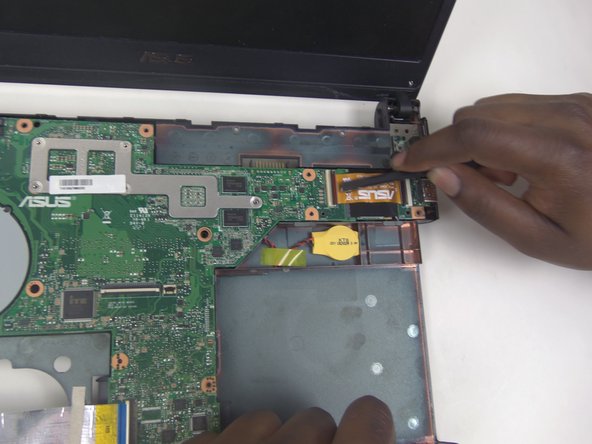
Disconnect the large and small ZIF connectors attached to the motherboard by flipping the light-colored part of the switch.
-
-
-
Remove the third and last ZIF connector on the motherboard by flipping up the dark-colored part of the switch.
-
Now, the component should come completely free.
-
-
-
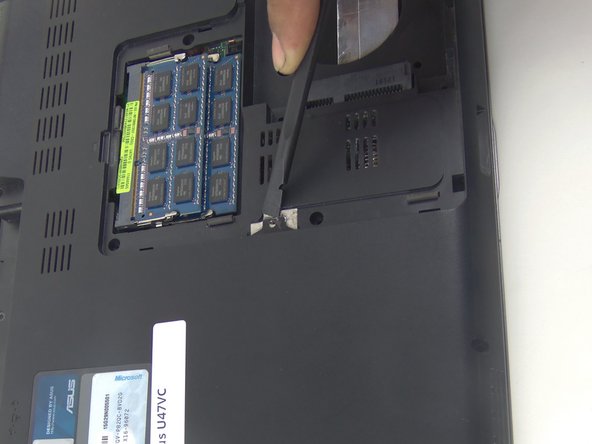
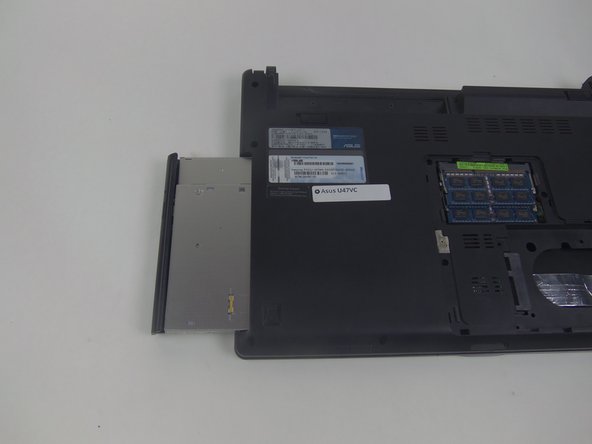
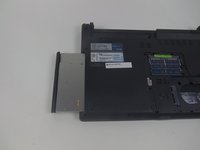
Unscrew the one 8mm screw using a Phillips #00.
-
Using the black spudger, slightly pry up on the tab and gently pull the optical drive away from the laptop in order to remove it.
-
-
-
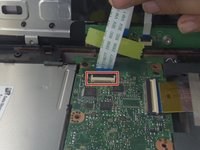
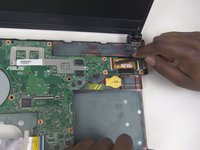
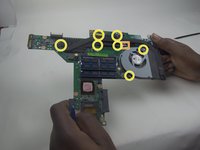
Using the black spudger, slowly lift up on the cable connectors and pull them away from the connectors.
-
Unscrew the 12 8mm screws using a Phillips #00 screwdriver.
-
-
-
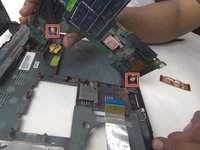
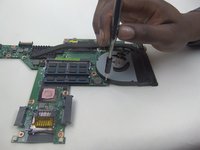
Lift up on the motherboard and disengage the two connectors.
-
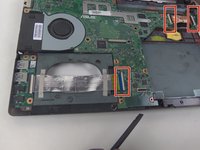
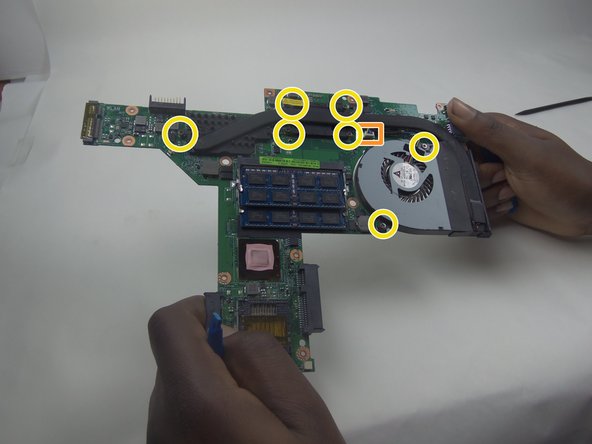
Disconnect the cooling fan connector.
-
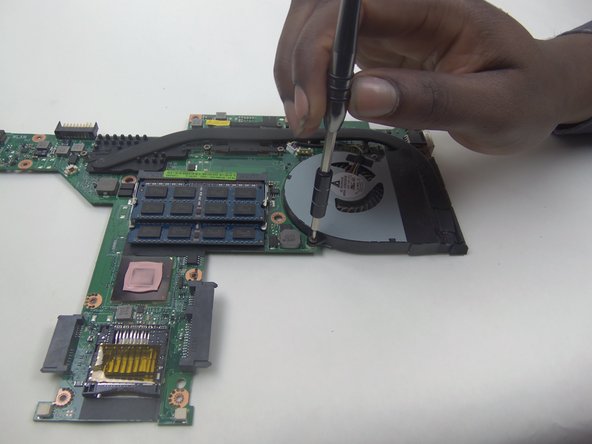
Unscrew the 7 8mm screws holding in the cooling fan using a Phillips #00 screwdriver.
The connector for the left speaker should be highlighted in red too, not just the connector for the right-hand speaker.
You're missing 2 essential steps - how to lift the fan outlet over the plastic tabs holding it in and how to disconnect the screen from the motherboard. This tutorial has been republished on so many sites, I can't find anything else. I eventually just snapped off the tabs with pliers, but obviously I need to have an intact screen cable. Without removing that cable from the motherboard, you can't get enough space to then pull the motherboard out from where it's connected on the right side. Very disappointing tutorial.
By looking at the photos it looks like the display cable is just North of the fan looking at the motherboard from the top of the laptop. It has the pull tab. I think the cable pulls out of the motherboard straight up. When I did it, I either did it by hand or very carefully with needle nose pliers. I'm not sure where your difficulty occurred? It doesn't have any specific lock. You pull off gently and to reconnect you push on gently with even pressure on both sides
The other ribbon cables on this and other laptops either use a flip-up style lock or push in-out style lock.
Within a few weeks I should be able to go to my friend's house where I have a broken down U47 and see how the connector works for certain.
Side note, in no photos or steps in this tutorial do I see how or where to disconnect the Wi-Fi antenna..
-


To reassemble your device, follow these instructions in reverse order.
To reassemble your device, follow these instructions in reverse order.
crwdns2915084:0crwdne2915084:0

South Arkansas Community College, Team 1-1, Mitchell Spring 2017 crwdns2935289:0South Arkansas Community College, Team 1-1, Mitchell Spring 2017crwdne2935289:0
SACC-MITCHELL-S17S1G1
crwdns2931471:05crwdne2931471:0
crwdns2935297:05crwdne2935297:0
crwdns2947410:01crwdne2947410:0
Step#3, You need to remove a total of 13 screws from the bottom of the laptop BEFORE prying the keyboard section off the laptop. See pics https://imgur.com/a/h5d1zJ1