crwdns2915892:0crwdne2915892:0
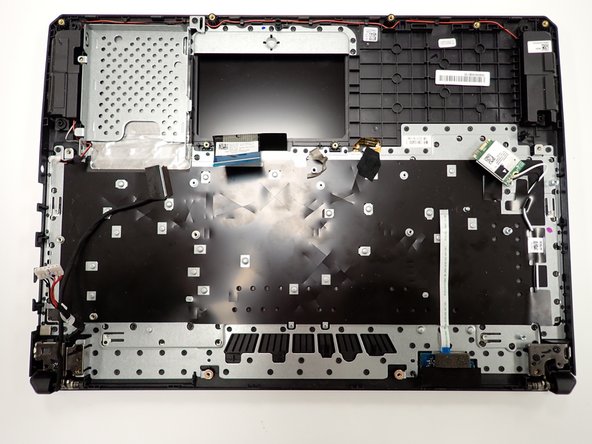
This is a guide to replace the Asus TUF Gaming FX505DY touchpad. The Asus TUF Gaming FX505DY is a gaming laptop that is made by the Asus gaming company. It is necessary to know basic knowledge with tools. This guide is needed to ensure the complete function of the laptop. This guide will demonstrate how to replace the touchpad on the laptop.
crwdns2942213:0crwdne2942213:0
-
-
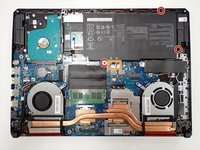
With a Phillips 0-bit screwdriver, remove eight 5.0 mm screws on the silver brackets
-
With a Phillips 0-bit screwdriver, remove two 5.0 mm screws holding the edge of the fans in place
-
-
-
Gently remove all power cables connecting the fans to the motherboard.
-
Once all cables and screws are removed, carefully lift up and remove the fans and heat sink
-
-
-
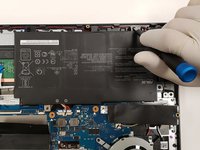
With a Phillips 0-bit screwdriver, unscrew four 5.0 mm screws.
-
Disconnect the primary connector cable located at the bottom left and carefully remove the module.
-
-
-
-
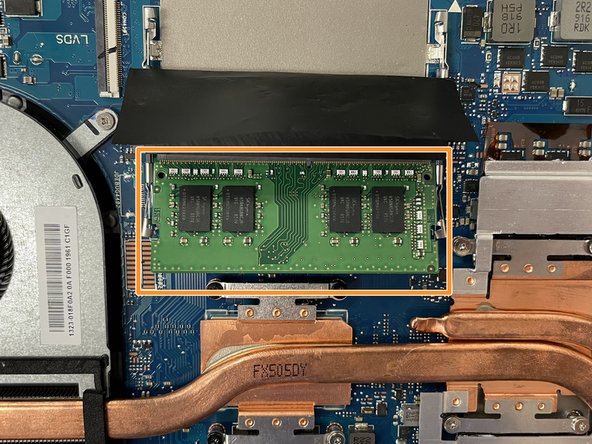
Removing the ram, push down unto the ram and move the metal locking tabs to the side by lifting upward slightly then moving each to their outside.
-
Pull the ram out toward the angle when the ram is sticking up at an angle when released.
-
-
-
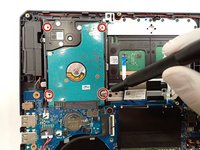
With a Phillips 0-bit screwdriver, unscrew four 5.0 mm top screws holding the hard drive in place.
-
Pinch the top left corner with your finger and slide the harddrive out of its casing.
-
-
-
With a Phillips 0-bit screwdriver, unscrew two 5.0 mm screws holding SSD down to the motherboard on the right side of the board
-
Slide module out of protective casing to remove piece.
-
-
-
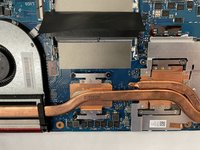
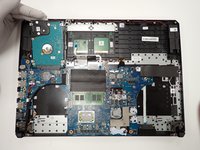
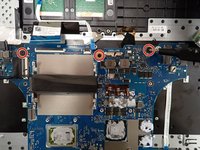
With a size 0 Phillips screwdriver, unscrew three center 5 mm screws securing the board in place.
-
Carefully lift the board and place in a safe area.
-
-
-
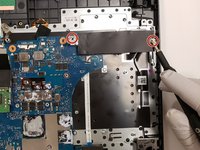
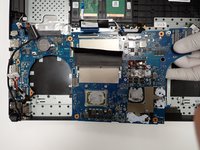
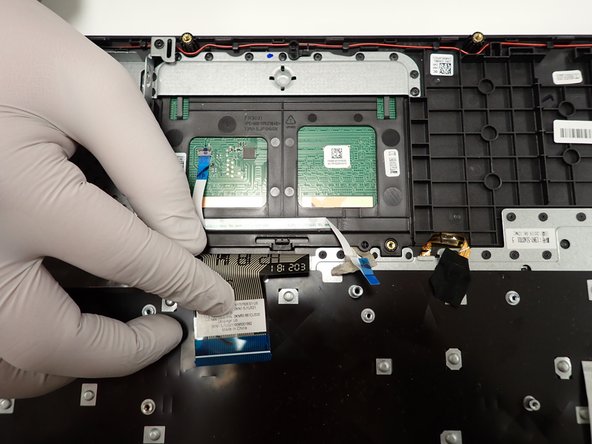
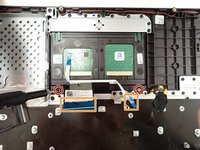
With a size 0 Phillips screwdriver, unscrew two 5 mm screws holding the trackpad in place located at the bottom of the trackpad.
-
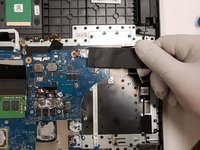
Carefully unclip the connector base to remove the two touchpad cables.
-
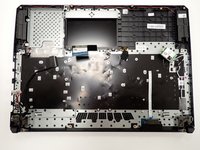
Remove the trackpad by sliding forward and lifting up.
-


To reassemble your device, follow these instructions in reverse order. Take your e-waste to an R2 or e-Stewards certified recycler.
crwdns2935221:0crwdne2935221:0
crwdns2935227:0crwdne2935227:0

crwdns2935287:0crwdne2935287:0

The Citadel Military College of South Carolina, Team 3-19, Eggleston Fall 2022 crwdns2935289:0The Citadel Military College of South Carolina, Team 3-19, Eggleston Fall 2022crwdne2935289:0
CMCSC-EGGLESTON-F22S3G19
crwdns2931471:02crwdne2931471:0
crwdns2935297:03crwdne2935297:0