crwdns2915892:0crwdne2915892:0
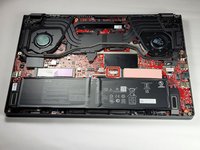
This guide demonstrates how to replace the SSD in an Asus G16 (GU603VV) Laptop. SSDs can overheat and become corrupted if laptop vents are obstructed or the device is stored improperly.
If your laptop is frequently crashing or running slowly, replacing the SSD may help prevent data loss. You can also follow this guide if you're upgrading to a larger or faster SSD.
Before starting this repair, back up your important files and documents to an external hard drive or cloud storage. Unplug the power adapter and fully power off the device. Additionally, check that the new SSD is compatible with your laptop before installation.
crwdns2942213:0crwdne2942213:0
-
-
Three M2 8 mm screws
-
Two M2 11.5 mm screws
-
Four M2 11 mm screws
-
Three M2 5.5 mm screws
-
One M2 8 mm captive screw
-
-
-
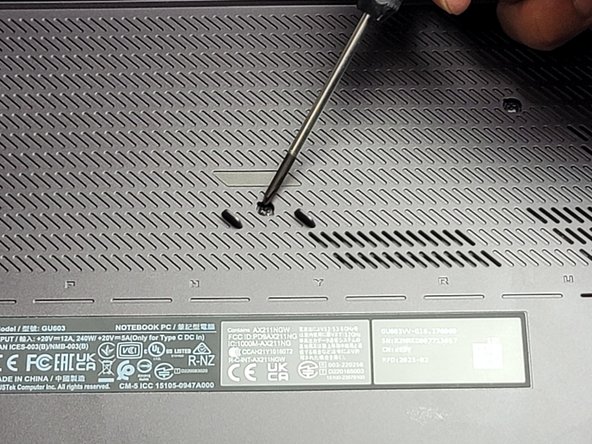
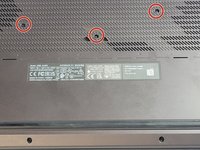
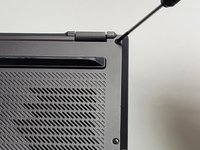
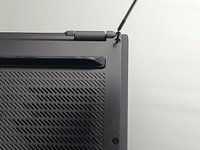
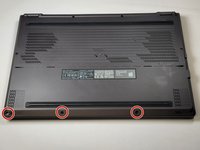
Remove the three rubber covers for the middle screws.
-
-
-
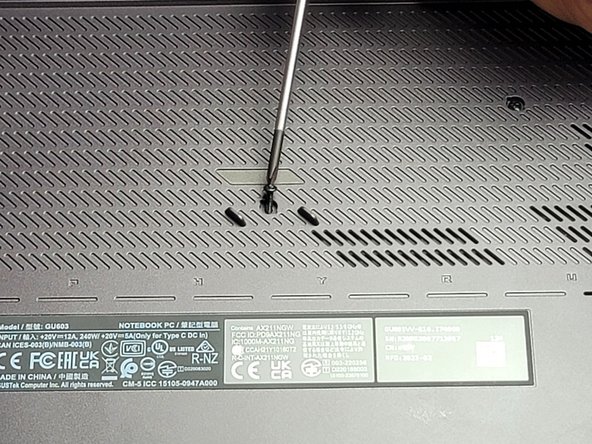
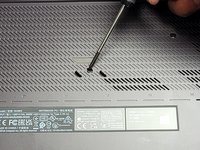
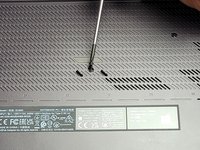
Remove the three 8 mm Phillips screws.
-
-
-
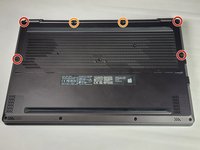
Remove the four 11 mm Phillips screws.
-
Remove the center two 11.5 mm Phillips screws.
-
-
-
-
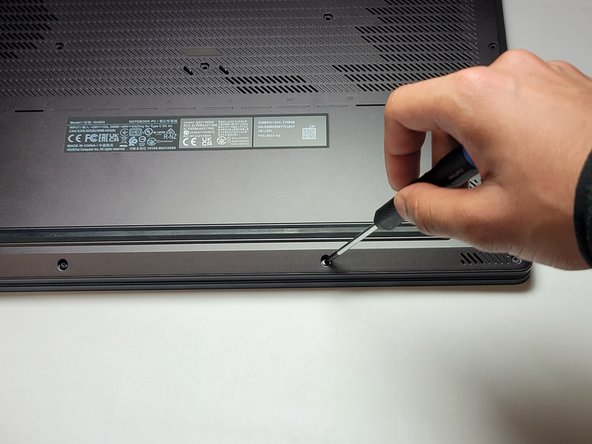
Remove the bottom three 5.5 mm Phillips screws.
-
-
-
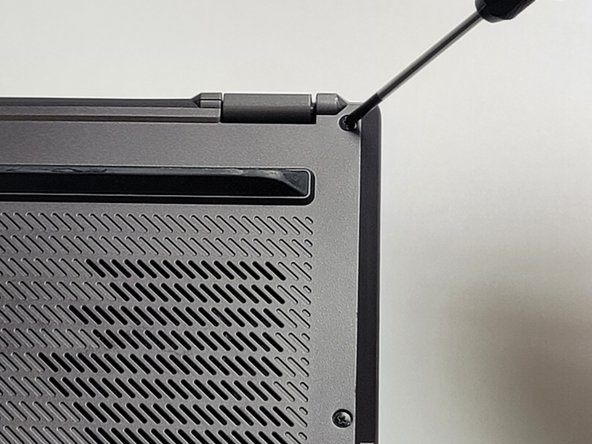
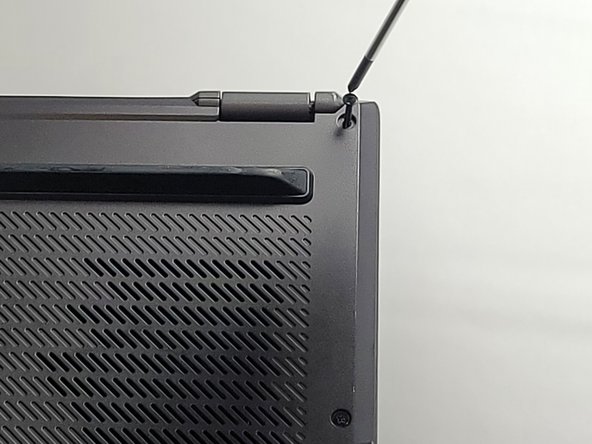
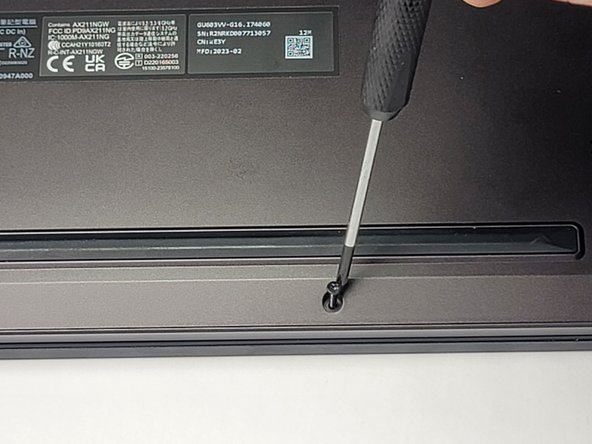
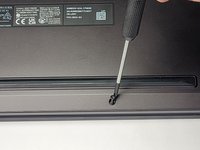
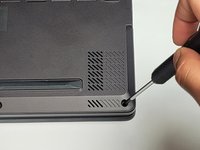
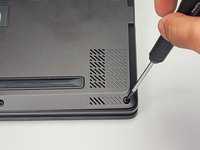
Loosen the 8 mm Phillips captive screw in the bottom right corner.
-
-
-
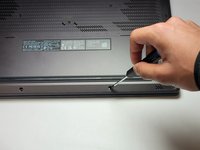
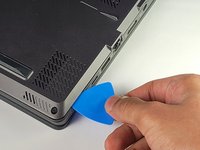
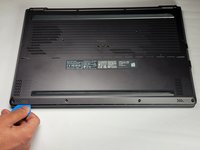
Shimmy your pick into the seam opened up by loosening the retaining screw.
-
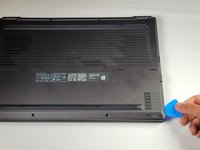
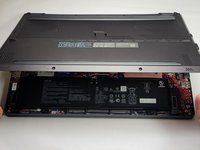
Gently move your pick clockwise around the edge of the device in the seam between the cover and the laptop to loosen the cover plate.
-
-
-
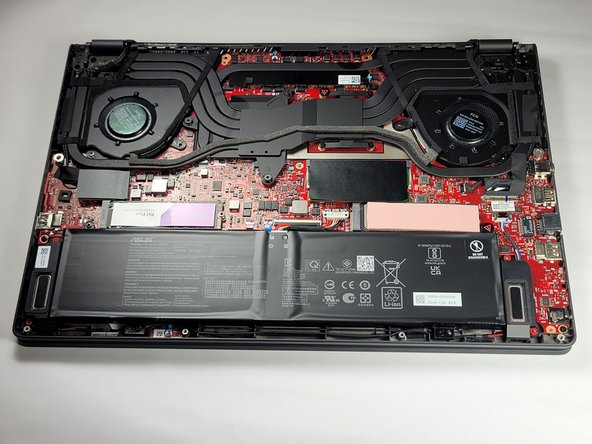
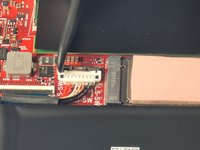
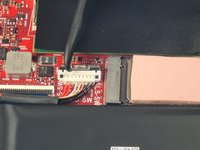
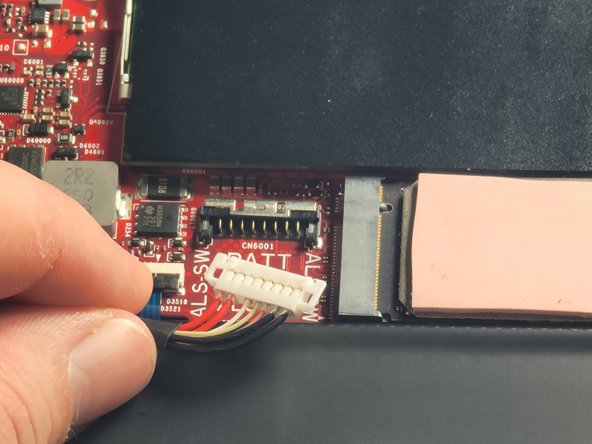
Slide the battery connector latch upwards to free the battery cable for removal.
-
-
-
Remove the battery connector by lifting it up and away from the board.
-
-
-
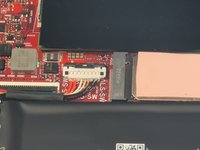
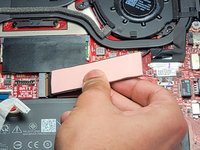
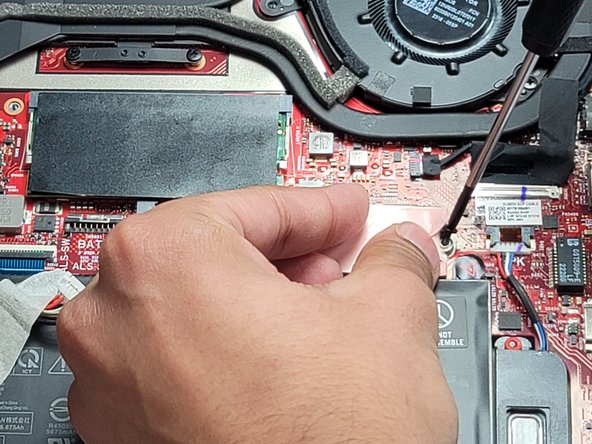
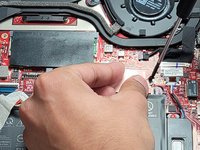
Lift the right edge of the protective thermal pad on top of the old SSD and remove the screw underneath.
-
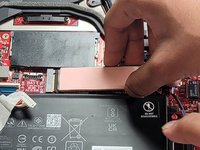
Disconnect the SSD by gently pushing it to the right.
-
Remove the SSD.
-


To reassemble your device, follow these instructions in reverse order. Take your e-waste to an R2 or e-Stewards certified recycler.
To reassemble your device, follow these instructions in reverse order. Take your e-waste to an R2 or e-Stewards certified recycler.
crwdns2935221:0crwdne2935221:0
crwdns2935227:0crwdne2935227:0
crwdns2915084:0crwdne2915084:0

UC Davis, Team 1-2, Morris Winter 2024 crwdns2935289:0UC Davis, Team 1-2, Morris Winter 2024crwdne2935289:0
UCD-MORRIS-W24S1G2
crwdns2931471:03crwdne2931471:0
crwdns2935297:02crwdne2935297:0