crwdns2915892:0crwdne2915892:0
Replacing the CPU cooler on the Asus ROG G20CB is a delicate task because of the system's compact, semi-proprietary design. This guide will help you safely remove and replace your CPU cooler.
crwdns2942213:0crwdne2942213:0
-
-
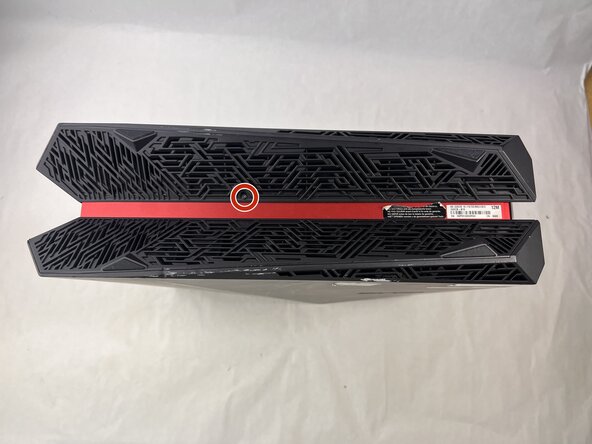
Remove each of the two 4.6 mm Phillips screws on the top and bottom of the tower.
-
-
-
Slide the front panel to the left and lift gently.
-
-
-
Disconnect the cable carefully by pulling gently on both sides of the connector.
-
-
-
Remove the five 4.6 mm Phillips screws holding down the fan tray and then pull the fan tray out of the system.
-
-
-
-
Carefully unplug the two fan cables from the motherboard by pulling straight up from the base of the connector.
-
-
-
Remove the six 4.6 mm Phillips screws connecting the fans to the fan tray.
-
-
-
Remove the 4.6 mm Phillips screw that secures the optical drive.
-
-
-
Push the optical drive out of the chassis.
-
-
-
Pull back the tape on the heat sink and use a long-neck Phillips screwdriver to remove the four screws securing the heat sink.
-
-
-
Remove the 4.6 mm Phillips screw from the heatsink at the top of the case.
-
Lift the CPU cooler out of the system.
-
Be sure to apply fresh thermal paste before reinstalling a cooler.
-


To reassemble your device, follow the above steps in reverse order.
Take your e-waste to an R2 or e-Stewards certified recycler.
Repair didn’t go as planned? Try some basic troubleshooting or ask our Answers community for help.
To reassemble your device, follow the above steps in reverse order.
Take your e-waste to an R2 or e-Stewards certified recycler.
Repair didn’t go as planned? Try some basic troubleshooting or ask our Answers community for help.
crwdns2915084:0crwdne2915084:0

UMass Dartmouth, Team 3-3, Botvin Spring 2025 crwdns2935289:0UMass Dartmouth, Team 3-3, Botvin Spring 2025crwdne2935289:0
UMASSD-BOTVIN-S25S3G3
crwdns2931471:03crwdne2931471:0
crwdns2935297:05crwdne2935297:0