crwdns2915892:0crwdne2915892:0
Be sure is it not the disk that is faulty before replacing the disk drive. If you are having anyother problems with this device check the troubleshooting page here.
crwdns2942213:0crwdne2942213:0
-
-
Start by removing the 10 screws on the back of the laptop with a Phillips head 1 screw driver.
-
Remove back cover.
-
-
-
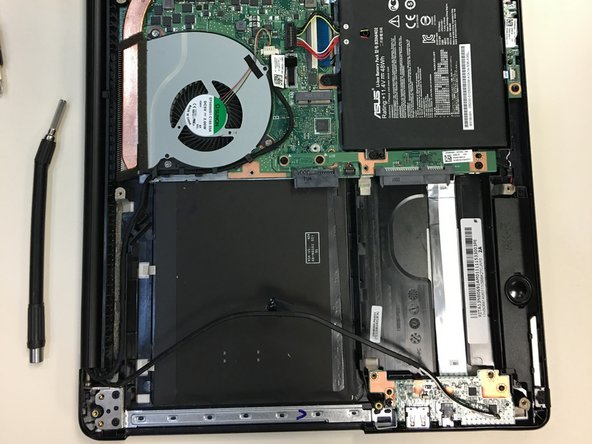
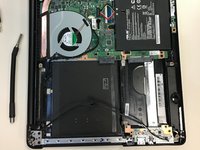
the battery must be removed so there is no power running to the disk drive. Follow the battery replacement guide here.
-
-
-
-
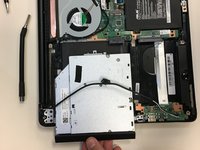
Unscrew the one screw on the disk drive with a Philips head screw driver 1.
-


To reassemble your device, follow these instructions in reverse order.
crwdns2935221:0crwdne2935221:0
crwdns2935227:0crwdne2935227:0
crwdns2935287:0crwdne2935287:0

University of North Texas, Team S6-G5, Thomas Fall 2017 crwdns2935289:0University of North Texas, Team S6-G5, Thomas Fall 2017crwdne2935289:0
UNT-THOMAS-F17S6G5
crwdns2931471:04crwdne2931471:0
crwdns2935297:05crwdne2935297:0