crwdns2915892:0crwdne2915892:0
Use this guide to replace the trackpad buttons in the Asus Eee PC 1005HA.
crwdns2942213:0crwdne2942213:0
-
-
Lay the laptop upside down.
-
Locate the two battery lock tabs.
-
-
-
Slide the tabs outward to unlock the battery.
-
Holding the right tab open, slide the battery out of the laptop.
-
-
-
Use a plastic opening tool to pull up the four metal latches in the battery cavity that is located on the bottom of the laptop.
-
-
-
Flip the laptop over, and open the display.
-
Use a plastic opening tool to lift the edge of the keyboard that is nearest to the screen.
-
Gently lift the keyboard and slide it toward the screen.
It must be mentioned that you need to put the plastic opening tool above the F1, F6, between F10 and F11 and the Insert (Num Lock) Keys . It has 4 clips in total.
-
-
-
Use a spudger tool to release the tabs on the ribbon cable ZIF connector that is attached to the underside of the keyboard.
-
Once the ZIF connector tabs have been released, remove the keyboard.
Step is missing. you also suppose to remove back screws, then rf shield screws, disconnect touchpad cable and then unclip and lift sides.
-
-
-
-
Close the display and flip the laptop over.
-
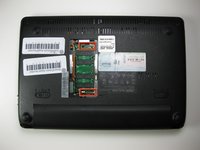
Remove the five screws on bottom of the case.
-
-
-
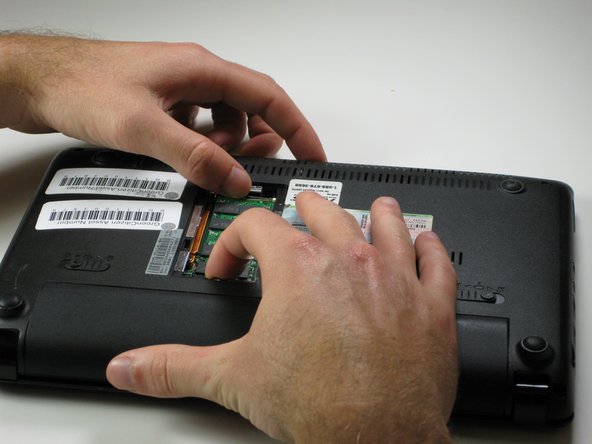
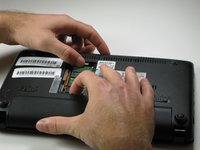
Remove the panel covering the RAM.
-
Pull the two RAM retaining arms away from the center of the RAM chip.
-
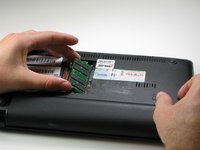
Gently pull the RAM chip out of its socket.
-
-
-
Remove the single 6.65 mm screw next to the RAM socket.
-
-
-
Flip the laptop back over and open the display.
-
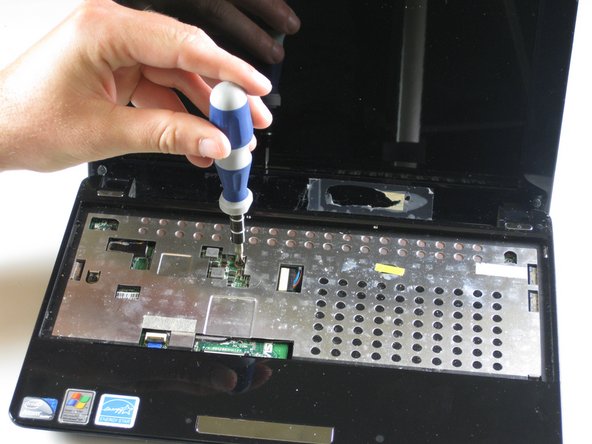
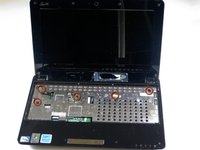
Remove the six 5.5 mm screws from the metal plate beneath the keyboard.
-
-
-
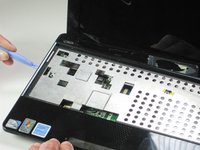
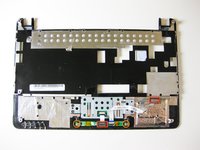
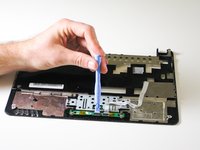
Using a plastic opening tool, detach the five plastic clips securing the upper case.
-
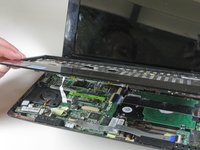
Carefully lift the upper case and flip it towards the front of the laptop.
-
-
-
Flip up the retaining flap on the trackpad ribbon cable ZIF connector.
-
Slide the trackpad ribbon cable from its socket.
-
-
-
Flip up the retaining flap on the button ribbon cable ZIF connector.
-
Pull the button ribbon cable out of its socket.
-
Remove the two 3.6 mm screws from the button assembly.
-


To reassemble your device, follow these instructions in reverse order.
To reassemble your device, follow these instructions in reverse order.
crwdns2935221:0crwdne2935221:0
crwdns2935229:02crwdne2935229:0
crwdns2915084:0crwdne2915084:0

Cal Poly, Team 11-22, Maness Winter 2012 crwdns2935289:0Cal Poly, Team 11-22, Maness Winter 2012crwdne2935289:0
CPSU-MANESS-W12S11G22
crwdns2931471:03crwdne2931471:0
crwdns2935297:012crwdne2935297:0
crwdns2947410:01crwdne2947410:0
About removing the touchpad ribbon:
- My mistake was to try to slide out the little comb black piece that holds the ribbon in position. Instead you should just lift it up gently - it rotates up to free the ribbon - and leave it in place. To insert back the cable you will only need to push the black piece back down.
- Trying to put back the black piece without a clue about what I was doing it started to break down and then simply flew away and disappeared in a creak of the floor. That wasn't much fun.
- Then I noticed an unused connector of the same size about 1 inch to the right and down of the touchpad connector on the MoBo and figured out that it was rotating when I - very gently this time - tried to remove it from its support. I was then successful in putting it into the touchpad slot the way the original was and it now can rotate and seal the ribbon in place.