crwdns2915892:0crwdne2915892:0
If your ASUS Chromebook Flip CX1400FKA-AS88F speakers are malfunctioning—producing static, crackling sounds, or no audio output—this guide will walk you through the process of replacing them.
Before beginning the repair, power down the device completely and disconnect it from the charging adapter and all external peripherals.
Note: Some images in this guide depict the use of a metal spudger. Avoid using metal tools on internal components, as they may cause permanent damage. Instead, use a nylon or other non-metal spudger to ensure a safer and more controlled disassembly process.
crwdns2942213:0crwdne2942213:0
-
-
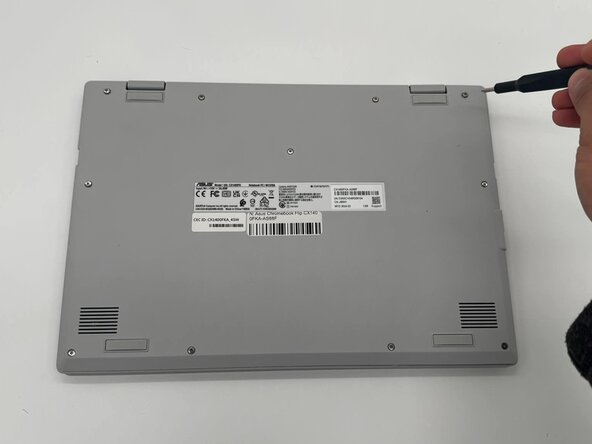
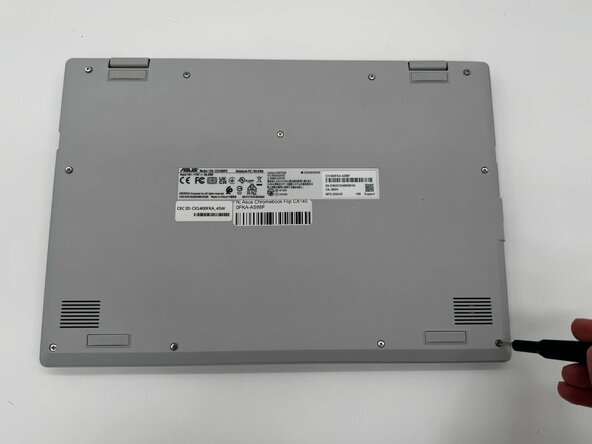
Using a Phillips #0 screwdriver, remove the eleven screws securing the bottom cover of the device.
-
-
-
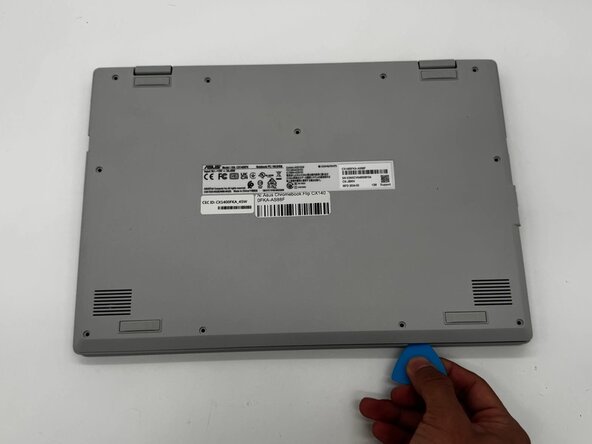
Use an iFixit opening tool or nylon spudger to gently separate the bottom cover from the Chromebook.
-
Insert the tip of the opening tool into the seam between the top and bottom covers, then slide it along the perimeter to release the internal clips securing the case.
-
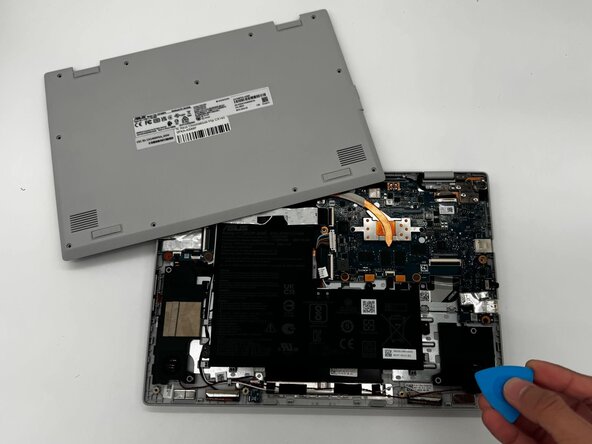
Once all clips are released, carefully lift and remove the bottom cover from the device.
-
-
-
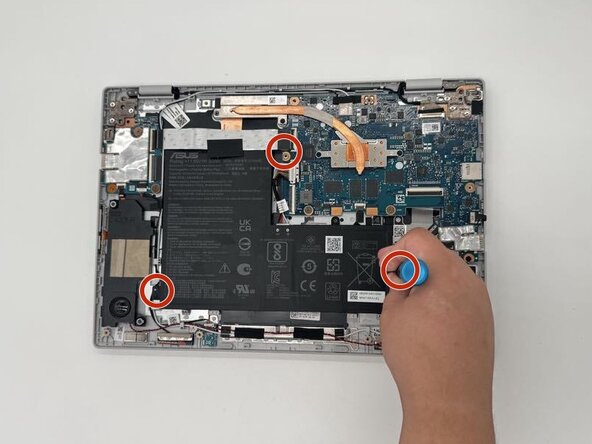
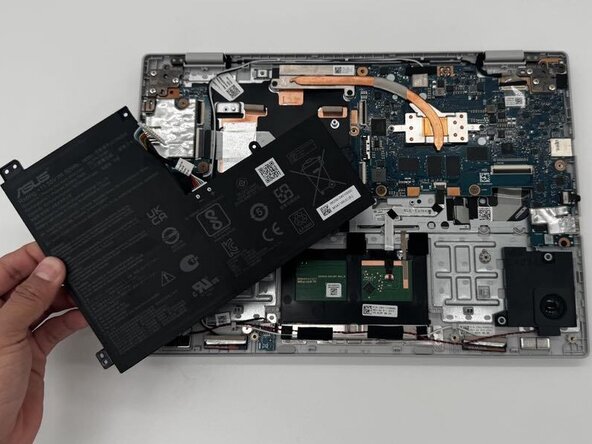
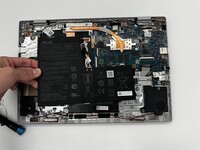
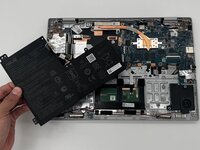
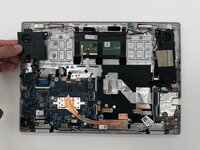
Carefully disconnect ribbon cables and fan connectors attached to the motherboard.
-
-
-
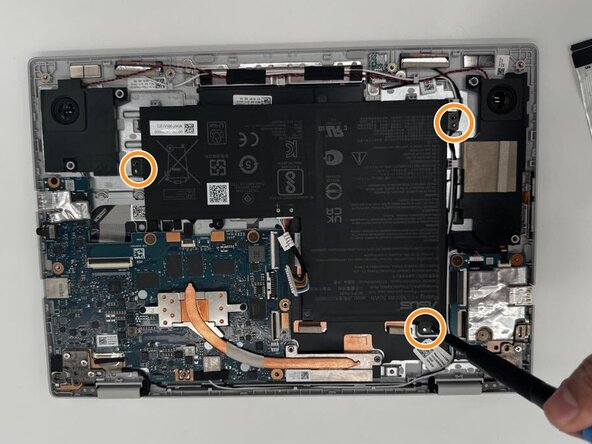
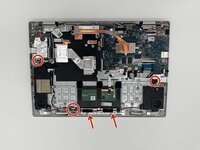
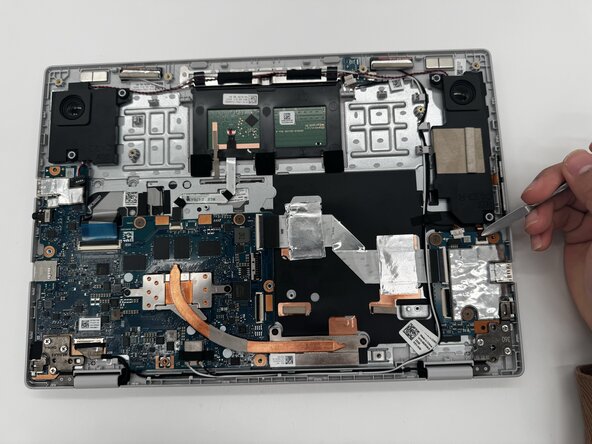
Using a Phillips #0 screwdriver, remove the three 6.4 mm screws securing the metal brackets to the motherboard assembly.
-
Once the screws are removed, lift and remove the brackets from the device. Keep them in a safe place for reinstallation.
-
-
-
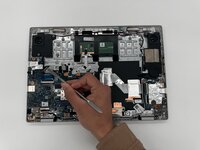
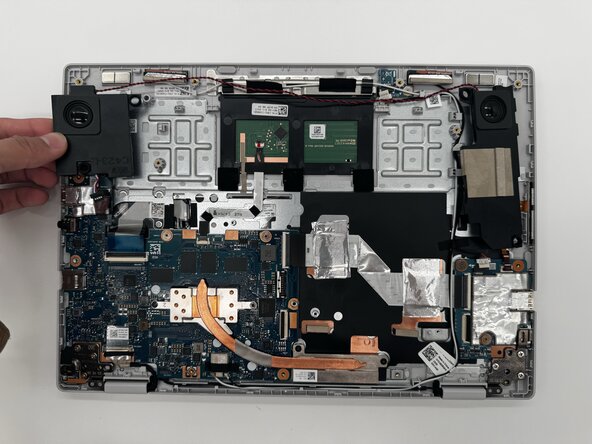
Disconnect the speaker wire connector from the motherboard by gently pulling it straight out of its socket using tweezers or your fingers.
-
-
-
Disconnect the speaker wire plug and stickers from the motherboard by gently pulling them out using tweezers or your finger.
-
-
-
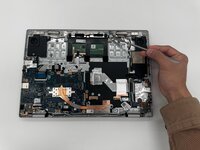
Disconnect the speaker wire plug from the motherboard by gently pulling it out using tweezers or your fingers.
-


To reassemble your device, follow these instructions in reverse order. Take your e-waste to an R2 or e-Stewards certified recycler.
To reassemble your device, follow these instructions in reverse order. Take your e-waste to an R2 or e-Stewards certified recycler.

crwdns2915084:0crwdne2915084:0

University of North Texas, Team 1-1, Kilpatrick Spring 2025 crwdns2935289:0University of North Texas, Team 1-1, Kilpatrick Spring 2025crwdne2935289:0
UNT-KILPATRICK-S25S1G1
crwdns2931471:05crwdne2931471:0
crwdns2935297:05crwdne2935297:0