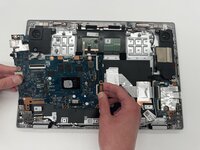
crwdns2933423:0crwdne2933423:0

Asus Chromebook Flip CX1400FKA-AS88F Motherboard Replacement

crwdns2942213:0crwdne2942213:0

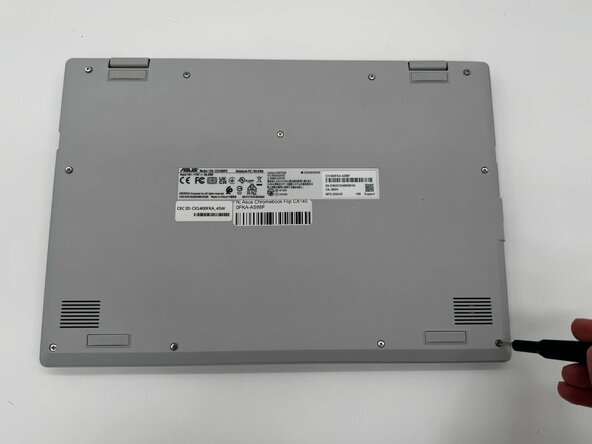
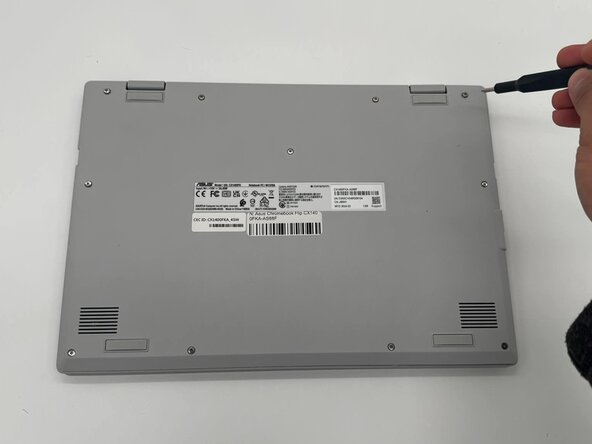
  1. Asus Chromebook Flip CX1400FKA-AS88F Motherboard Replacement, Case: crwdns2935265:01crwdnd2935265:01crwdnd2935265:03crwdne2935265:0 Asus Chromebook Flip CX1400FKA-AS88F Motherboard Replacement, Case: crwdns2935265:01crwdnd2935265:02crwdnd2935265:03crwdne2935265:0 Asus Chromebook Flip CX1400FKA-AS88F Motherboard Replacement, Case: crwdns2935265:01crwdnd2935265:03crwdnd2935265:03crwdne2935265:0
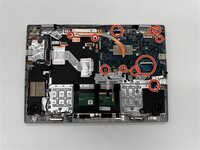
    • Using a Phillips #0 screwdriver, remove the eleven screws securing the bottom cover of the device.

    • Caution: Remove the screws carefully. Applying too much force or working too quickly can strip the screw heads or damage the bottom casing.

    • Tip: Keep the screws organized in a safe and clearly labeled area to ensure an easy reinstallation later.

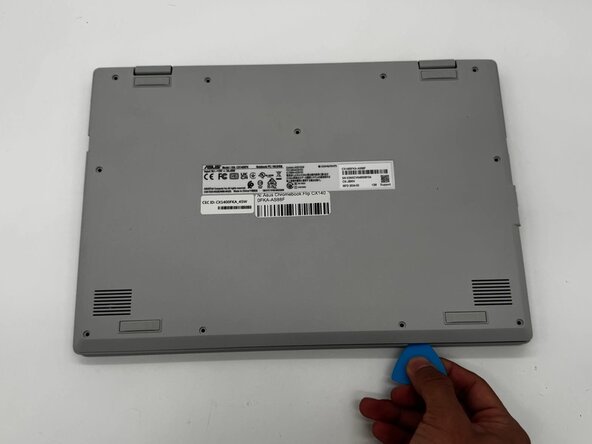
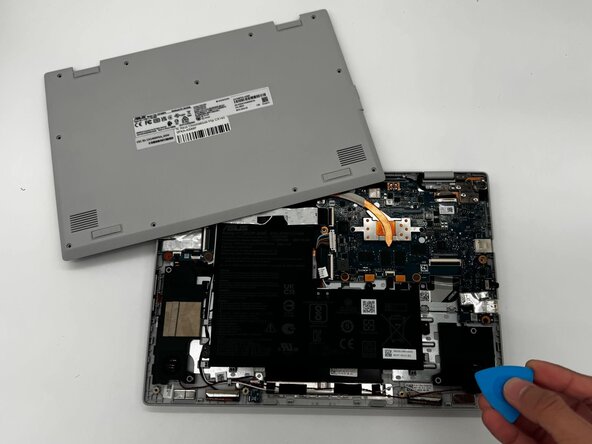
  2. Asus Chromebook Flip CX1400FKA-AS88F Motherboard Replacement: crwdns2935265:02crwdnd2935265:01crwdnd2935265:03crwdne2935265:0 Asus Chromebook Flip CX1400FKA-AS88F Motherboard Replacement: crwdns2935265:02crwdnd2935265:02crwdnd2935265:03crwdne2935265:0 Asus Chromebook Flip CX1400FKA-AS88F Motherboard Replacement: crwdns2935265:02crwdnd2935265:03crwdnd2935265:03crwdne2935265:0
    • Use an iFixit opening tool or nylon spudger to gently separate the bottom cover from the Chromebook.

    • Caution: Only use plastic or nylon tools when prying open the case. Metal tools can easily scratch or damage the internal components.

    • Insert the tip of the opening tool into the seam between the top and bottom covers, then slide it along the perimeter to release the internal clips securing the case.

    • Tip: Insert opening picks around the edges as you go to prevent the clips from reattaching.

    • Once all clips are released, carefully lift and remove the bottom cover from the device.

  3. Asus Chromebook Flip CX1400FKA-AS88F Motherboard Replacement, Battery: crwdns2935265:03crwdnd2935265:01crwdnd2935265:01crwdne2935265:0
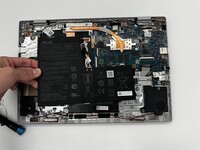
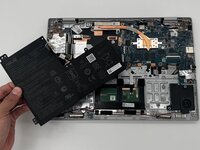
    • Carefully disconnect ribbon cables and fan connectors attached to the motherboard.

    • Tip: For helpful tips on disconnecting cable connectors, refer to the Recognizing and Disconnecting Cable Connectors guide.

    • Caution: Do not pull on the cables directly. Always disconnect by gripping the connector to prevent tearing the ribbon or damaging the socket.

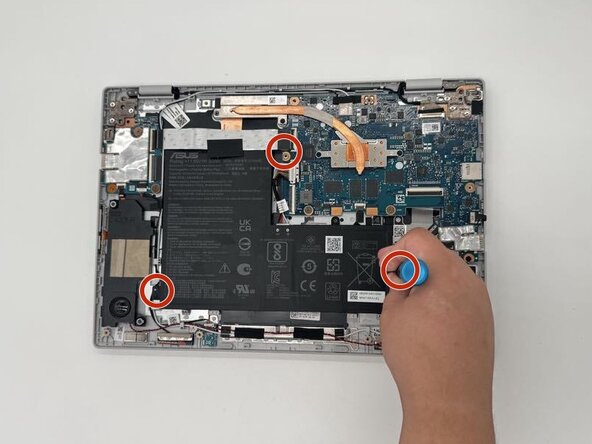
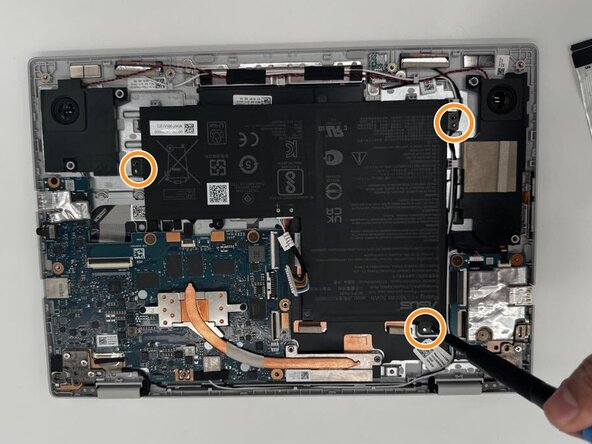
  4. Asus Chromebook Flip CX1400FKA-AS88F Motherboard Replacement: crwdns2935265:04crwdnd2935265:01crwdnd2935265:02crwdne2935265:0 Asus Chromebook Flip CX1400FKA-AS88F Motherboard Replacement: crwdns2935265:04crwdnd2935265:02crwdnd2935265:02crwdne2935265:0
    • Using a Phillips #0 screwdriver, remove the three 6.4 mm screws securing the metal brackets to the motherboard assembly.

    • Caution: Apply gentle, steady pressure when loosening the screws to avoid stripping the heads or damaging the surrounding components.

    • Once the screws are removed, lift and remove the brackets from the device. Keep them in a safe place for reinstallation.

  5. Asus Chromebook Flip CX1400FKA-AS88F Motherboard Replacement: crwdns2935265:05crwdnd2935265:01crwdnd2935265:02crwdne2935265:0 Asus Chromebook Flip CX1400FKA-AS88F Motherboard Replacement: crwdns2935265:05crwdnd2935265:02crwdnd2935265:02crwdne2935265:0
    • Disconnect the speaker wire connector from the motherboard by gently pulling it straight out of its socket using tweezers or your fingers.

    • Caution: Avoid pulling on the wires themselves—grip the plastic connector to prevent damage to the speaker cable or motherboard port.

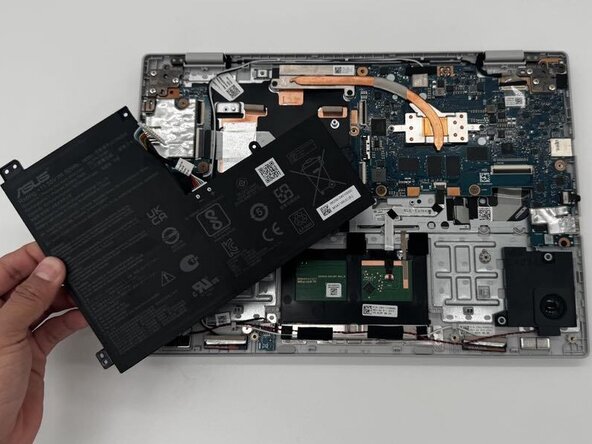
  6. Asus Chromebook Flip CX1400FKA-AS88F Motherboard Replacement, Motherboard: crwdns2935265:06crwdnd2935265:01crwdnd2935265:02crwdne2935265:0 Asus Chromebook Flip CX1400FKA-AS88F Motherboard Replacement, Motherboard: crwdns2935265:06crwdnd2935265:02crwdnd2935265:02crwdne2935265:0
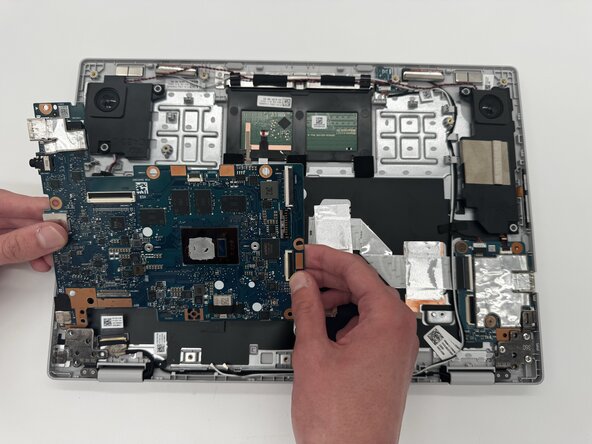
    • Remove all tabs connecting the motherboard to other devices.

    • Unscrew all mounting screws securing the motherboard.

    • Carefully remove the motherboard from the base.

crwdns2915888:0crwdne2915888:0

To reassemble your device, follow these instructions in reverse order. Take your e-waste to an R2 or e-Stewards certified recycler.

Saksham Shrestha

crwdns2935283:002/10/25crwdne2935283:0

73 crwdns2915208:0crwdne2915208:0

crwdns2935295:0crwdne2935295:0

crwdns2915084:0crwdne2915084:0

University of North Texas, Team 1-1, Kilpatrick Spring 2025 crwdns2935289:0University of North Texas, Team 1-1, Kilpatrick Spring 2025crwdne2935289:0

UNT-KILPATRICK-S25S1G1

crwdns2931471:05crwdne2931471:0

crwdns2935297:05crwdne2935297:0

crwdns2947412:00crwdne2947412:0

crwdns2917038:0crwdne2917038:0

crwdns2936625:0crwdne2936625:0:

crwdns2936751:024crwdne2936751:0 0

crwdns2936753:07crwdne2936753:0 3

crwdns2936753:030crwdne2936753:0 19

crwdns2942667:0crwdne2942667:0 144