crwdns2933423:0crwdne2933423:0
crwdns2947577:0crwdnd2947577:0crwdne2947577:0

Anki Vector Battery Replacement

crwdns2942213:0crwdne2942213:0

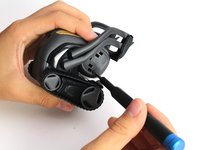
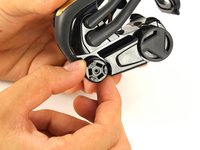
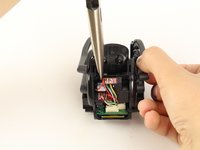
    1. Anki Vector  Battery Replacement, LCD Facial Display: crwdns2935265:01crwdnd2935265:01crwdnd2935265:03crwdne2935265:0 Anki Vector  Battery Replacement, LCD Facial Display: crwdns2935265:01crwdnd2935265:02crwdnd2935265:03crwdne2935265:0 Anki Vector  Battery Replacement, LCD Facial Display: crwdns2935265:01crwdnd2935265:03crwdnd2935265:03crwdne2935265:0
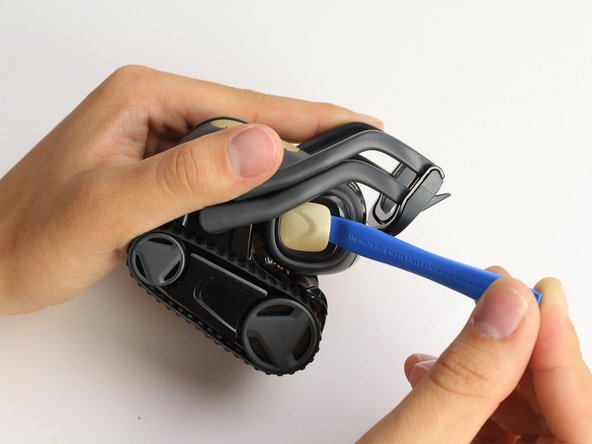
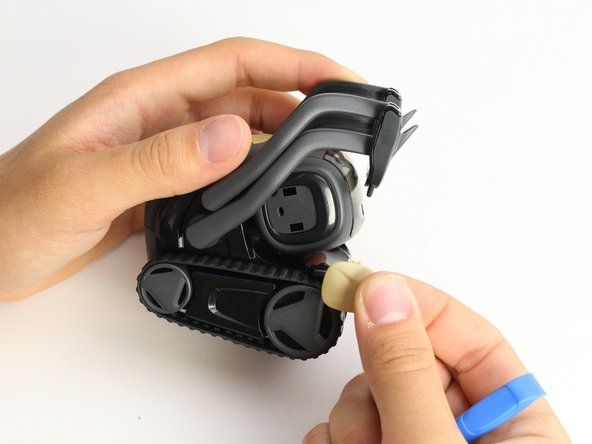
      • Using the iFixit opening tool, insert the corner under Vector's golden side panel and lightly twist.

      • Repeat this step on the other side.

      • The panel should pop off without much force.

      crwdns2952109:0crwdne2952109:0

      crwdns2917038:0crwdne2917038:0

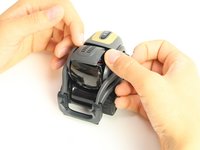
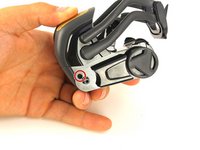
    2. Anki Vector  Battery Replacement: crwdns2935265:02crwdnd2935265:01crwdnd2935265:03crwdne2935265:0 Anki Vector  Battery Replacement: crwdns2935265:02crwdnd2935265:02crwdnd2935265:03crwdne2935265:0 Anki Vector  Battery Replacement: crwdns2935265:02crwdnd2935265:03crwdnd2935265:03crwdne2935265:0
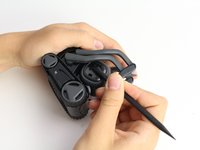
      • Insert the corner of the square end of the spudger under the side plate above the partially visible screw.

      • Lightly turn the spudger to separate the plate from Vector's head.

      • Work the spudger around the plate until it comes off.

      • Repeat this step on the the other side.

      crwdns2952109:0crwdne2952109:0

      crwdns2917038:0crwdne2917038:0

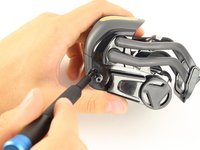
    3. Anki Vector  Battery Replacement: crwdns2935265:03crwdnd2935265:01crwdnd2935265:02crwdne2935265:0 Anki Vector  Battery Replacement: crwdns2935265:03crwdnd2935265:02crwdnd2935265:02crwdne2935265:0
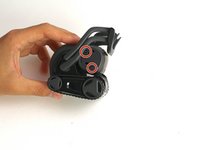
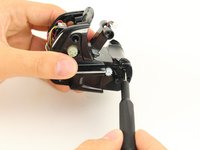
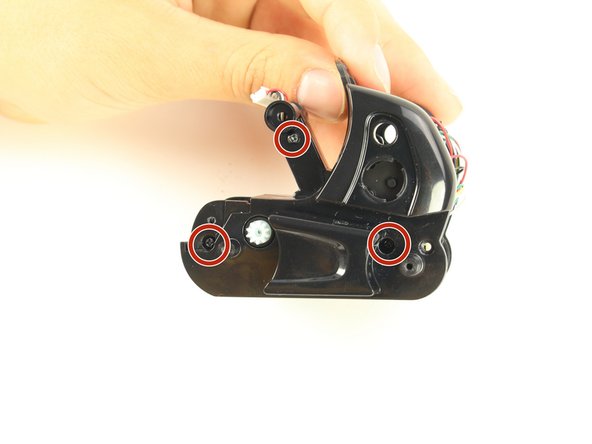
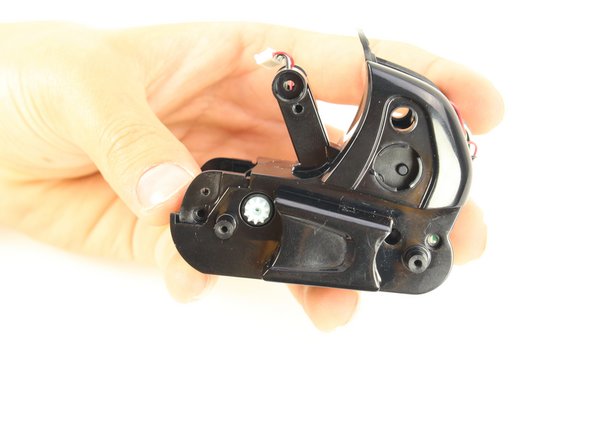
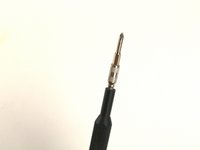
      • Using a Phillips #0 screwdriver, unscrew the two 2 mm screws on the side of Vector's head.

      • Repeat this step on the opposite side.

      crwdns2952109:0crwdne2952109:0

      crwdns2917038:0crwdne2917038:0

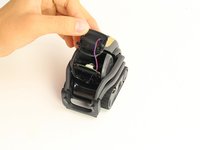
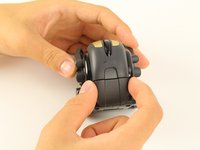
    4. Anki Vector  Battery Replacement: crwdns2935265:04crwdnd2935265:01crwdnd2935265:02crwdne2935265:0 Anki Vector  Battery Replacement: crwdns2935265:04crwdnd2935265:02crwdnd2935265:02crwdne2935265:0
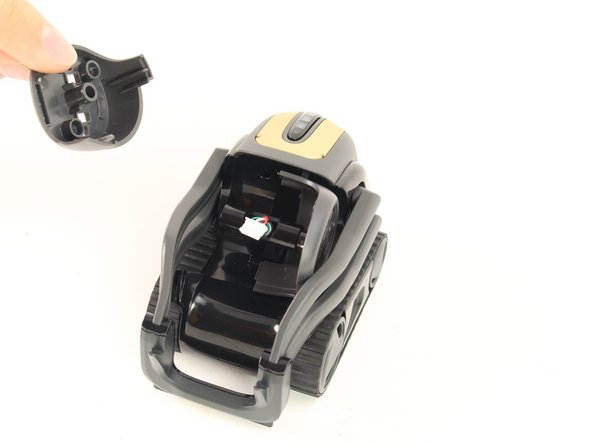
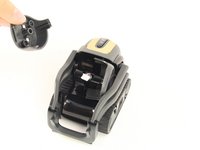
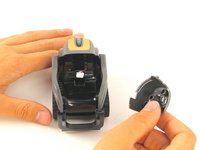
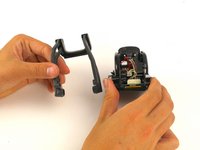
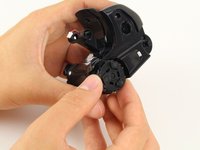
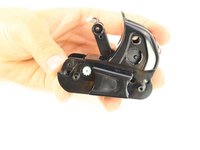
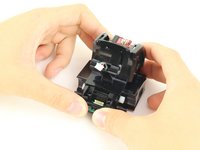
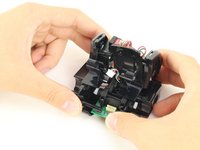
      • Pull apart Vector's head. It should separate down the middle.

      • Remove the screen protector by gently pulling it free from the two face halves.

      crwdns2952109:0crwdne2952109:0

      crwdns2917038:0crwdne2917038:0

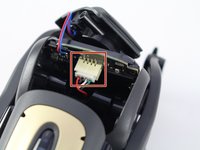
    5. Anki Vector  Battery Replacement: crwdns2935265:05crwdnd2935265:01crwdnd2935265:03crwdne2935265:0 Anki Vector  Battery Replacement: crwdns2935265:05crwdnd2935265:02crwdnd2935265:03crwdne2935265:0 Anki Vector  Battery Replacement: crwdns2935265:05crwdnd2935265:03crwdnd2935265:03crwdne2935265:0
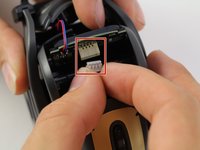
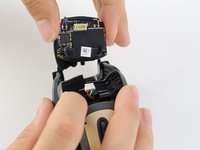
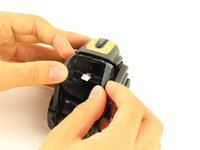
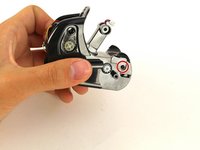
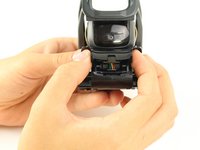
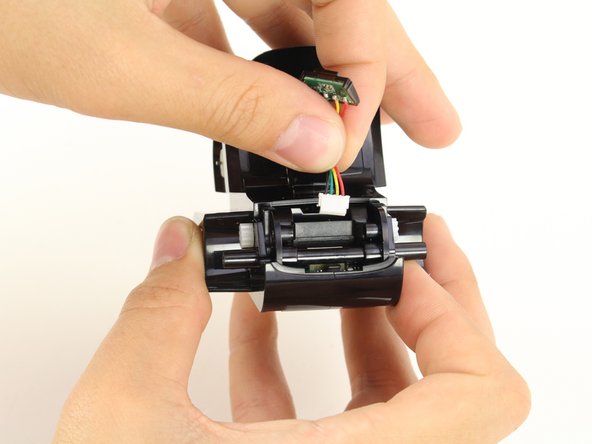
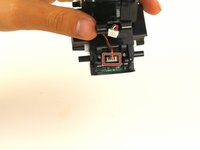
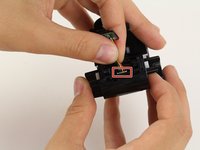
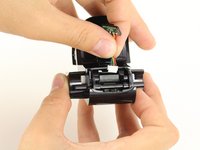
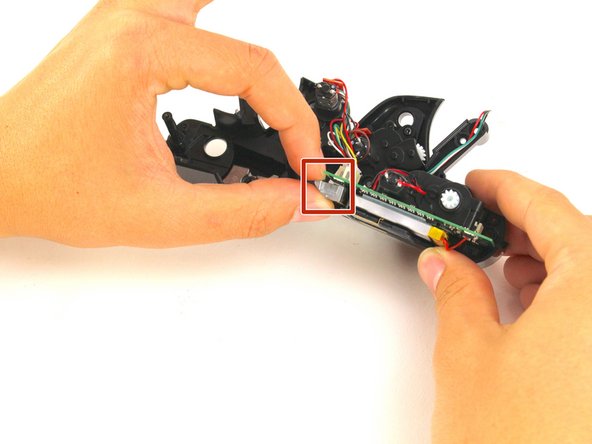
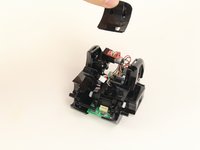
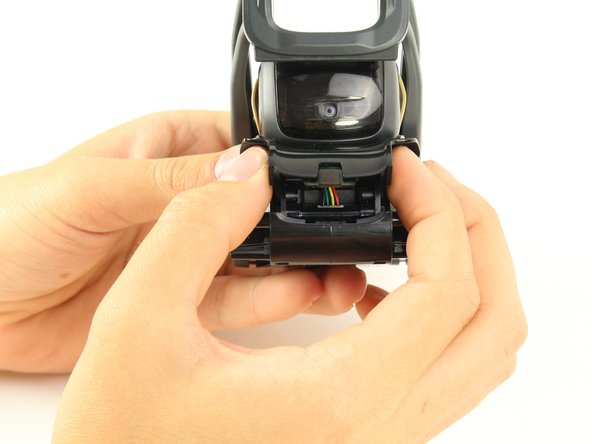
      • Using your thumb and index finger, unplug the display from the plug in Vector's neck.

      • Pull the LCD and speaker assembly from Vector's head.

      • There is a very thin insulating rubber sheet located at the base of the screen. Be careful not to tear it when removing the display.

      crwdns2952109:0crwdne2952109:0

      crwdns2917038:0crwdne2917038:0

    1. Anki Vector  Battery Replacement, Battery: crwdns2935265:06crwdnd2935265:01crwdnd2935265:03crwdne2935265:0 Anki Vector  Battery Replacement, Battery: crwdns2935265:06crwdnd2935265:02crwdnd2935265:03crwdne2935265:0 Anki Vector  Battery Replacement, Battery: crwdns2935265:06crwdnd2935265:03crwdnd2935265:03crwdne2935265:0
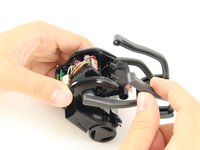
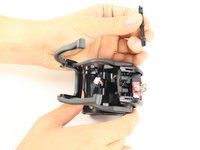
      • Gently pull out the two halves of Vector's head from between his arms.

      crwdns2952109:0crwdne2952109:0

      crwdns2917038:0crwdne2917038:0

    2. Anki Vector  Battery Replacement: crwdns2935265:07crwdnd2935265:01crwdnd2935265:03crwdne2935265:0 Anki Vector  Battery Replacement: crwdns2935265:07crwdnd2935265:02crwdnd2935265:03crwdne2935265:0 Anki Vector  Battery Replacement: crwdns2935265:07crwdnd2935265:03crwdnd2935265:03crwdne2935265:0
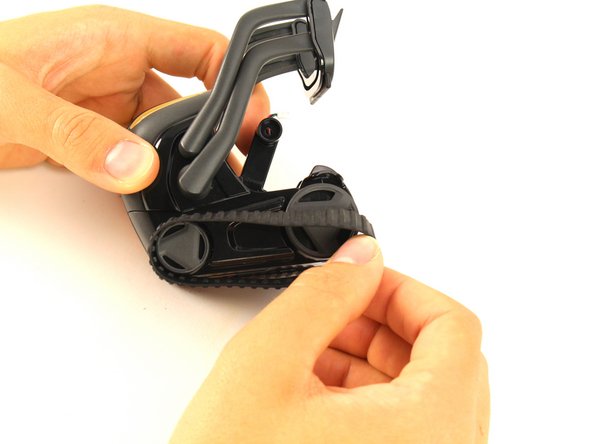
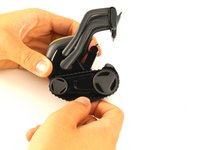
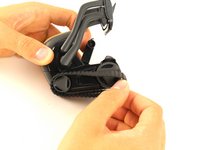
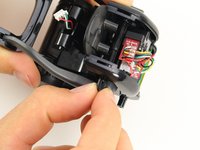
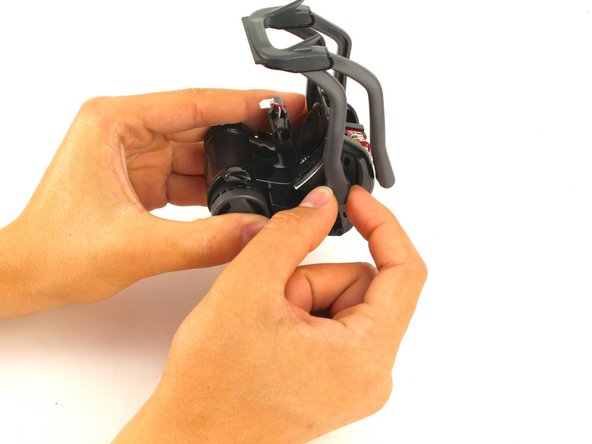
      • Remove the Anki Vector's belts on both sides of its body by gently sliding them off.

      • You should be able to pull them off without much effort.

      crwdns2952109:0crwdne2952109:0

      crwdns2917038:0crwdne2917038:0

    3. Anki Vector  Battery Replacement: crwdns2935265:08crwdnd2935265:01crwdnd2935265:02crwdne2935265:0 Anki Vector  Battery Replacement: crwdns2935265:08crwdnd2935265:02crwdnd2935265:02crwdne2935265:0
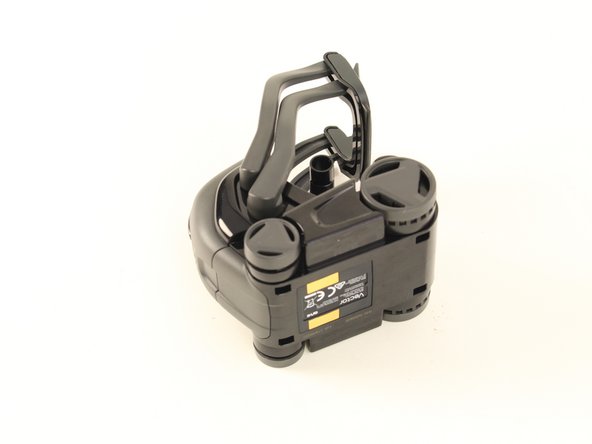
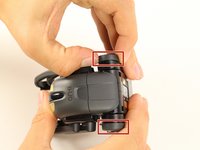
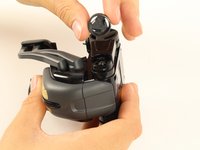
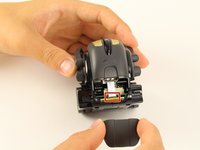
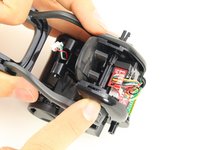
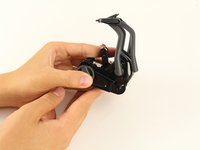
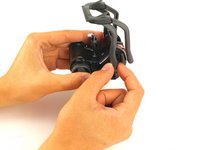
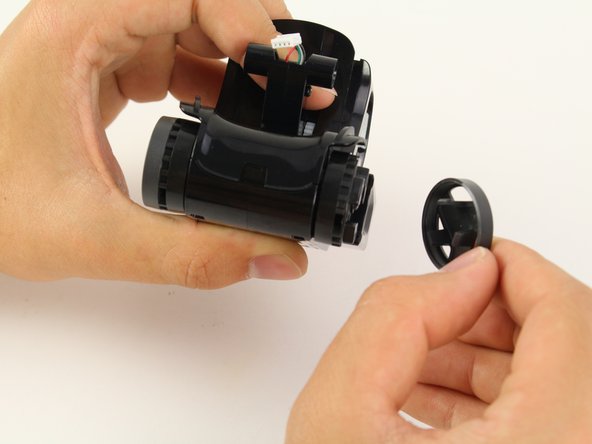
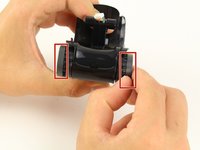
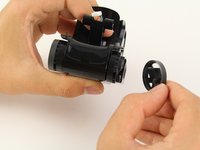
      • Pull off the covers attached to Vector's rear wheels.

      crwdns2952109:0crwdne2952109:0

      crwdns2917038:0crwdne2917038:0

    4. Anki Vector  Battery Replacement: crwdns2935265:09crwdnd2935265:01crwdnd2935265:03crwdne2935265:0 Anki Vector  Battery Replacement: crwdns2935265:09crwdnd2935265:02crwdnd2935265:03crwdne2935265:0 Anki Vector  Battery Replacement: crwdns2935265:09crwdnd2935265:03crwdnd2935265:03crwdne2935265:0
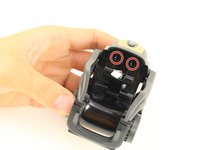
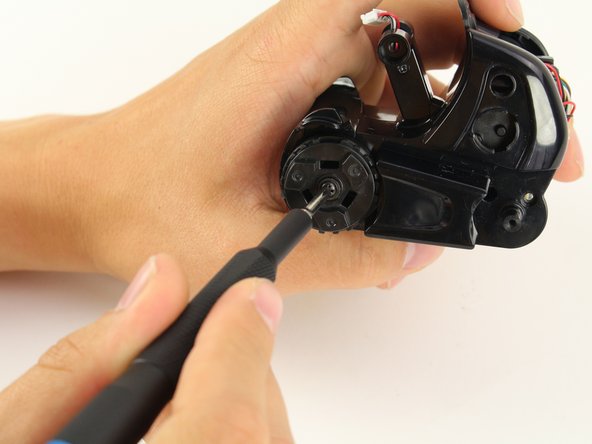
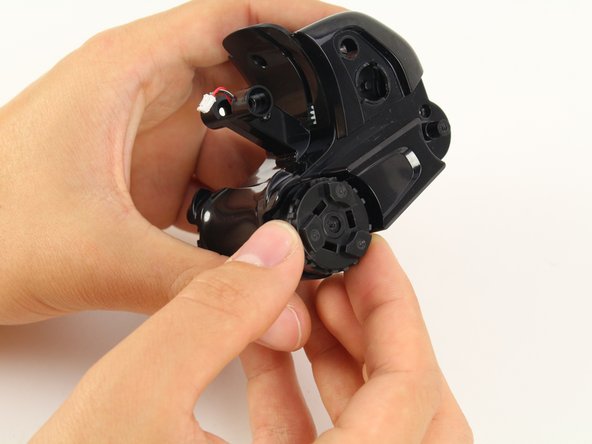
      • Unscrew the 2 mm screws located under the wheel covers using a Phillips #0 screwdriver.

      • Remove the rear wheel.

      crwdns2952109:0crwdne2952109:0

      crwdns2917038:0crwdne2917038:0

    5. Anki Vector  Battery Replacement: crwdns2935265:010crwdnd2935265:01crwdnd2935265:03crwdne2935265:0 Anki Vector  Battery Replacement: crwdns2935265:010crwdnd2935265:02crwdnd2935265:03crwdne2935265:0 Anki Vector  Battery Replacement: crwdns2935265:010crwdnd2935265:03crwdnd2935265:03crwdne2935265:0
      • Unscrew the two 2 mm body screws using a Phillips #0 screwdriver.

      crwdns2952109:0crwdne2952109:0

      crwdns2917038:0crwdne2917038:0

    6. Anki Vector  Battery Replacement: crwdns2935265:011crwdnd2935265:01crwdnd2935265:03crwdne2935265:0 Anki Vector  Battery Replacement: crwdns2935265:011crwdnd2935265:02crwdnd2935265:03crwdne2935265:0 Anki Vector  Battery Replacement: crwdns2935265:011crwdnd2935265:03crwdnd2935265:03crwdne2935265:0
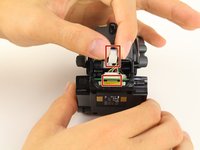
      • Using two fingers gently pull off the lower rear panel.

      • Using your fingers, unplug the ribbon connector.

      crwdns2952109:0crwdne2952109:0

      crwdns2917038:0crwdne2917038:0

    7. Anki Vector  Battery Replacement: crwdns2935265:012crwdnd2935265:01crwdnd2935265:03crwdne2935265:0 Anki Vector  Battery Replacement: crwdns2935265:012crwdnd2935265:02crwdnd2935265:03crwdne2935265:0 Anki Vector  Battery Replacement: crwdns2935265:012crwdnd2935265:03crwdnd2935265:03crwdne2935265:0
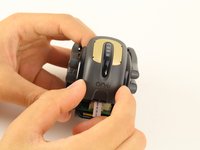
      • Unscrew the two screws behind vector's neck.

      • Remove the capacitive touch assembly.

      crwdns2952109:0crwdne2952109:0

      crwdns2917038:0crwdne2917038:0

    8. Anki Vector  Battery Replacement: crwdns2935265:013crwdnd2935265:01crwdnd2935265:02crwdne2935265:0 Anki Vector  Battery Replacement: crwdns2935265:013crwdnd2935265:02crwdnd2935265:02crwdne2935265:0
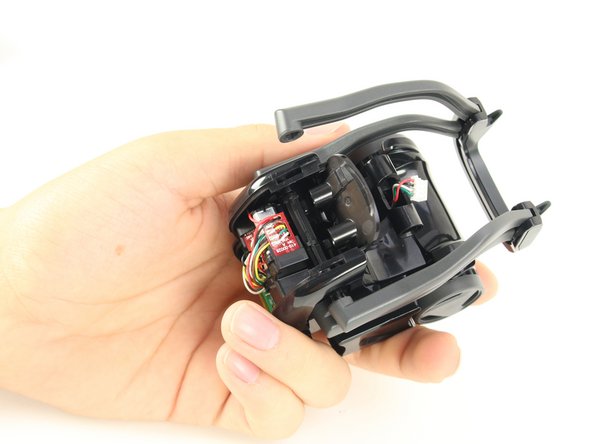
      • With a moderate amount of force pull one of vector's top arms away from his body until it disconnects from the shaft.

      crwdns2952109:0crwdne2952109:0

      crwdns2917038:0crwdne2917038:0

    9. Anki Vector  Battery Replacement: crwdns2935265:014crwdnd2935265:01crwdnd2935265:02crwdne2935265:0 Anki Vector  Battery Replacement: crwdns2935265:014crwdnd2935265:02crwdnd2935265:02crwdne2935265:0
      • Gripping the shaft with needle nosed pliers, pull the opposite top arm off the main shaft.

      crwdns2952109:0crwdne2952109:0

      crwdns2917038:0crwdne2917038:0

    10. Anki Vector  Battery Replacement: crwdns2935265:015crwdnd2935265:01crwdnd2935265:03crwdne2935265:0 Anki Vector  Battery Replacement: crwdns2935265:015crwdnd2935265:02crwdnd2935265:03crwdne2935265:0 Anki Vector  Battery Replacement: crwdns2935265:015crwdnd2935265:03crwdnd2935265:03crwdne2935265:0
      • Pinch one end of the arm shaft and push it into the body.

      • Grab the other end and pull the shaft out of the body.

      crwdns2952109:0crwdne2952109:0

      crwdns2917038:0crwdne2917038:0

    11. Anki Vector  Battery Replacement: crwdns2935265:016crwdnd2935265:01crwdnd2935265:03crwdne2935265:0 Anki Vector  Battery Replacement: crwdns2935265:016crwdnd2935265:02crwdnd2935265:03crwdne2935265:0 Anki Vector  Battery Replacement: crwdns2935265:016crwdnd2935265:03crwdnd2935265:03crwdne2935265:0
      • Raise vectors arms all the way up and gently pull each arm out of its socket.

      crwdns2952109:0crwdne2952109:0

      crwdns2917038:0crwdne2917038:0

    12. Anki Vector  Battery Replacement: crwdns2935265:017crwdnd2935265:01crwdnd2935265:02crwdne2935265:0 Anki Vector  Battery Replacement: crwdns2935265:017crwdnd2935265:02crwdnd2935265:02crwdne2935265:0
      • Pull the wheel covers off of Vectors forward wheels.

      crwdns2952109:0crwdne2952109:0

      crwdns2917038:0crwdne2917038:0

    13. Anki Vector  Battery Replacement: crwdns2935265:018crwdnd2935265:01crwdnd2935265:03crwdne2935265:0 Anki Vector  Battery Replacement: crwdns2935265:018crwdnd2935265:02crwdnd2935265:03crwdne2935265:0 Anki Vector  Battery Replacement: crwdns2935265:018crwdnd2935265:03crwdnd2935265:03crwdne2935265:0
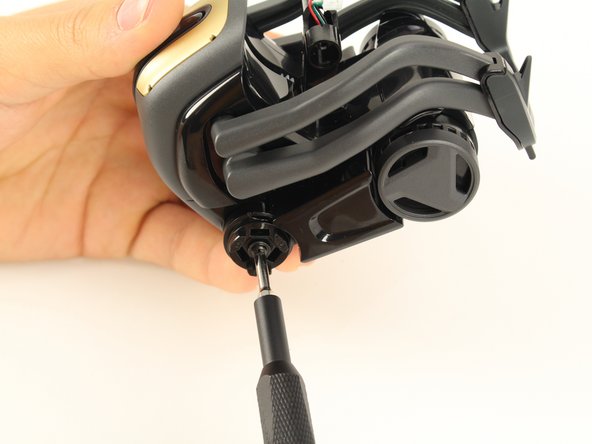
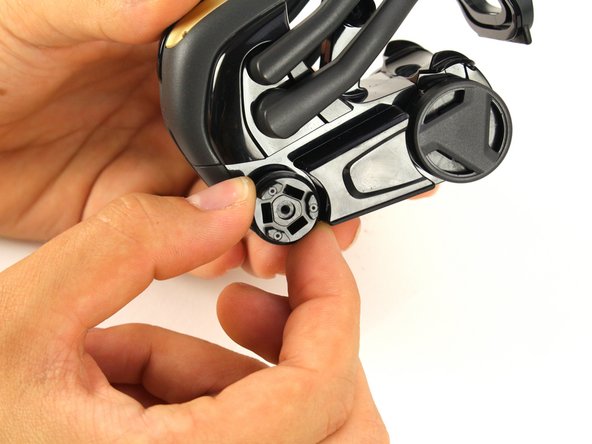
      • Using the same Phillips #0 screwdriver, unscrew the 2 mm screw under the wheel cover.

      • Gently pull the wheel off.

      crwdns2952109:0crwdne2952109:0

      crwdns2917038:0crwdne2917038:0

    14. Anki Vector  Battery Replacement: crwdns2935265:019crwdnd2935265:01crwdnd2935265:03crwdne2935265:0 Anki Vector  Battery Replacement: crwdns2935265:019crwdnd2935265:02crwdnd2935265:03crwdne2935265:0 Anki Vector  Battery Replacement: crwdns2935265:019crwdnd2935265:03crwdnd2935265:03crwdne2935265:0
      • Unscrew the two body screws located behind the front wheels.

      • Gently pull the cover from Vector's body

      • Be careful when removing the cover. The infrared sensor connects the cover to the body by wires.

      crwdns2952109:0crwdne2952109:0

      crwdns2917038:0crwdne2917038:0

    15. Anki Vector  Battery Replacement: crwdns2935265:020crwdnd2935265:01crwdnd2935265:03crwdne2935265:0 Anki Vector  Battery Replacement: crwdns2935265:020crwdnd2935265:02crwdnd2935265:03crwdne2935265:0 Anki Vector  Battery Replacement: crwdns2935265:020crwdnd2935265:03crwdnd2935265:03crwdne2935265:0
      • Gently unplug and remove the infrared sensor.

      crwdns2952109:0crwdne2952109:0

      crwdns2917038:0crwdne2917038:0

    16. Anki Vector  Battery Replacement: crwdns2935265:021crwdnd2935265:01crwdnd2935265:03crwdne2935265:0 Anki Vector  Battery Replacement: crwdns2935265:021crwdnd2935265:02crwdnd2935265:03crwdne2935265:0 Anki Vector  Battery Replacement: crwdns2935265:021crwdnd2935265:03crwdnd2935265:03crwdne2935265:0
      • Insert your Phillips #0 bit into a 4 mm nut driver and insert both into your bit driver.

      • Unscrew the three body screws.

      crwdns2952109:0crwdne2952109:0

      crwdns2917038:0crwdne2917038:0

    17. Anki Vector  Battery Replacement: crwdns2935265:022crwdnd2935265:01crwdnd2935265:02crwdne2935265:0 Anki Vector  Battery Replacement: crwdns2935265:022crwdnd2935265:02crwdnd2935265:02crwdne2935265:0
      • Gradually increasing applied force, pull the body apart.

      crwdns2952109:0crwdne2952109:0

      crwdns2917038:0crwdne2917038:0

    18. Anki Vector  Battery Replacement: crwdns2935265:023crwdnd2935265:01crwdnd2935265:03crwdne2935265:0 Anki Vector  Battery Replacement: crwdns2935265:023crwdnd2935265:02crwdnd2935265:03crwdne2935265:0 Anki Vector  Battery Replacement: crwdns2935265:023crwdnd2935265:03crwdnd2935265:03crwdne2935265:0
      • Remove the shoulder panel.

      • Remove the weight.

      crwdns2952109:0crwdne2952109:0

      crwdns2917038:0crwdne2917038:0

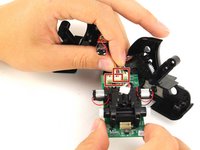
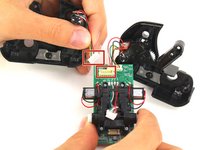
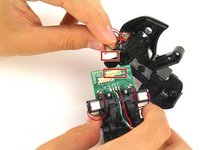
    19. Anki Vector  Battery Replacement: crwdns2935265:024crwdnd2935265:01crwdnd2935265:03crwdne2935265:0 Anki Vector  Battery Replacement: crwdns2935265:024crwdnd2935265:02crwdnd2935265:03crwdne2935265:0 Anki Vector  Battery Replacement: crwdns2935265:024crwdnd2935265:03crwdnd2935265:03crwdne2935265:0
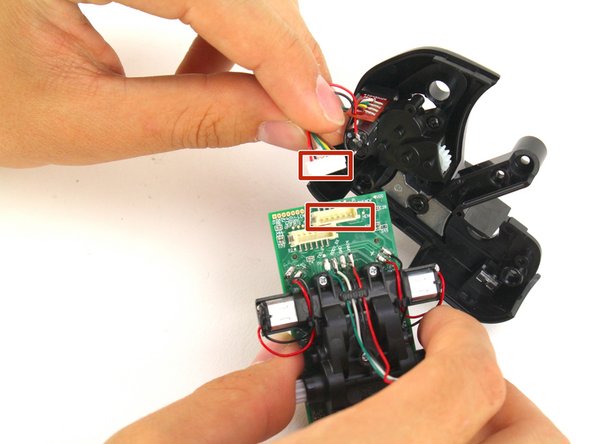
      • Unplug the two motor connectors from the motherboard.

      crwdns2952109:0crwdne2952109:0

      crwdns2917038:0crwdne2917038:0

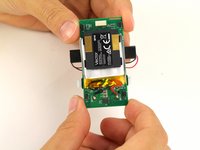
    20. Anki Vector  Battery Replacement: crwdns2935265:025crwdnd2935265:01crwdnd2935265:03crwdne2935265:0 Anki Vector  Battery Replacement: crwdns2935265:025crwdnd2935265:02crwdnd2935265:03crwdne2935265:0 Anki Vector  Battery Replacement: crwdns2935265:025crwdnd2935265:03crwdnd2935265:03crwdne2935265:0
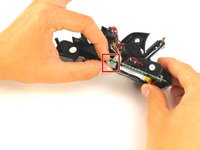
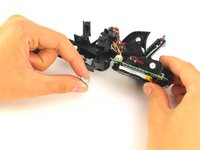
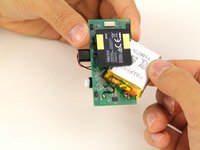
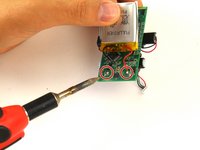
      • Wriggle the battery free from the motherboard.

      • Using a soldering iron, desolder the connections from the battery to the motherboard.

      crwdns2952109:0crwdne2952109:0

      crwdns2917038:0crwdne2917038:0

crwdns2915888:0crwdne2915888:0

To reassemble your device, follow these instructions in reverse order.

crwdns2935221:0crwdne2935221:0

crwdns2935229:049crwdne2935229:0

Shay Takei

crwdns2935283:004/16/19crwdne2935283:0

1.849 crwdns2915208:0crwdne2915208:0

crwdns2935297:05crwdne2935297:0

crwdns2935287:0crwdne2935287:0

Cal Poly, Team S2-G6, Maness Spring 2019 crwdns2935289:0Cal Poly, Team S2-G6, Maness Spring 2019crwdne2935289:0

CPSU-MANESS-S19S2G6

crwdns2931471:04crwdne2931471:0

crwdns2935297:060crwdne2935297:0

crwdns2947412:025crwdne2947412:0

Ok nice step by step guide but what are the specs for the battery as they’re not visable in any of the pictures…

John Fitzgerald - crwdns2934203:0crwdne2934203:0 crwdns2950251:0crwdne2950251:0
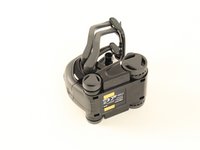
Part Number: Li-Ion Poly 500mAh #1578B

3.7V 500mAh

Brian - crwdns2934203:0crwdne2934203:0 crwdns2950251:0crwdne2950251:0

Who manages to do all of this in 7 minutes ? Apparently it is a 3.7V battery, question is what is the max size that fits ? 3.5 x 2.5 x 0.4 cm is reported to fit, 4x3x0.5 might as well.

Holger Brueckner - crwdns2934203:0crwdne2934203:0 crwdns2950251:0crwdne2950251:0
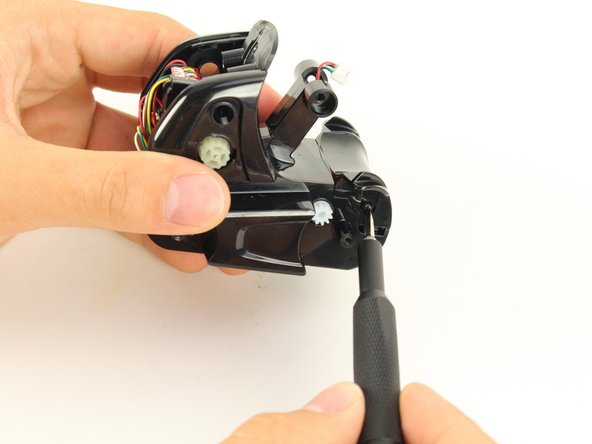
Who manages to do all of this is 7 minutes?

me

Kerigan Creighton - crwdns2934203:0crwdne2934203:0 crwdns2950251:0crwdne2950251:0
crwdns2917038:0crwdne2917038:0

crwdns2936625:0crwdne2936625:0:

crwdns2936751:024crwdne2936751:0 12

crwdns2936753:07crwdne2936753:0 103

crwdns2936753:030crwdne2936753:0 464

crwdns2942667:0crwdne2942667:0 35,545