crwdns2915892:0crwdne2915892:0
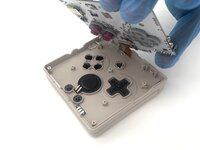
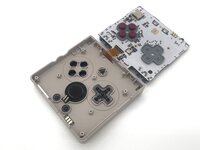
In this guide, we will show you how to safely replace the case of your Anbernic RG35XXSP handheld console.
Over time, the case of your device can become scratched, cracked, or damaged from regular use. A worn case can affect the appearance of your console and make it more vulnerable to further damage. Replacing it with a new case can improve durability and provide better protection for your device.
Common causes
- Cracks, scratches, or dents on the exterior
- Loose or broken buttons due to case wear
- The case doesn’t fit properly or is loose
- Significant wear and tear that affects the device’s appearance
This guide will walk you through each step of the case replacement process, with helpful tips to ensure a smooth and easy repair.
Before you begin the repair, power off and unplug your device.
crwdns2942213:0crwdne2942213:0
-
-
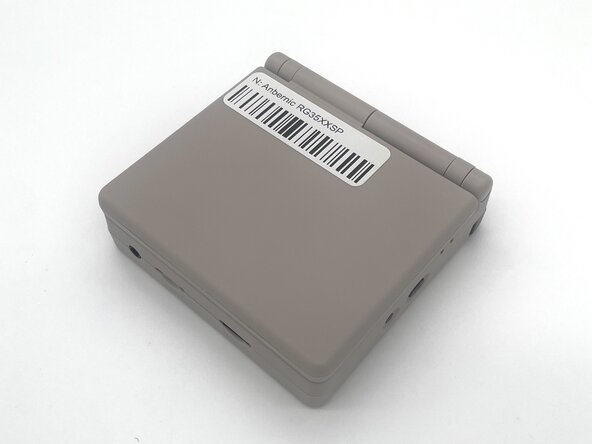
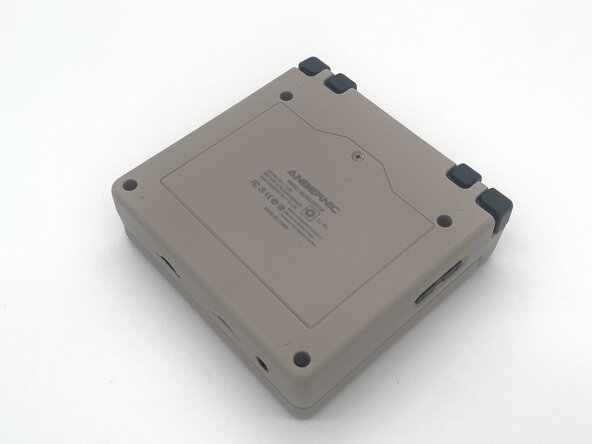
Close the device and turn it over so the bottom faces upward.
-
-
-
Use a Phillips #00 screwdriver to remove the single 5 mm screw securing the battery cover.
-
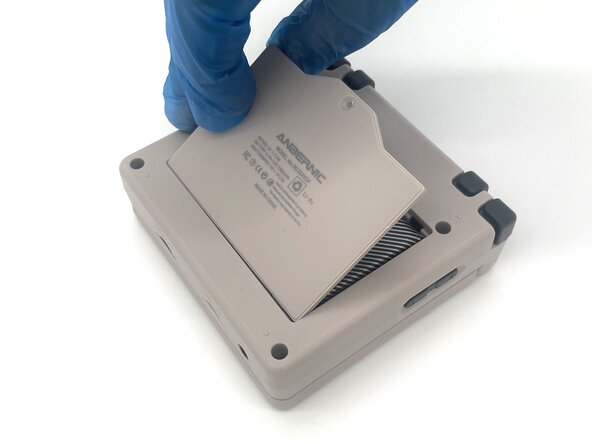
Lift the battery door and remove it.
-
-
-
Use a T6 Torx screwdriver to remove the four 5 mm screws.
-
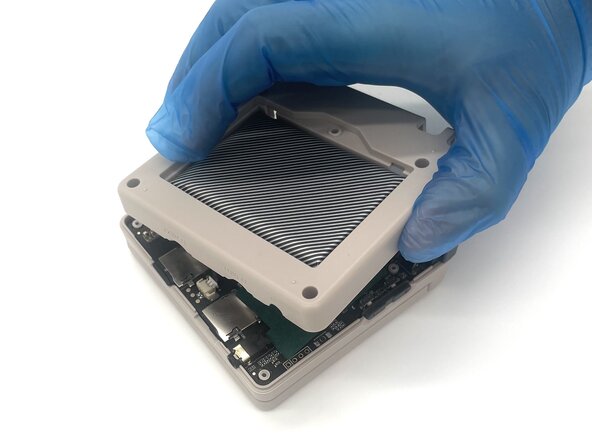
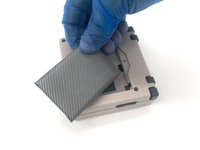
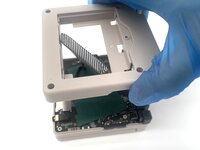
Lift the whole back case with the battery from the device.
-
-
-
Remove the battery from the back compartment and fit it through the gap in the back case.
-
Put the plastic case aside for reassembly.
-
-
-
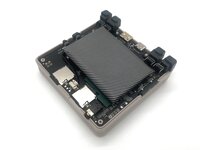
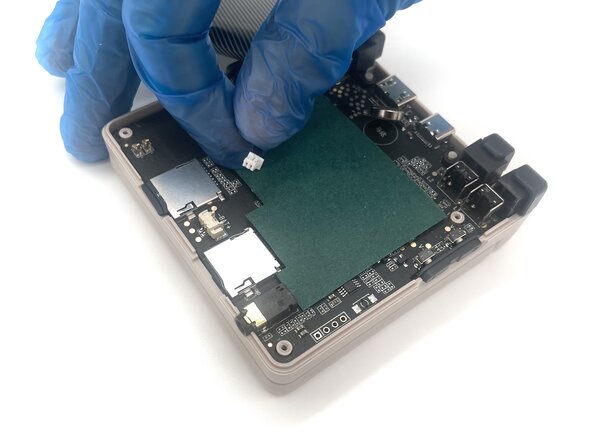
Pinch the sides of the battery connector and slide it from the socket to disconnect the battery cable.
-
Remove the battery.
-
-
-
-
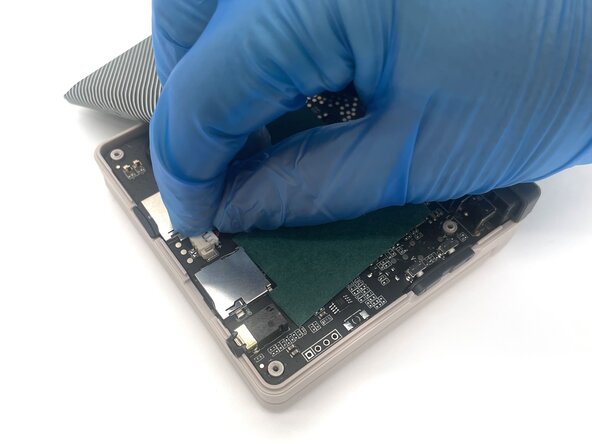
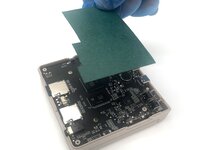
Lift up the green sheet of paper from the motherboard.
-
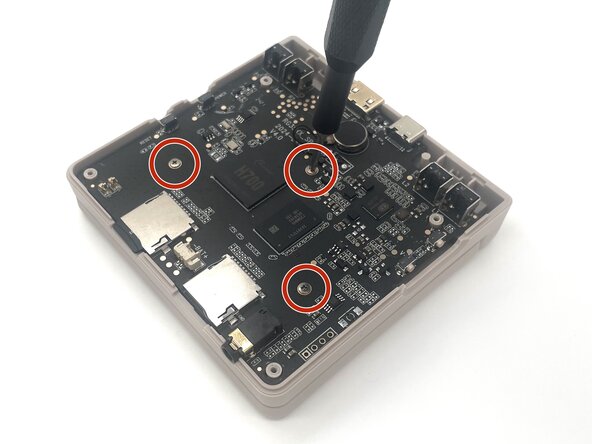
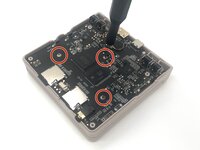
Use a Phillips #00 screwdriver to remove the three 5 mm screws from the motherboard.
-
-
-
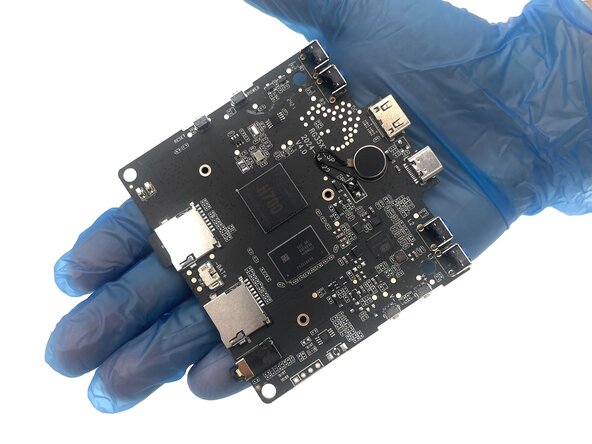
Pick up the motherboard and flip it over.
-
-
-
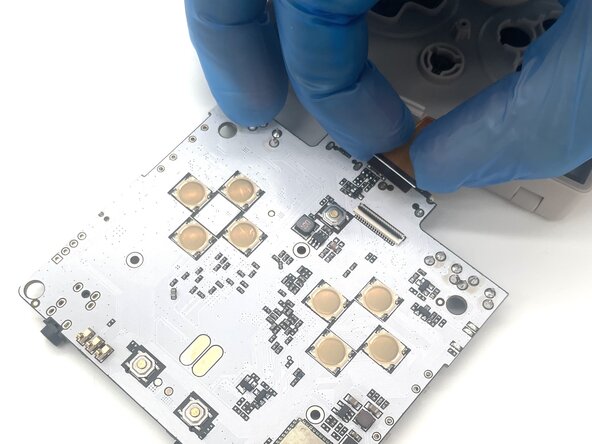
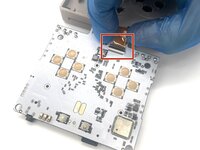
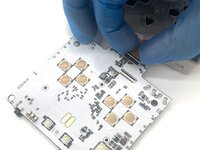
Use a spudger or a clean fingernail to flip up the black locking flap—this is the unlocked position.
-
Use tweezers or your fingers to gently pull the display cable out of its socket.
-
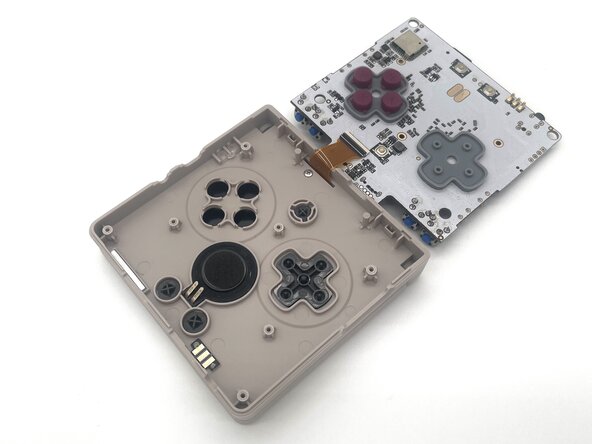
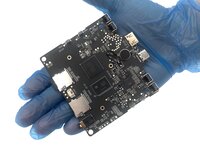
Remove the motherboard.
-
-
-
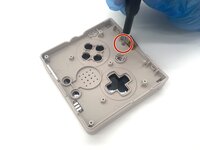
Use a Phillips #00 to remove the single 5 mm screw located next to the display ribbon cable.
-
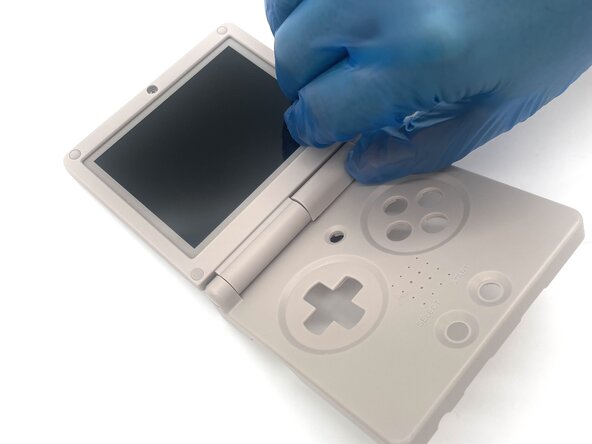
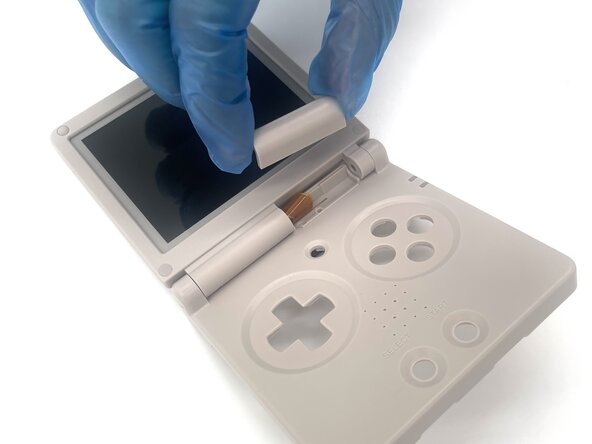
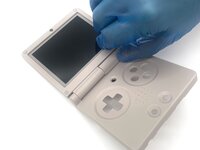
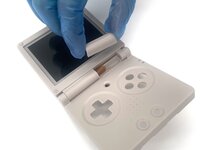
Flip the device over so it's facing up and remove the loose plastic hinge cover.
-
-
-
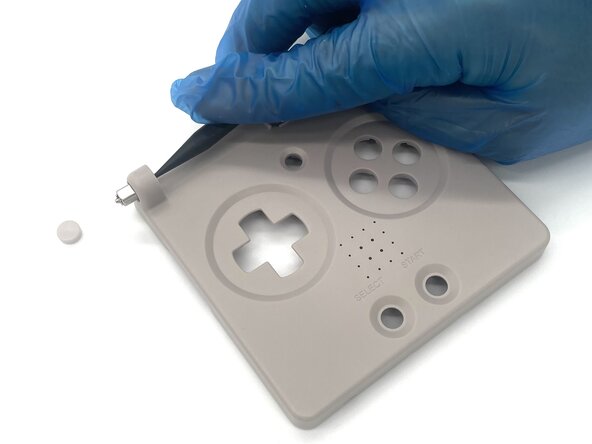
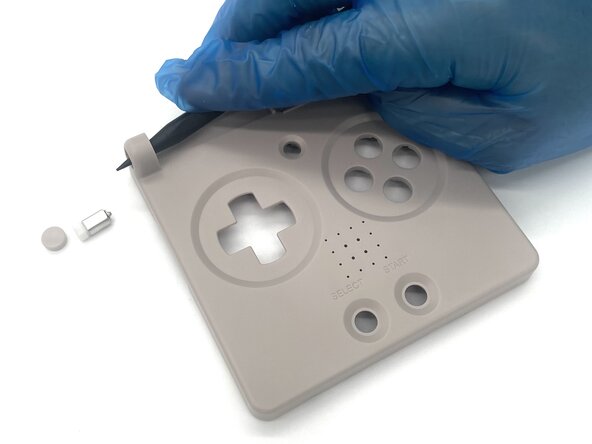
Use the pointed end of a spudger to push out the pin from the edge of the hinges.
-
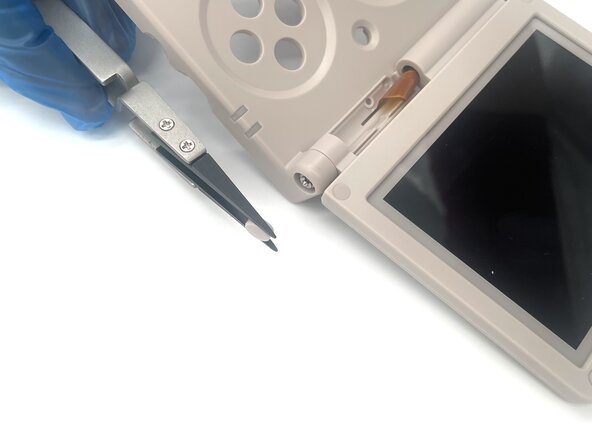
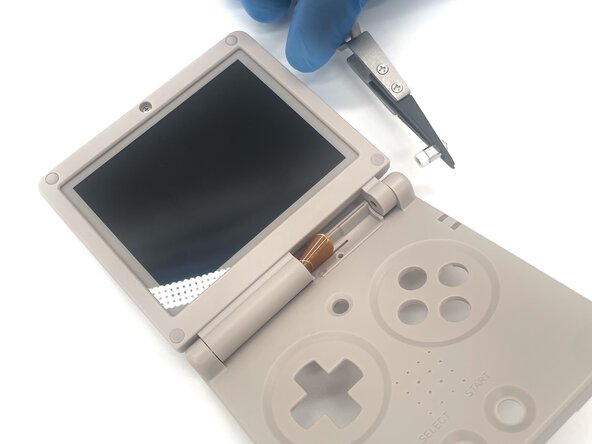
Use tweezers to pull both the plastic covering the pin and the pin itself.
-
-
-
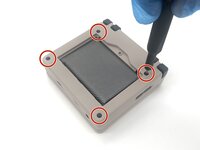
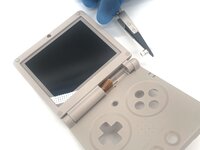
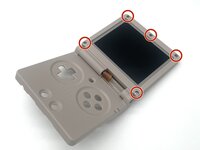
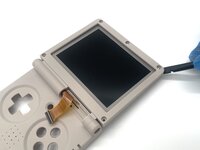
Use a spudger to pry off plastic screw covers from the screws around the edge of the screen.
-
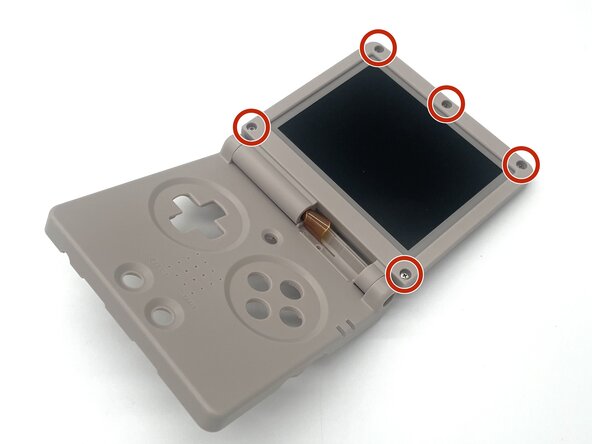
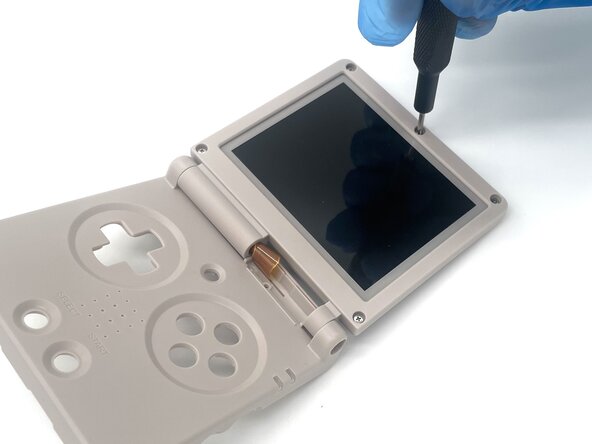
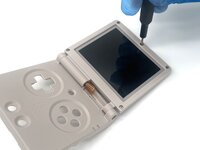
Use a Phillips #00 screwdriver to remove the five 5 mm screws around the bezel of the screen.
-
-
-
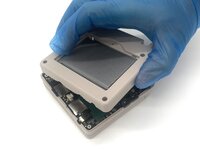
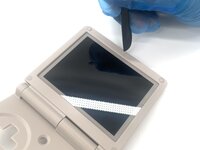
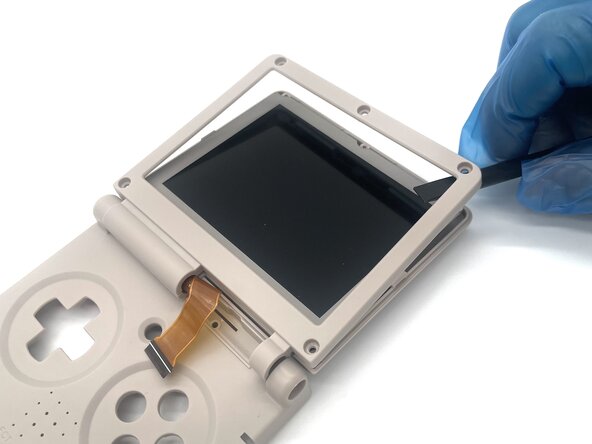
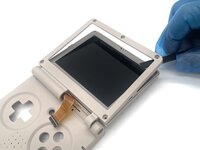
Place the end of a spudger in between the two layers of the screen cover and pry it open.
-
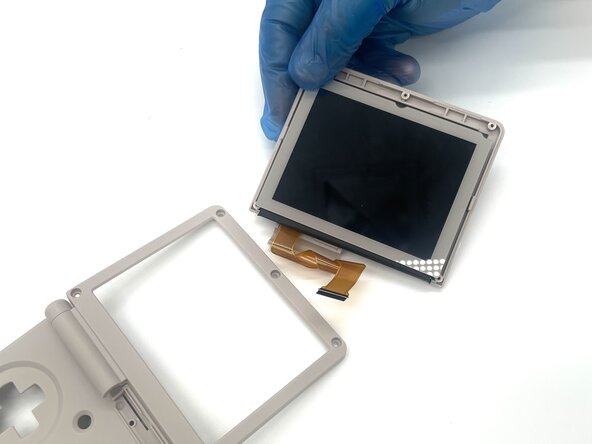
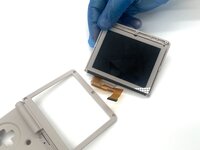
Remove the screen from the plastic casing.
-
-
-
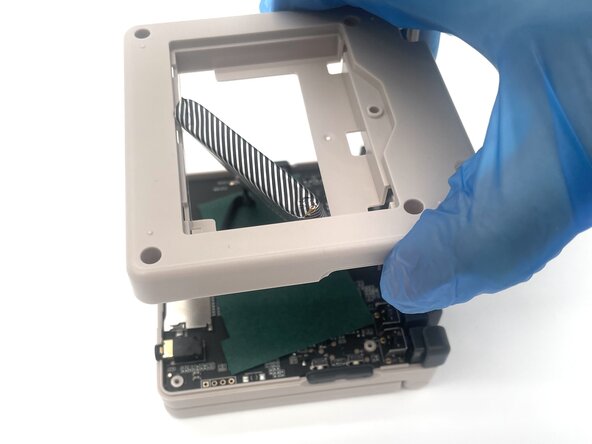
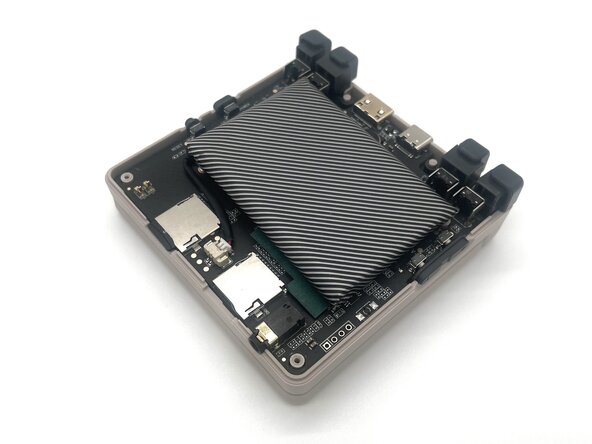
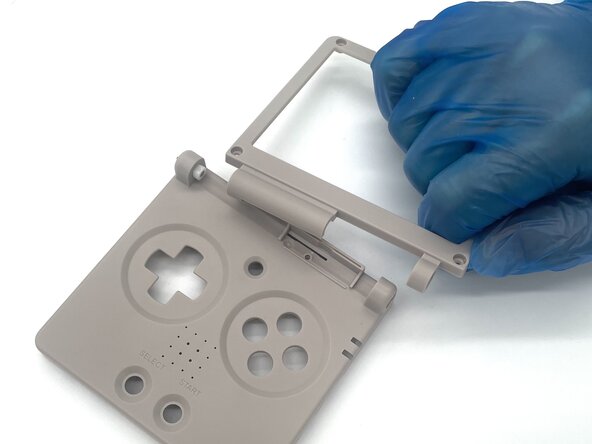
Detach the plastic screen cover from the device.
-
-
-
Use the pointed end of a spudger to push the last pin out of the hinge.
-
To reassemble your device, follow these instructions in reverse order. Take your e-waste to an R2 or e-Stewards certified recycler.
To reassemble your device, follow these instructions in reverse order. Take your e-waste to an R2 or e-Stewards certified recycler.
crwdns2935221:0crwdne2935221:0
crwdns2935229:04crwdne2935229:0

