crwdns2915892:0crwdne2915892:0
The Amazon Fire 8 HD 12th Generation has a screen that is useable for near every function necessary on the tablet. To put it lightly, you cannot use the tablet at all without a functioning screen. Possible things that can lead to a broken screen range from cracking/breaking the screen itself, your tablet not being up to date, or the screen is not responding to your input/touch.
In this guide we will show you how to replace a faulty screen. This guide is difficult so please take your time and be patient when performing the steps. You may want to have a pair of safety gloves. These can be used throughout the guide as there are dangers such as loose or broken glass cutting you.
crwdns2942213:0crwdne2942213:0
-
-
Put picks around the corner and move them along the edge to pry the case off.
-
Once there is separation between the case and the screen, place a pick in between the screen and on the corner of the back case.
-
-
-
With the corners lifted, take the opening tool and pry each corner off.
-
Repeat this for the corner diagonal from the initial corner.
-
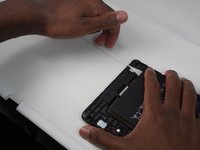
Once both corners are pried off, gently take the back case off the device.
-
-
-
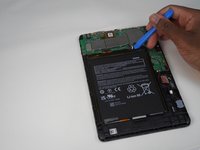
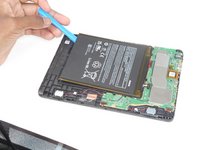
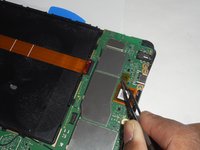
Using the iFixit opening tool, disconnect the battery from the circuit board.
-
-
-
-
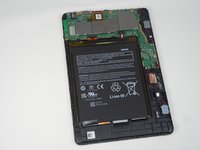
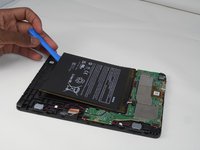
Slowly and gently, pull and remove the 3 adhesives under the old battery.
-
Remove all 3 by pulling the adhesive, signified by a black flap with white adhesive. You will know it is removed when the adhesive has come out from under the battery and you are now able to move the battery.
Why is removing the battery necessary for screen replacement? This step and the next step seem unnecessary.
-
-
-
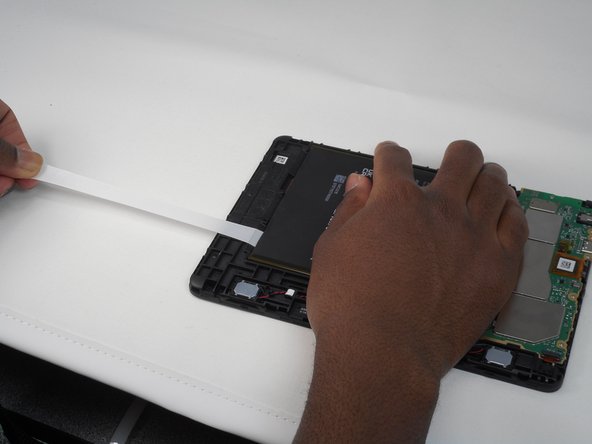
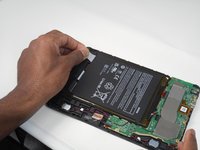
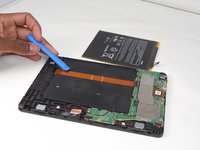
Remove the old battery from the device using the opening tool.
-
If necessary, clean under your old battery and then insert the new battery with new adhesive to ensure the battery stays in place.
-
-
-
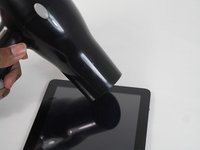
Start off by heating the edges of the screen to melt the adhesive.
-
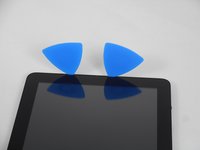
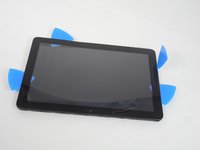
Insert the opening picks between the screen and device.
-
-
-
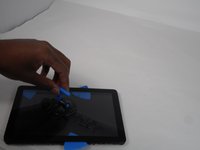
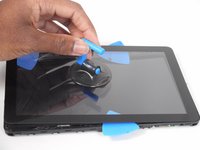
Slide the opening pick in between the screen and device, prying it just above the device.
-
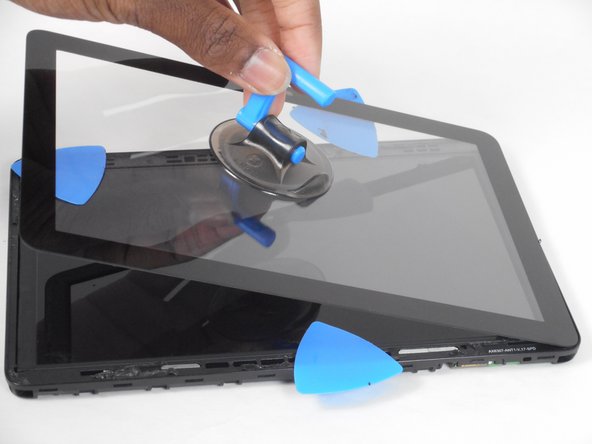
Place the suction on the screen
-
-
-
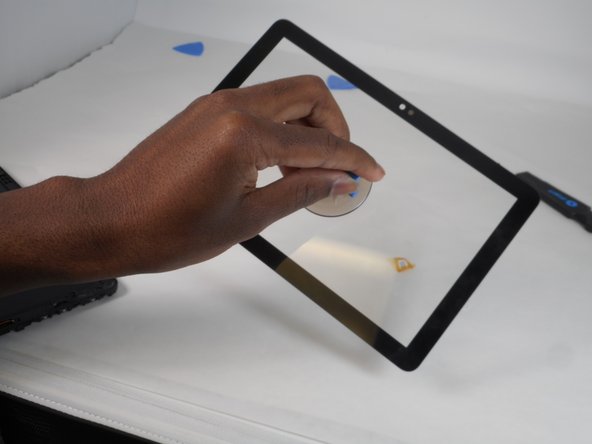
Gently pull the screen off using the suction and opening tool.
-
-
crwdns2935267:0crwdne2935267:0Tweezers$4.99
-
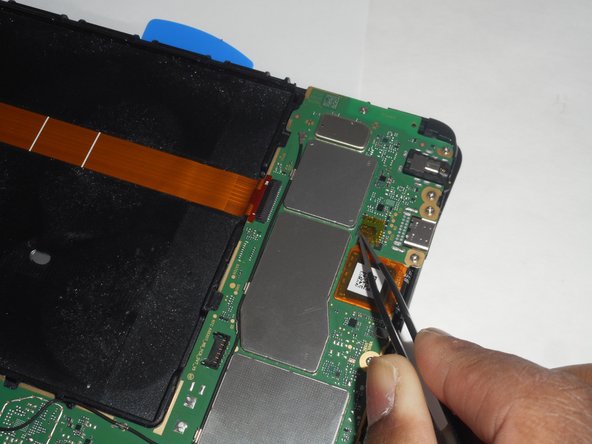
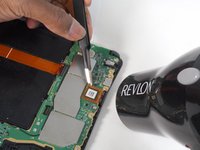
Heat up the little black square with yellow orange tape around it on the back of the device, atop the motherboard.
-
Once heated, remove the little black square using tweezers. Unhooking the screen from the screen.
-
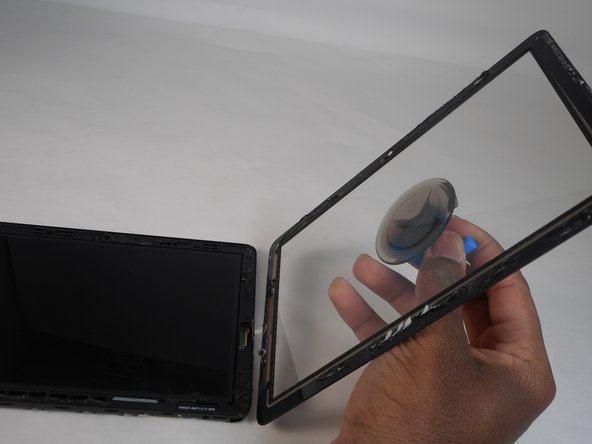
Pulling the suction cup, fully remove the screen from the device.
-


To reassemble your device, follow these instructions in reverse order.
To reassemble your device, follow these instructions in reverse order.

crwdns2915084:0crwdne2915084:0

University of Memphis, Team 1-1, Sneed Fall 2023 crwdns2935289:0University of Memphis, Team 1-1, Sneed Fall 2023crwdne2935289:0
UM-SNEED-F23S1G1
crwdns2931471:04crwdne2931471:0
crwdns2935297:07crwdne2935297:0
crwdns2947410:01crwdne2947410:0
Where can i buy a replacement screen?