crwdns2915892:0crwdne2915892:0
Use this guide to replace the motherboard in your Amazon Fire HD 10.
crwdns2942213:0crwdne2942213:0
-
-
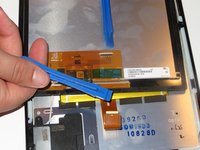
Use a plastic opening tool to pry the screen up in the right hand corner.
-
-
-
Lift the screen and digitizer from the case.
What is a ZIP connector? What does it look like?
Hi Beldenr! We happen to have a handy guide for a lot of different types of connectors, including ZIF connectors.
-
-
-
Disconnect the ribbon connector from the digitizer side using your hands or the plastic opening tool.
-
-
-
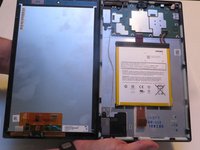
Remove the screen and digitizer from the case completely.
-
-
-
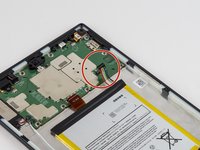
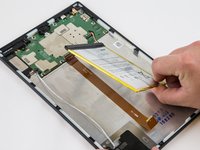
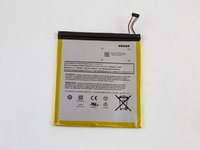
Locate the power cable that links the battery to the motherboard.
-
Carefully unplug the battery power cable to disconnect the battery from the motherboard.
Battery removal is optional for the motherboard, but is a great addition to this guide for completeness.
-
-
-
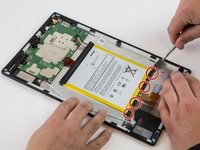
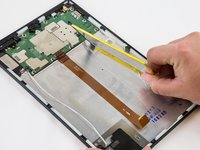
Begin by locating the double sided pull tape locations.
-
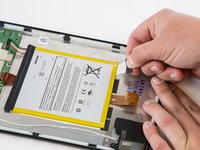
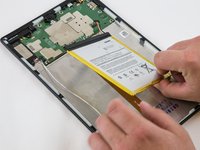
Pull the black soft tabs to release the tape's adhesion.
-
Do this to all 4 tabs until the battery is completely free of adhesion to the device's backing.
Why not heating the tabs a little to take battery easier
There are no tabs on mine. Hd10 plus 11th gen. Can I just buy a new battery tray? Where?
-
-
-
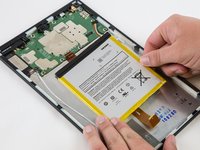
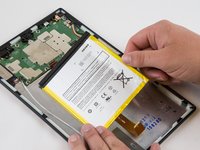
After the battery is totally free of any adhesion, simply lift the battery from the case.
-
-
-
-
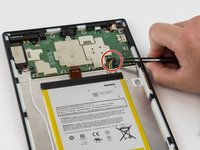
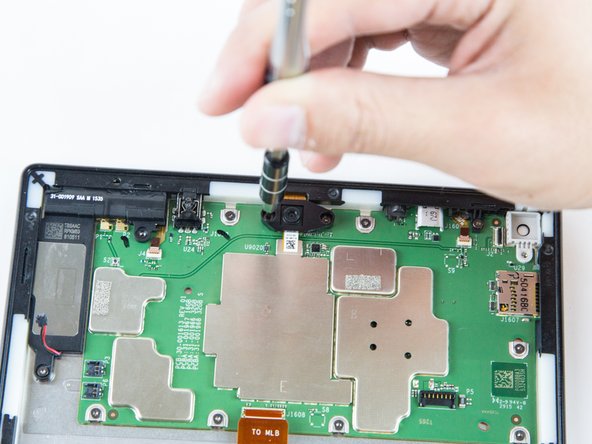
Remove the single T5 Torx screw at the base of the camera.
-
-
-
Lift the camera from the case using the plastic opening tool.
-
-
-
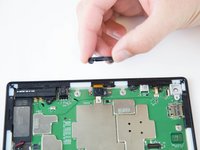
Gently grab the camera and pull to remove.
-
The camera is now free from the motherboard.
-
-
-
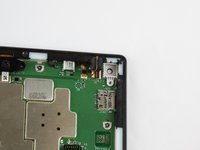
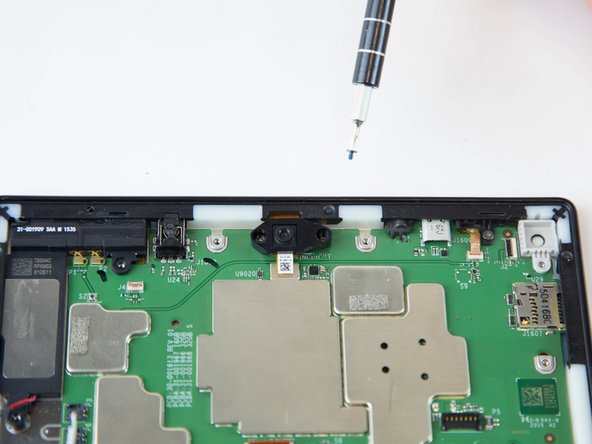
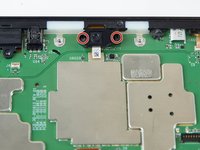
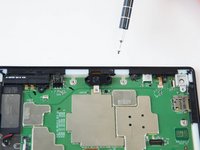
Remove the two screws from front facing camera using the T5 Torx Screwdriver.
-
-
-
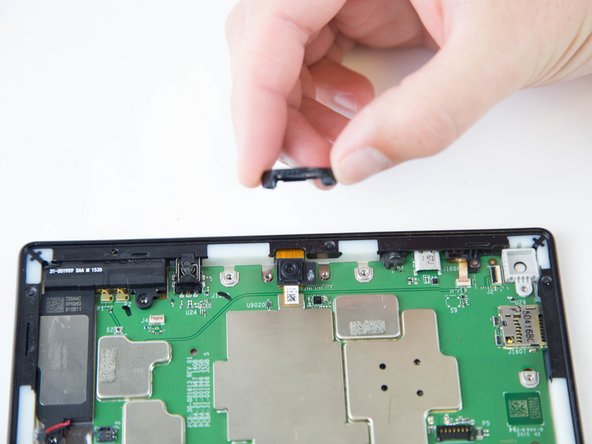
Lift the black plastic cover once the screws are removed.
-
Place aside for later reassembly.
-
-
-
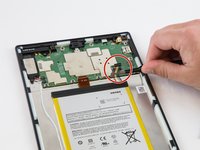
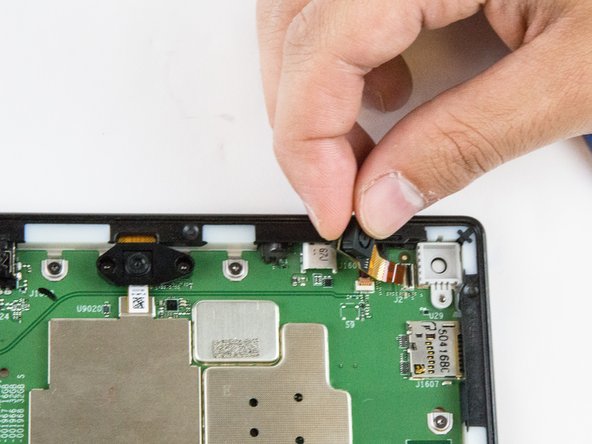
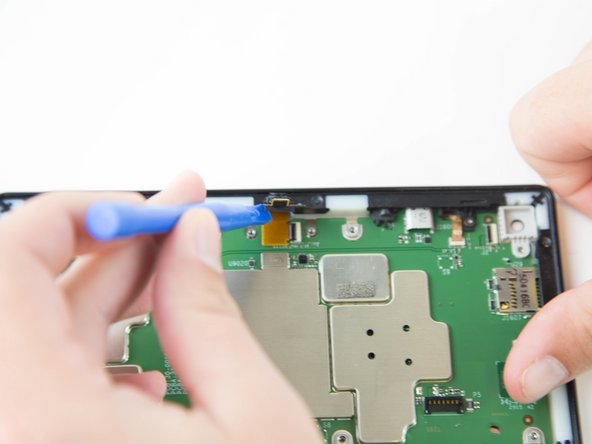
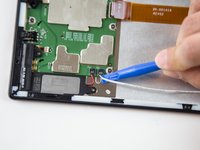
Detach the connector using a plastic opening tool or spudger.
-
-
-
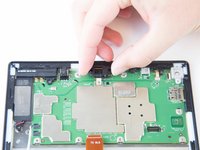
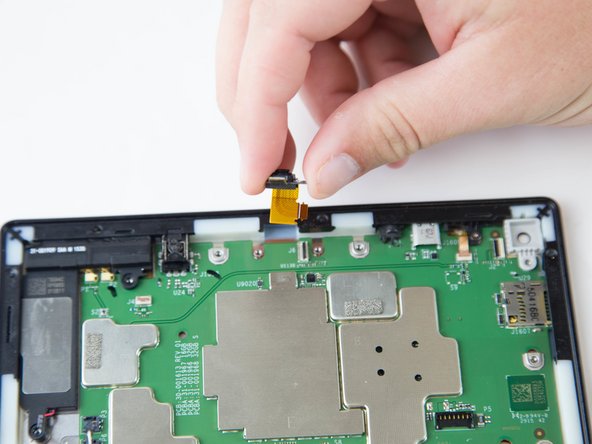
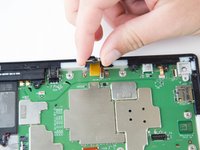
Grip the camera and lift up to detach the ZIF connector from the motherboard.
-
-
-
Lift the ZIF connector up to disconnect from the motherboard.
-
-
-
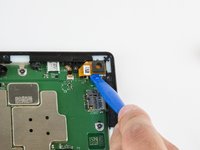
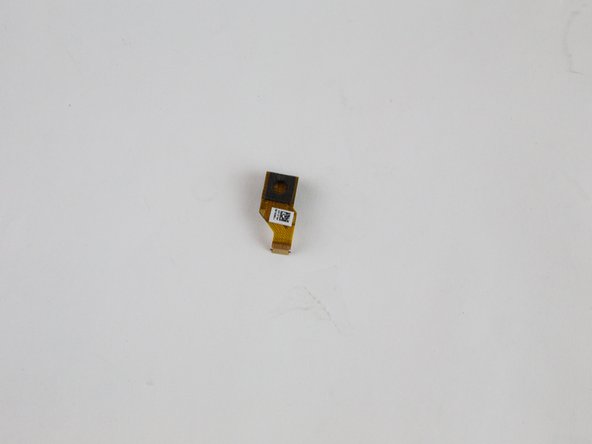
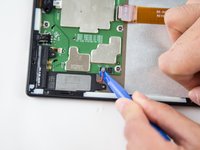
Disconnect the connectors using the plastic opening tool.
-
-
-
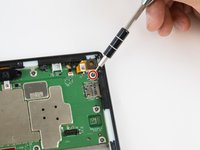
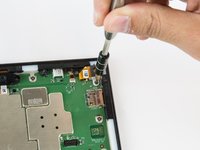
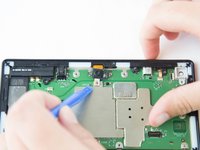
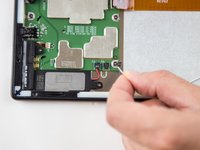
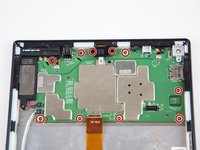
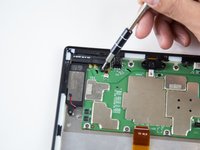
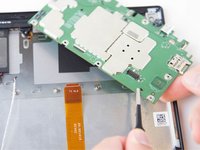
Remove the ten T5 Torx screws securing the motherboard to the case.
Before moving to the removal of the motherboard, there are VERY small and EXTREMELY breakable ZIF sockets for the power button and volume buttons. I didn't realize this and started to pull the motherboard out. Thankfully they disengaged but the flaps that lock them back in are nearly paper thin. Use caution, particularly when reinstalling and closing the ZIF sockets. Lastly the power button was lose in my deinstallation because I removed the screw. It's not necessary to remove that screw.
-
-
crwdns2935267:0crwdne2935267:0Tweezers$4.99
-
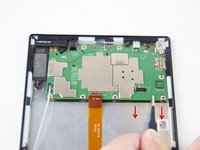
Lift and pull the motherboard down, gently, towards the case using the tweezers.
-


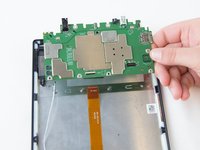
To reassemble your device, follow these instructions in reverse order.
To reassemble your device, follow these instructions in reverse order.
crwdns2935221:0crwdne2935221:0
crwdns2935229:014crwdne2935229:0

crwdns2915084:0crwdne2915084:0

USF Tampa, Team 16-6, Blackwell Winter 2016 crwdns2935289:0USF Tampa, Team 16-6, Blackwell Winter 2016crwdne2935289:0
USFT-BLACKWELL-W16S16G6
crwdns2931471:03crwdne2931471:0
crwdns2935297:022crwdne2935297:0
crwdns2947412:06crwdne2947412:0
Just for the record, my screws were T4, not T5.
Where is a reliable store to buy this motherboard?
what you left out is the speakers are they still attached to the motherboard you get 15 points
Is this the Kindle? Not the Tablet?
I have exhausted all online searches for a new HD Fire 10.1 7 generation motherboard replacement and have not been able to locate one anywhere do you have any places you know of that sell these types of motherboards?
Thanks,
Al Silva
iI am tired of searching for T76N2B motherboard replacement. Any help will be much appreciated
The right side with the power switch on top?
Sonny Shear - crwdns2934203:0crwdne2934203:0
Where is the right hand corner? Is it the corner nearest the USB connector? Farthest from USB connector?
Thanks!
Steve Ciciora - crwdns2934203:0crwdne2934203:0
What if there are no pull tabs? It is stuck down on both sides in a metal tray. This is an hd 10 plus 11th generation.
Traci R - crwdns2934203:0crwdne2934203:0