crwdns2915892:0crwdne2915892:0
This guide will help you to replace the motherboard for the Alienware Pro Wireless Gaming Mouse (model name PRO-MS and PRO-M-D).
The motherboard is the central computing component that allows all of the physical inputs on the mouse to be translated into the computer. This guide will show you how to remove all the parts necessary to access the motherboard and how to remove the motherboard itself.
Please note that the motherboard is prone to damage, so be careful when replacing it. Hold the new motherboard by the edges and avoid touching the board surface.
Before you begin the repair, power off the mouse and disconnect it from any devices or the charger.
crwdns2942213:0crwdne2942213:0
-
-
Flip the mouse over so the bottom is facing up..
-
Use an opening pick to gently peel the mouse foot off the bottom case.
 crwdns2952109:0crwdne2952109:0
-
-
-
Peel and remove the other mouse foot.
-
-
-
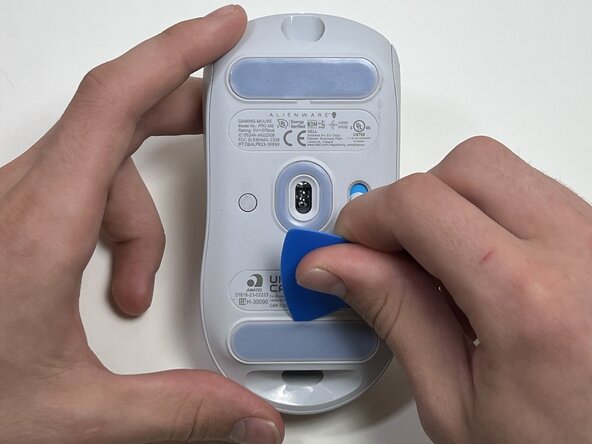
Use a TR6 Torx security screwdriver to remove the four 6 mm screws under the foot pads.
-
-
-
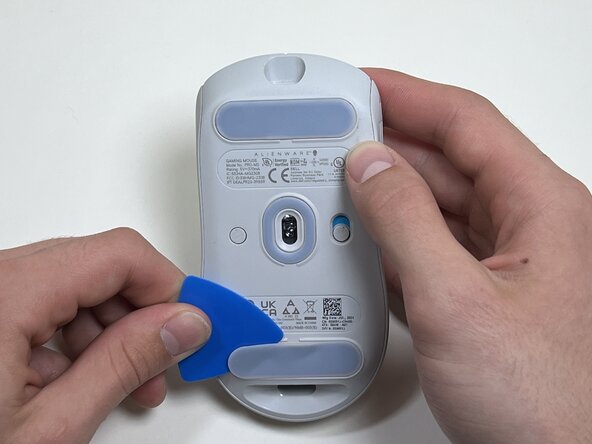
Use your hands or a spudger to separate the bottom and top of the mouse.
-
Insert the end of the spudger in the seam between the top and bottom case, and slide it around the perimeter to release the clips holding it together.
-
-
-
-
Use the pointed end of a spudger to push on alternating sides of the battery connector to "walk" it out of its socket.
-
-
-
Use an opening tool or spudger to loosen the adhesive under the battery.
-
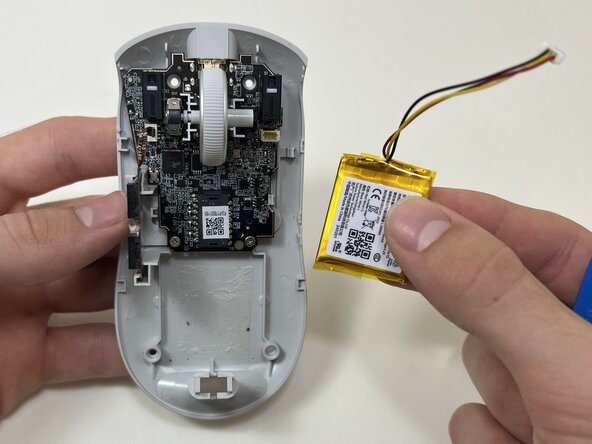
Remove the battery.
-
-
-
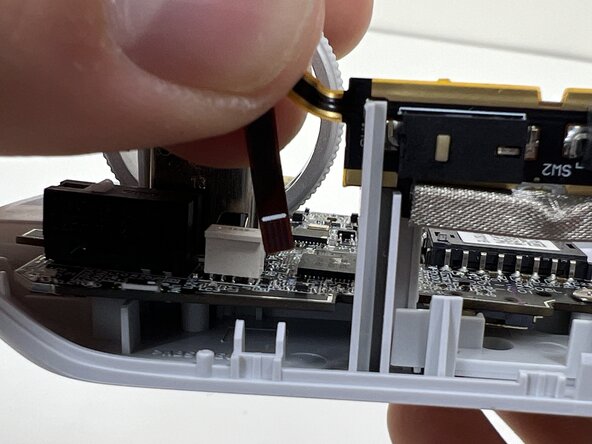
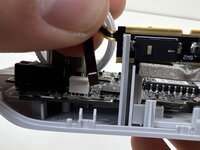
Pinch the upper part of the ribbon cable.
-
Pull the ribbon cable gently to detach it from the socket on the motherboard.
-
-
-
Lift the side button panel from the plastic frame.
-
-
-
Hold the scroll wheel encoder steady and gently pull the scroll wheel to the right to remove it.
-
-
-
Use a Phillips #00 screwdriver to remove the two 5 mm screws at the bottom of the motherboard.
-
-
-
Gently pull the side clip away from the motherboard to release it from the plastic frame.
-
-
-
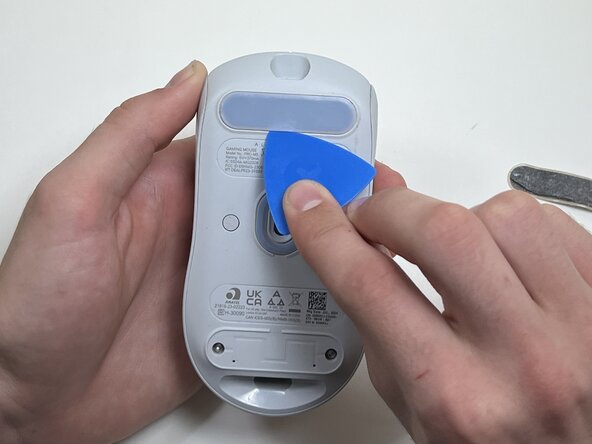
Bend the front nose of the mouse body to release the motherboard.
-
Remove the motherboard from the bottom case.
-


To reassemble your device, follow these instructions in reverse order. Take your e-waste to an R2 or e-Stewards certified recycler.

crwdns2935287:0crwdne2935287:0

Austin Community College, Team 10-3, Watkins Fall 2025 crwdns2935289:0Austin Community College, Team 10-3, Watkins Fall 2025crwdne2935289:0
AUSTINCC-WATKINS-F25S10G3
crwdns2931471:04crwdne2931471:0
crwdns2935297:07crwdne2935297:0