crwdns2915892:0crwdne2915892:0
If you are having difficulty charging your Acer Spin SP513-52N due to a faulty charging port, there is an easy fix.
This repair is needed because having a faulty charging port is a frequent issue for many consumers. The charging port can sometimes burn out if the fan stops working and the device gets too hot.
Before beginning this repair, turn off the device and unplug the laptop from the charger. It is also a wise to disconnect and/or remove the internal battery.
crwdns2942213:0crwdne2942213:0
-
-
Use a Phillips #0 screwdriver to remove twelve 6.0 mm screws from the back panel.
-
-
-
Use an opening tool in the seam of back case and slide it around the perimeter to release the clips securing it to the top case.
-
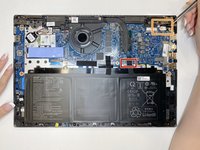
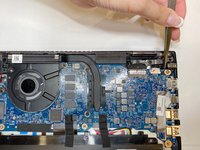
Remove the back case to reveal the internals of the laptop.
-
-
crwdns2935267:0crwdne2935267:0Tweezers$4.99
-
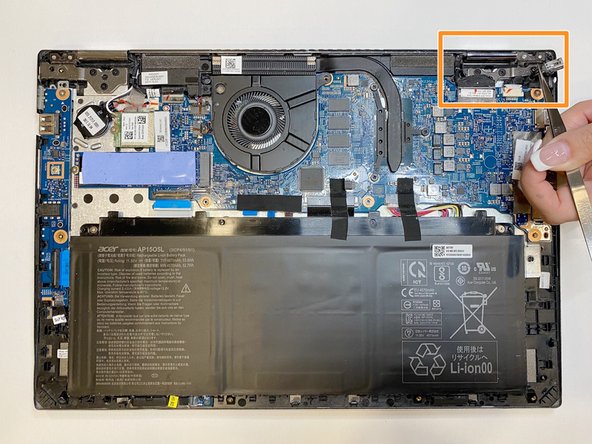
Unplug the broken charging port from the motherboard with tweezers.
-
-
-
-
Use the tweezer to remove the broken charging port from the motherboard.
-
-
-
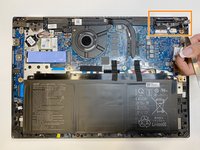
Use tweezers to insert the new charging port securely.
-
-
-
Place the back case onto the laptop and press down around the edges of the perimeter.
-
-
-
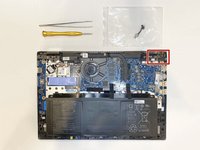
Use a Phillips #0 screwdriver to fasten the twelve 6.0 mm screws back into place.
-


To reassemble your device, follow these instructions in reverse order. Apply new adhesive where necessary after cleaning the relevant areas with isopropyl alcohol (>90%). Take your e-waste to an R2 or e-Stewards certified recycler.
To reassemble your device, follow these instructions in reverse order. Apply new adhesive where necessary after cleaning the relevant areas with isopropyl alcohol (>90%). Take your e-waste to an R2 or e-Stewards certified recycler.
crwdns2915084:0crwdne2915084:0

York University, Team B-4, Allen Fall 2022 crwdns2935289:0York University, Team B-4, Allen Fall 2022crwdne2935289:0
YORK-ALLEN-F22SBG4
crwdns2931471:03crwdne2931471:0
crwdns2935303:01crwdne2935303:0