crwdns2942213:0crwdne2942213:0
-
-
Flip the laptop to show the bottom side.
-
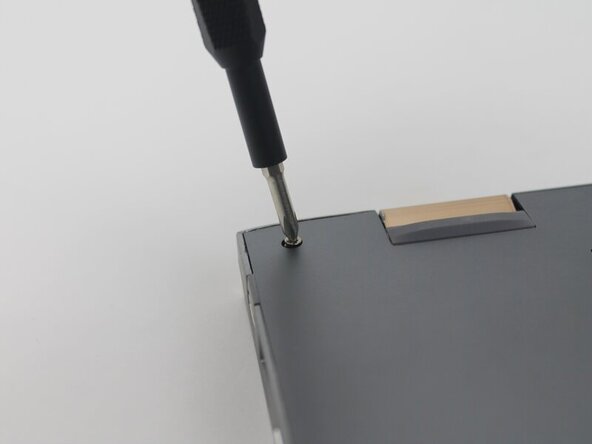
Remove the nine 6.5 mm screws using a JIS #1 screwdriver.
-
-
-
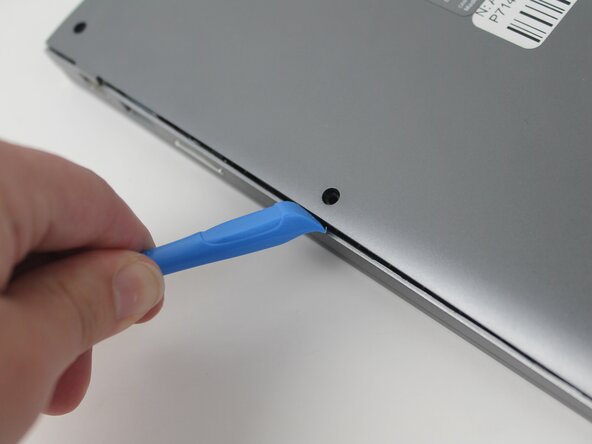
Use a plastic opening tool to separate the outer casing and panel; gently work the tool around the entire outer edge
-
-
-
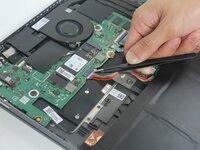
Peel off the tape covering the wires.
-
-
-
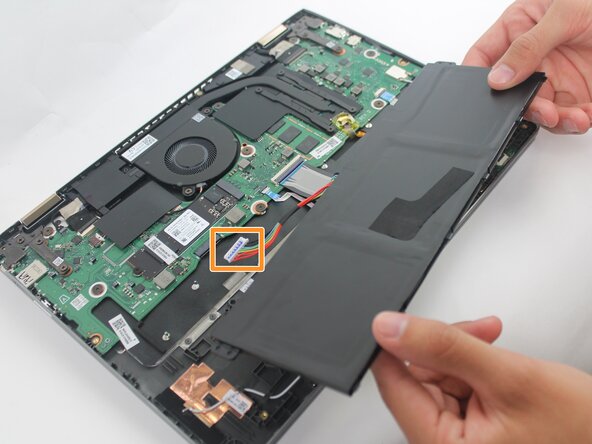
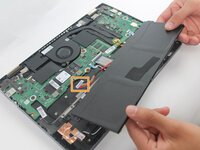
Lift the battery from its studs, and place it closer to you.
-
Unplug the rainbow wires connecting the battery to the motherboard.
-
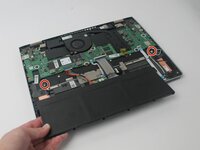
Remove the battery from the laptop.
-
-
-
-
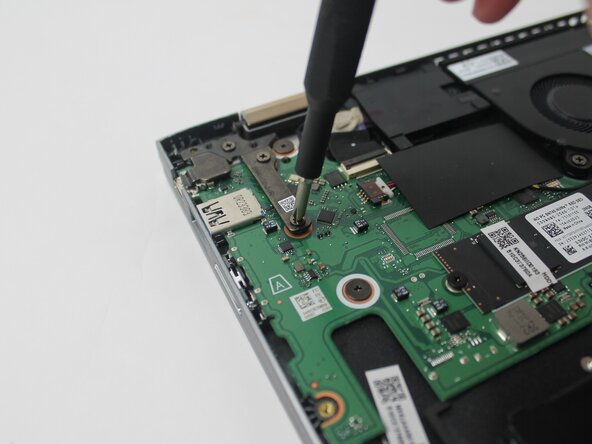
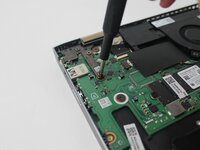
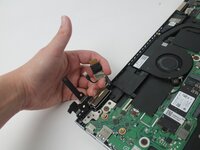
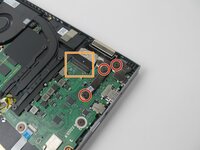
Remove the three 4.6 mm screws holding the left-side screen bracket to the internal components using a JIS #1 screwdriver.
-
-
-
Flip the bracket away from its original location.
-
-
-
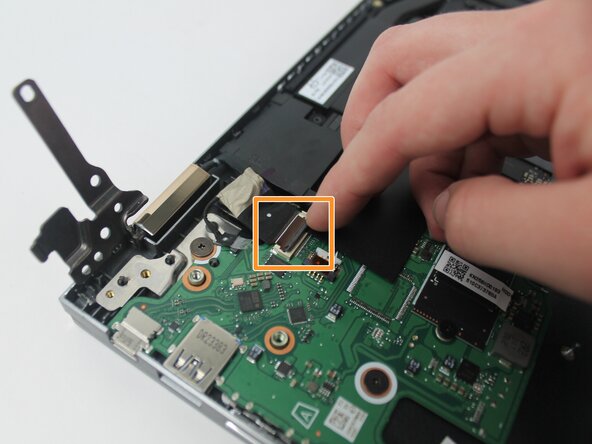
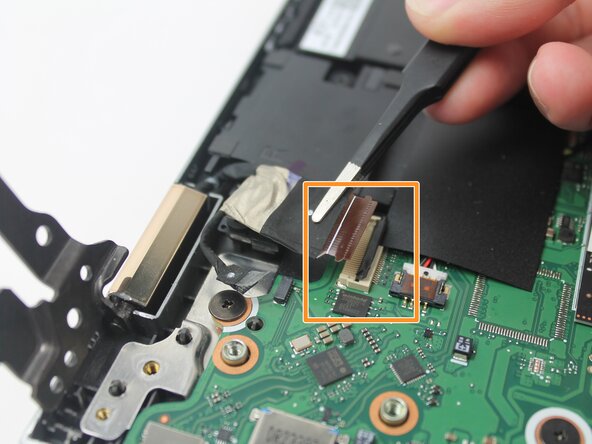
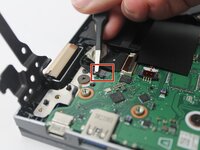
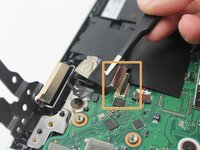
Remove the clear tape securing the smaller wire.
-
Flip the small black clip securing the larger wire.
-
-
-
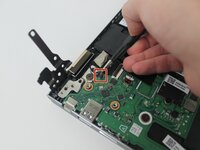
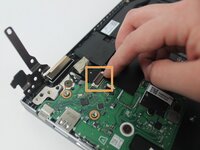
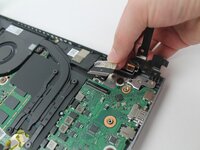
Unplug the smaller wire.
-
Lift the larger wire, if it is still in place.
-
-
-
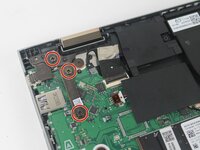
Remove the three 4.6 mm screws holding the right-side screen bracket to the internal components using a JIS #1 screwdriver.
-
Disconnect the ribbon cable from the motherboard.
-
-
-
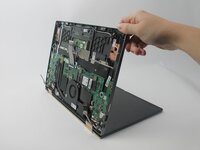
Remove the panel you've been working on.
-
Lift from the front edge of the panel, so that it and the screen form a 90 degree angle.
-
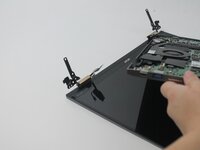
Pull the electrical panel straight back, away from the hinges/brackets. It shouldn't require any force.
-


To reassemble your device, follow these instructions in reverse order.
To reassemble your device, follow these instructions in reverse order.
