crwdns2915892:0crwdne2915892:0
To improve the quality of your Acer Aspire 5734z-4836 speaker. Few prerequisites are required of the front panel removal, but overall to replacement the speaker a couple additional screws needs to be remove and disconnecting the speaker wires.
crwdns2942213:0crwdne2942213:0
-
-
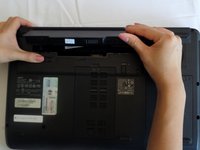
Flip your laptop on its back so the battery is facing up and the hinges are facing away from you.
-
-
-
Slide the right latch down to unlock the battery.
-
-
-
Slide and hold the left latch below the battery.
-
While holding this latch in place, pry the battery up from its bottom edge.
-
Lift the old battery out of its compartment.
-
-
-
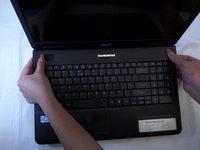
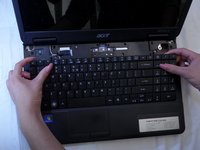
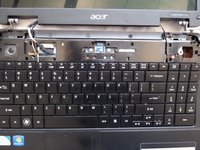
Pinch the edges of the plastic covering above the keyboard, and pull away from the laptop until the covering pops off.
-
-
-
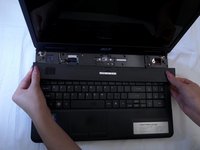
Pull the keyboard off gently so not to damage the keyboard ribbon cable.
-
-
-
Using a spudger or your finger, unlock the ZIF connector holding the keyboard ribbon in place by lifting the black locking lever.
-
Pull the blue keyboard ribbon cable from the ZIF connector.
-
-
-
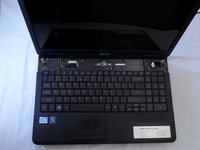
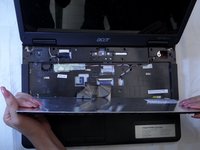
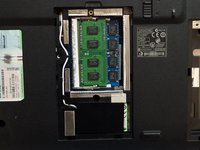
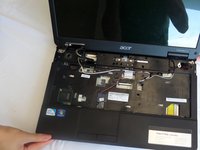
Begin with the laptop placed on its bottom and the empty keyboard space facing you.
-
-
-
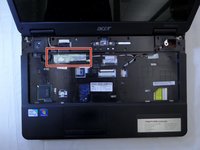
Disconnect the screen connector in the upper left of the laptop.
-
-
-
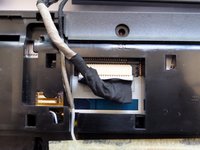
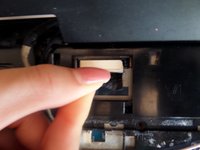
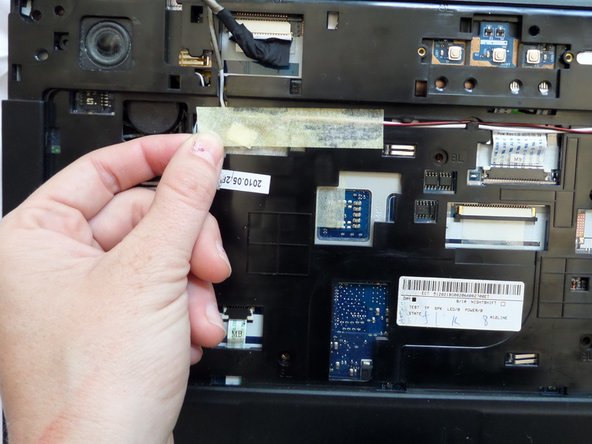
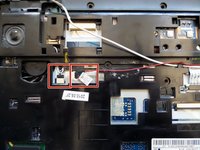
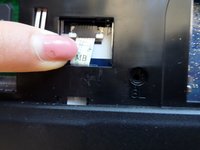
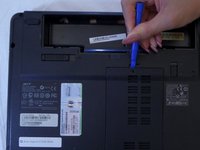
Locate the tape on the upper left of the laptop.
-
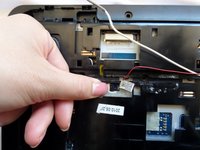
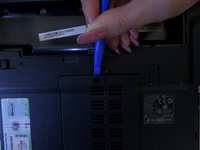
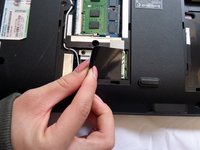
Peel off the tape, covering the red-and-black wire connector and the white-and-black speaker wires.
-
-
-
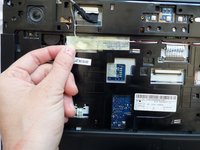
Gently disconnect the red-and-black wire connector and the white-and-black speaker wires from the upper-left.
-
-
-
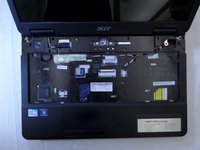
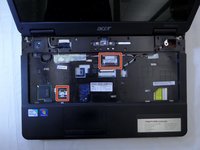
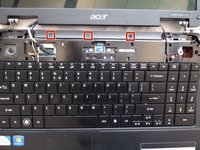
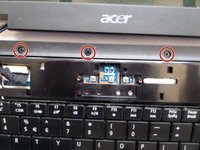
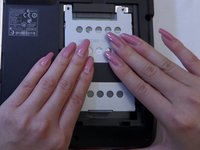
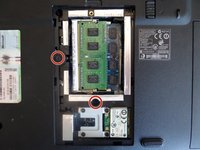
Remove the 5 screws in the middle of the laptop using a #00 Phillips Screwdriver.
-
-
-
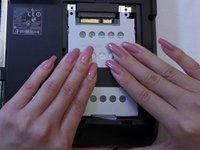
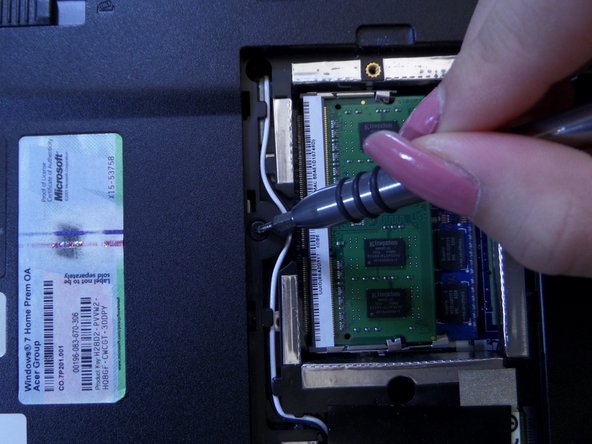
Disconnect the two blue and white ribbons by applying pressure downward and pushing them out of their sockets.
-
-
-
-
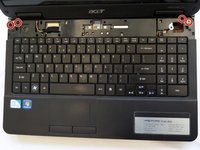
Remove the four screws from the upper corners of the laptop using a Phillips #00 screwdriver.
-
The two metal and two plastic connectors will come free. Save them in a safe place.
-
-
-
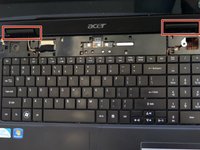
Pop off the black plastic hinge coverings.
-
-
crwdns2935267:0crwdne2935267:0Tweezers$4.99
-
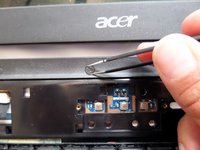
Peel away the sticky plastic coverings with tweezers.
-
-
-
Remove the three screws with a #00 Philips Screwdriver.
-
-
-
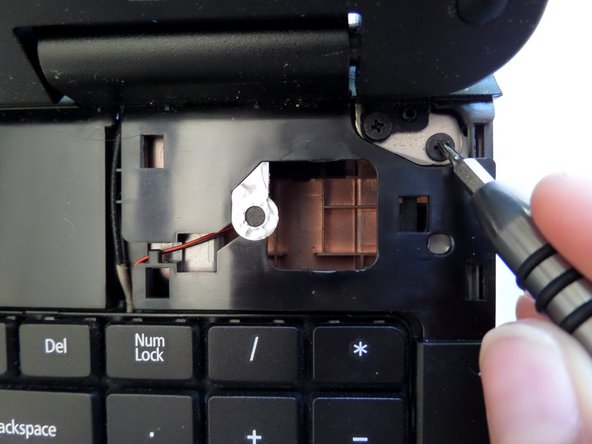
Remove the single screw next to the right hinge with a #00 Phillips Screwdriver.
-
-
-
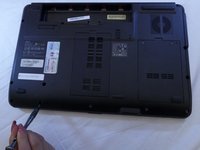
Flip the device so the bottom of the laptop is face-up.
-
-
-
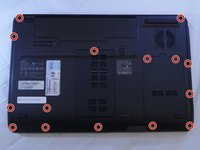
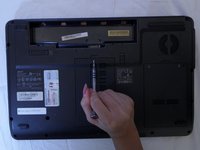
Remove the fifteen screws from the back of the laptop with a Phillips #00 Screwdriver.
-
-
-
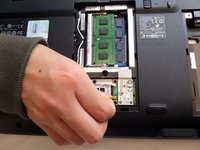
Lift the hard-drive cover in the bottom right corner off the laptop.
-
-
-
Slide down the hard-drive out of the laptop.
-
-
-
Peel away the black plastic covering under the mid-back panel.
-
-
-
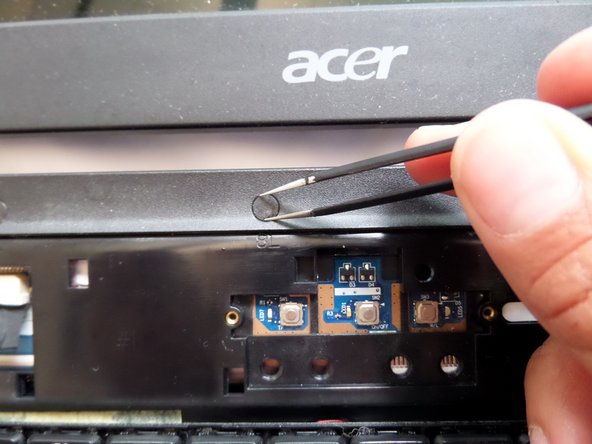
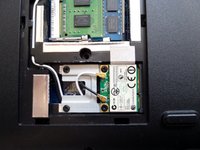
Remove the two screws on the left and bottom of the circuit board with a #00 Phillips Screwdriver.
-
-
-
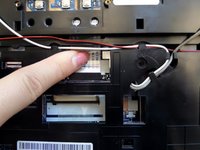
Disconnect the black and white wires on the small circuit board by gently pulling them out of their sockets.
-
-
-
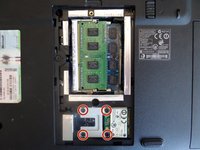
Remove the four screws from the metal piece beneath the circuit with a Phillips #000 Screwdriver.
-
-
-
Life the metal plate free and place it somewhere for safe-keeping.
-
-
-
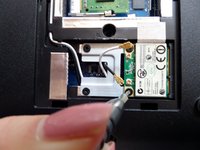
The small circuit board will pop up easily. Carefully remove it
-
-
-
Gently extract the black and white wires. They will pull free from the base through the hole in the upper left corner.
-
-
-
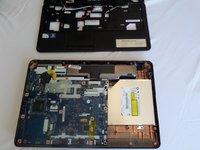
Flip to the front and gently lift the front of the laptop off of the base.
-
-
-
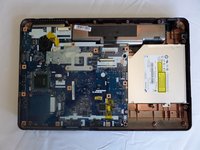
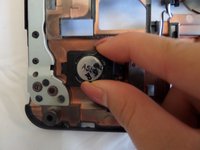
Begin with the front panel flipped so the speaker is facing you.
-
Locate speaker on the lower left corner of the laptop.
-
-
-
Using a Phillips #00 screwdriver, remove one 2.5 mm screw to loosen the speaker from the panel.
-
-
-
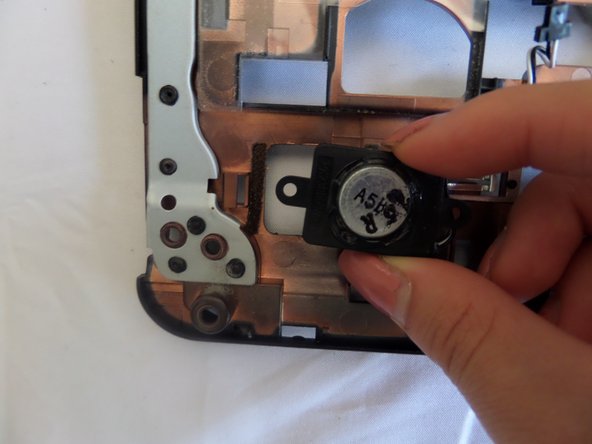
Grasp the speaker by the sides and slide right.
-
-
-
Remove the speaker carefully, extracting the wires from board.
-


To reassemble your device, follow these instructions in reverse order.
To reassemble your device, follow these instructions in reverse order.
crwdns2935221:0crwdne2935221:0
crwdns2935227:0crwdne2935227:0
crwdns2915084:0crwdne2915084:0

CSU Fullerton, Team 2-3, Bruce Fall 2016 crwdns2935289:0CSU Fullerton, Team 2-3, Bruce Fall 2016crwdne2935289:0
CSUF-BRUCE-F16S2G3
crwdns2931471:04crwdne2931471:0
crwdns2935297:06crwdne2935297:0
crwdns2947410:01crwdne2947410:0
Hi iam from pakistan i have same lap top and i open my laptop using your instructions my laptop speaker are damage please tell me from where to i buy this