crwdns2915892:0crwdne2915892:0
To improve the quality of your Acer Aspire 5734z-4836 speaker. Few prerequisites are required of the front panel removal, but overall to replacement the speaker a couple additional screws needs to be remove and disconnecting the speaker wires.
crwdns2942213:0crwdne2942213:0
-
-
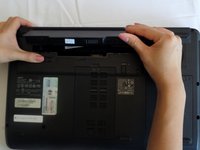
Flip your laptop on its back so the battery is facing up and the hinges are facing away from you.
-
-
-
Slide the right latch down to unlock the battery.
-
-
-
Slide and hold the left latch below the battery.
-
While holding this latch in place, pry the battery up from its bottom edge.
-
Lift the old battery out of its compartment.
-
-
-
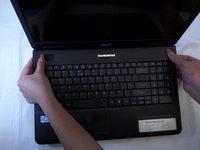
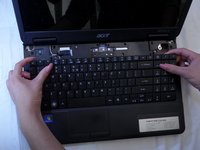
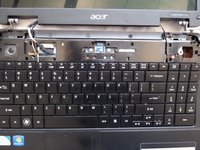
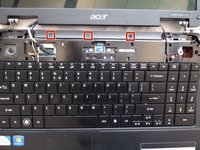
Pinch the edges of the plastic covering above the keyboard, and pull away from the laptop until the covering pops off.
-
-
-
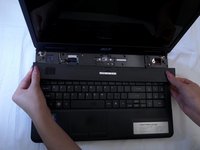
Pull the keyboard off gently so not to damage the keyboard ribbon cable.
-
-
-
Using a spudger or your finger, unlock the ZIF connector holding the keyboard ribbon in place by lifting the black locking lever.
-
Pull the blue keyboard ribbon cable from the ZIF connector.
-
-
-
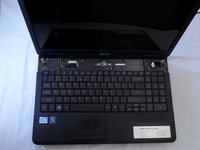
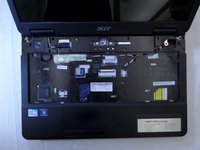
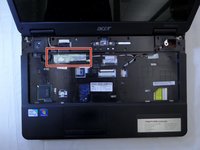
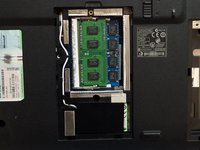
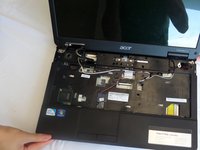
Begin with the laptop placed on its bottom and the empty keyboard space facing you.
-
-
-
Disconnect the screen connector in the upper left of the laptop.
-
-
-
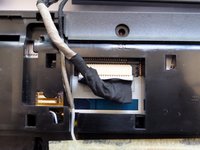
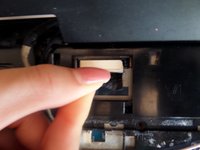
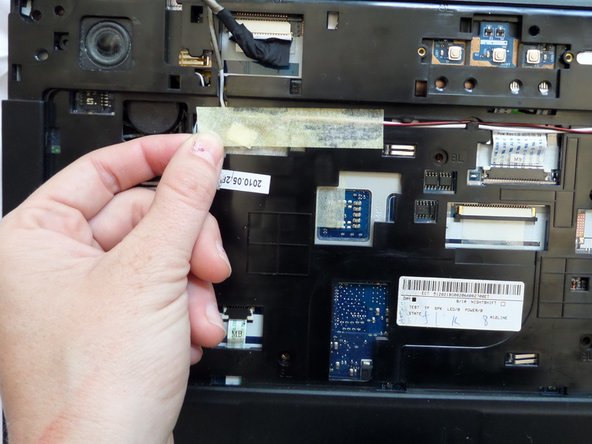
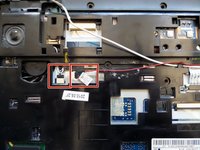
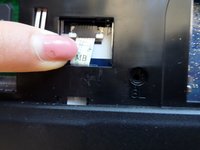
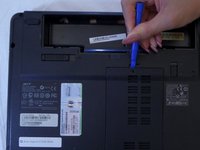
Locate the tape on the upper left of the laptop.
-
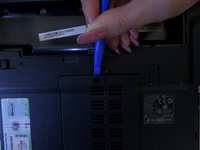
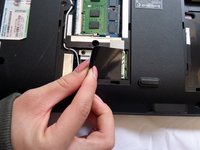
Peel off the tape, covering the red-and-black wire connector and the white-and-black speaker wires.
-
-
-
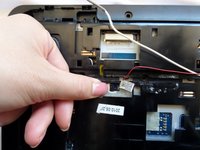
Gently disconnect the red-and-black wire connector and the white-and-black speaker wires from the upper-left.
-
-
-
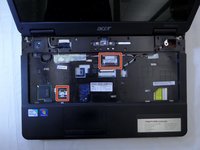
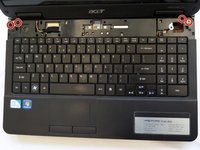
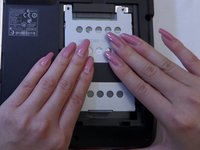
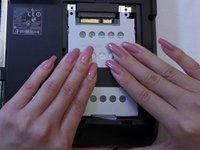
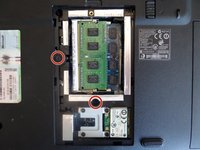
Remove the 5 screws in the middle of the laptop using a #00 Phillips Screwdriver.
-
-
-
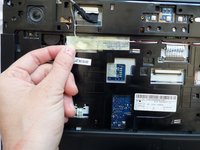
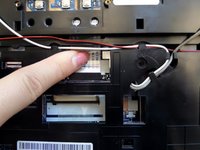
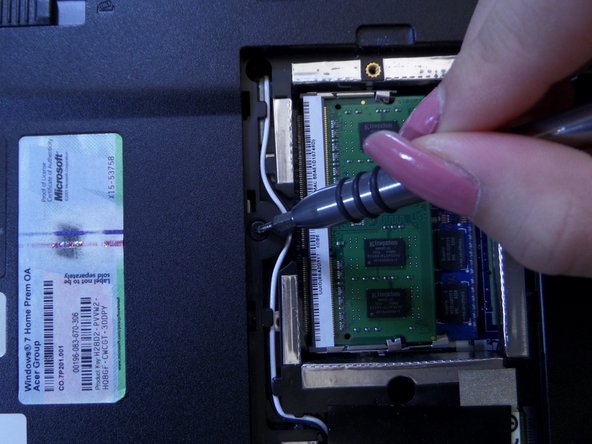
Disconnect the two blue and white ribbons by applying pressure downward and pushing them out of their sockets.
-
-
-
-
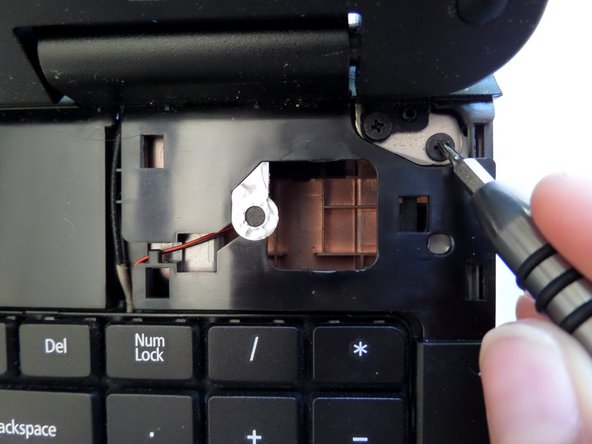
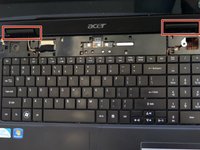
Remove the four screws from the upper corners of the laptop using a Phillips #00 screwdriver.
-
The two metal and two plastic connectors will come free. Save them in a safe place.
-
-
-
Pop off the black plastic hinge coverings.
-
-
crwdns2935267:0crwdne2935267:0Tweezers$4.99
-
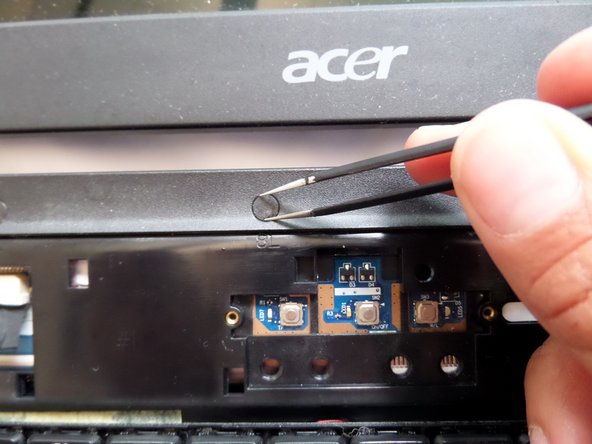
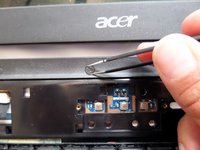
Peel away the sticky plastic coverings with tweezers.
-
-
-
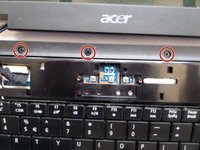
Remove the three screws with a #00 Philips Screwdriver.
-
-
-
Remove the single screw next to the right hinge with a #00 Phillips Screwdriver.
-
-
-
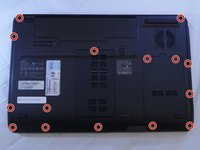
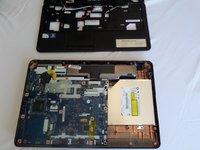
Flip the device so the bottom of the laptop is face-up.
-
-
-
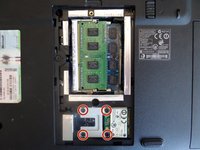
Remove the fifteen screws from the back of the laptop with a Phillips #00 Screwdriver.
-
-
-
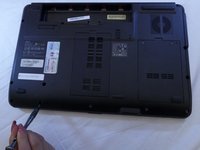
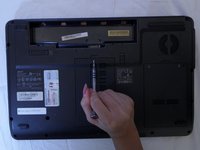
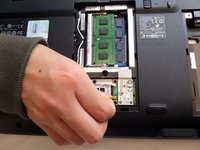
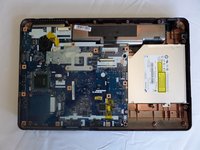
Lift the hard-drive cover in the bottom right corner off the laptop.
-
-
-
Slide down the hard-drive out of the laptop.
-
-
-
Peel away the black plastic covering under the mid-back panel.
-
-
-
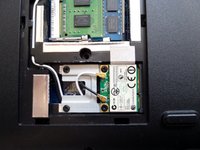
Remove the two screws on the left and bottom of the circuit board with a #00 Phillips Screwdriver.
-
-
-
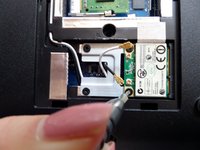
Disconnect the black and white wires on the small circuit board by gently pulling them out of their sockets.
-
-
-
Remove the four screws from the metal piece beneath the circuit with a Phillips #000 Screwdriver.
-
-
-
Life the metal plate free and place it somewhere for safe-keeping.
-
-
-
The small circuit board will pop up easily. Carefully remove it
-
-
-
Gently extract the black and white wires. They will pull free from the base through the hole in the upper left corner.
-
-
-
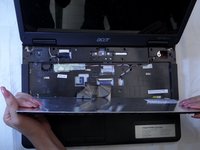
Flip to the front and gently lift the front of the laptop off of the base.
-
-
-
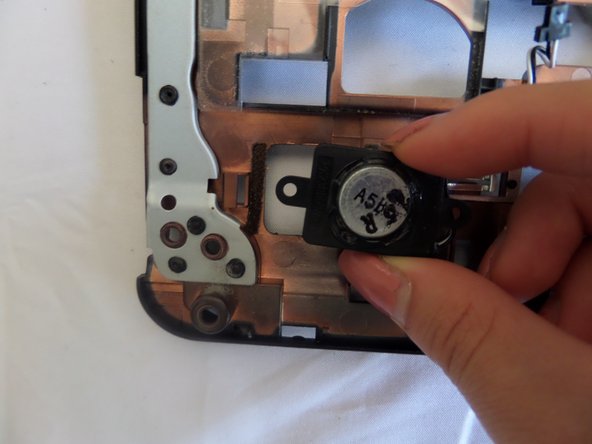
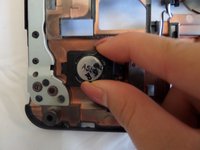
Begin with the front panel flipped so the speaker is facing you.
-
Locate speaker on the lower left corner of the laptop.
-
-
-
Using a Phillips #00 screwdriver, remove one 2.5 mm screw to loosen the speaker from the panel.
-
-
-
Grasp the speaker by the sides and slide right.
-
-
-
Remove the speaker carefully, extracting the wires from board.
-


To reassemble your device, follow these instructions in reverse order.
To reassemble your device, follow these instructions in reverse order.
crwdns2935221:0crwdne2935221:0
crwdns2935229:02crwdne2935229:0
crwdns2915084:0crwdne2915084:0

CSU Fullerton, Team 2-3, Bruce Fall 2016 crwdns2935289:0CSU Fullerton, Team 2-3, Bruce Fall 2016crwdne2935289:0
CSUF-BRUCE-F16S2G3
crwdns2931471:04crwdne2931471:0
crwdns2935297:06crwdne2935297:0
crwdns2947412:02crwdne2947412:0
Hi iam from pakistan i have same lap top and i open my laptop using your instructions my laptop speaker are damage please tell me from where to i buy this
buenas noches, como recomendación tendrías que mejor adaptar un parlante de las mismas dimensiones ya que si encuentras uno original es probable que también se estropee pronto. Este tipo de parlantes no se malogran propiamente; solo que el material que sujeta la bobina se degrada por el paso del tiempo.
Hoy recibí una laptop con el problema de parlante dañado y si todo sale bien con la idea que tengo para repararlo subiré contenido al respectó y si no pues adaptar parlantes de celular tampoco es una mala idea, saludos.