crwdns2915892:0crwdne2915892:0
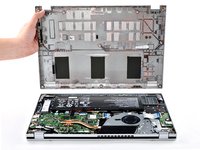
Use this guide to replace the display assembly for your Acer Aspire 3 A315-24P-R7VH Laptop.
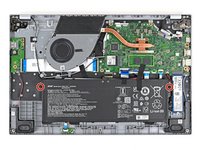
The display assembly includes the display, the display bezel and frame, the front camera, and wifi antenna.
This procedure requires removing the battery to disconnect it. Use care to avoid bending, twisting, or puncturing it—a charged lithium-ion battery can be very dangerous if accidentally punctured. If your battery looks puffy or swollen, take extra precautions.
crwdns2942213:0crwdne2942213:0
-
-
Shut down your laptop and unplug any cables.
-
-
-
Close the laptop and flip it over on a flat, clean surface.
-
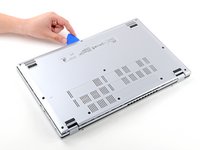
Use a Phillips screwdriver to remove the eleven 6.6 mm‑long screws from the back cover.
-
-
-
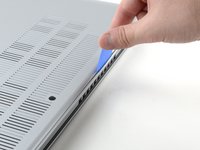
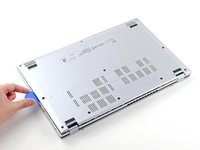
Insert the long edge of an opening pick straight down between the chassis and the back cover at the rear of the laptop
-
Pry up to release a few back cover clips and position the opening pick flat under the back cover.
-
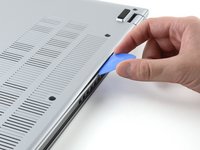
Slide the pick along the rear edge of the laptop to release the clips.
-
-
-
Pry around the entire perimeter until the back cover releases.
-
-
-
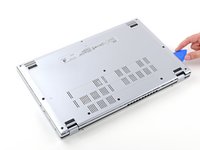
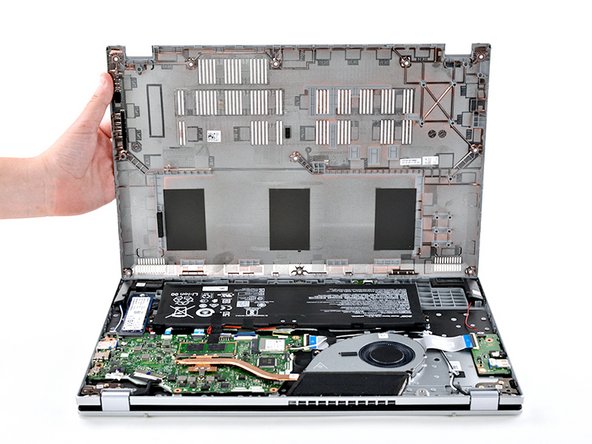
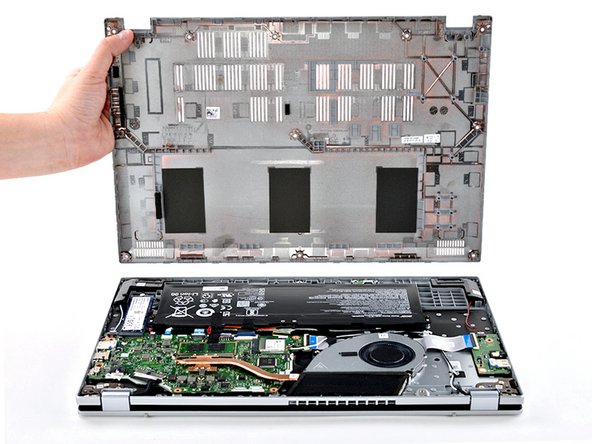
Lift the back cover off the chassis and remove it.
-
-
-
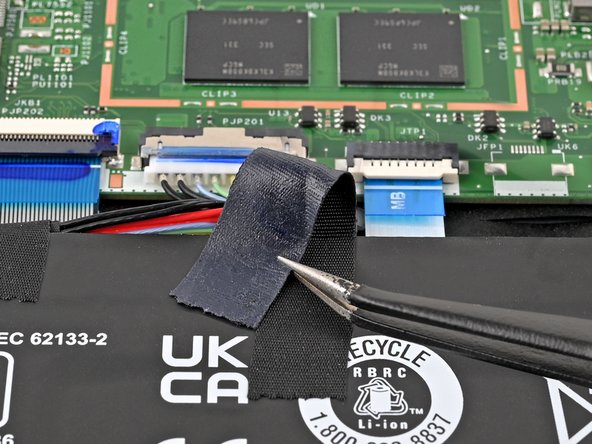
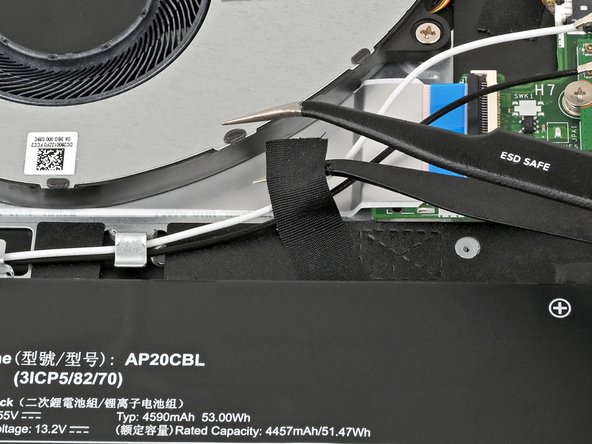
Use tweezers or your fingers to peel away the tape covering the battery connector.
-
-
-
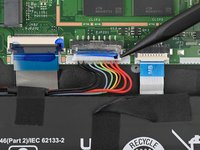
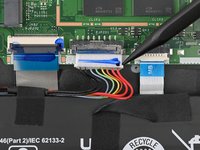
Use the tip of a spudger to push down on either side of the battery cable connector until it comes out of its socket.
-
-
-
-
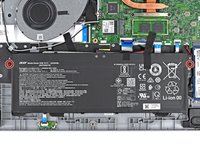
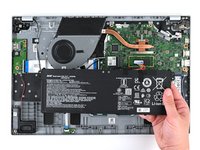
Use a Phillips screwdriver to remove the two 4.7 mm‑long screws securing the battery.
-
-
-
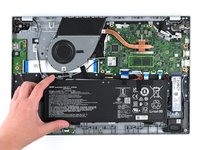
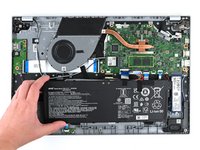
Lift the battery out of the chassis and remove it.
-
-
-
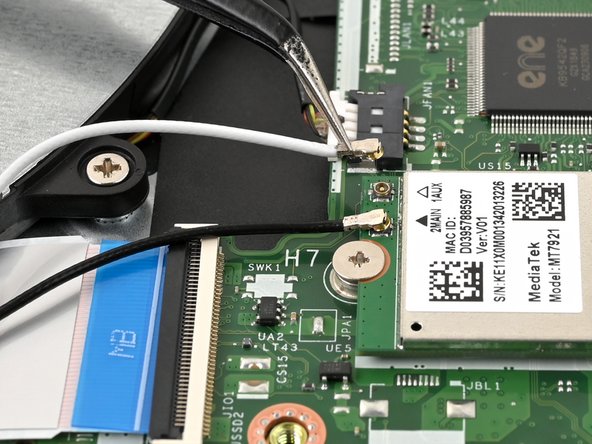
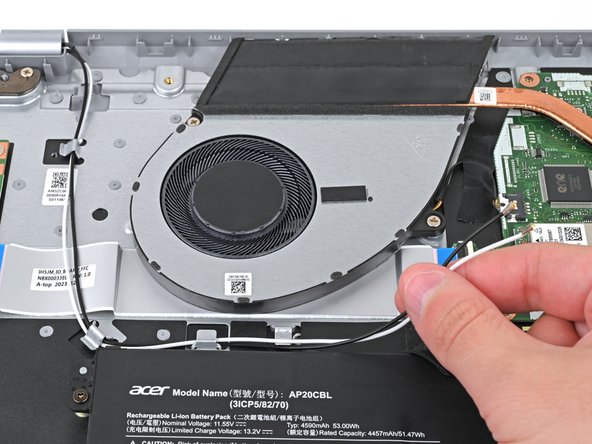
Slide one arm of your angled tweezers under the metal neck of the white cable on the WLAN card.
-
Lift the metal neck to disconnect the cable.
-
Repeat the same process for the black cable.
-
-
-
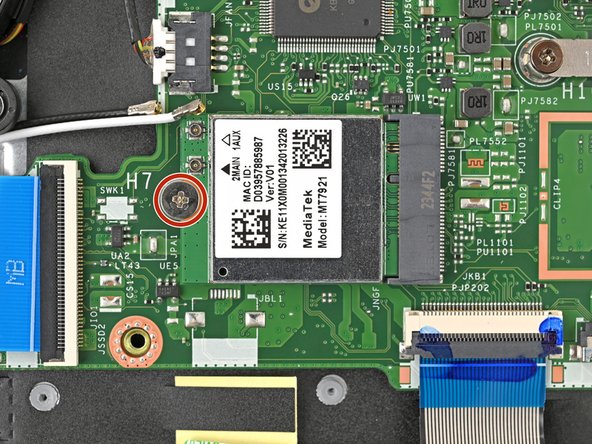
Use a Phillips screwdriver to remove the 2.2 mm‑long screw from the WLAN card.
-
-
-
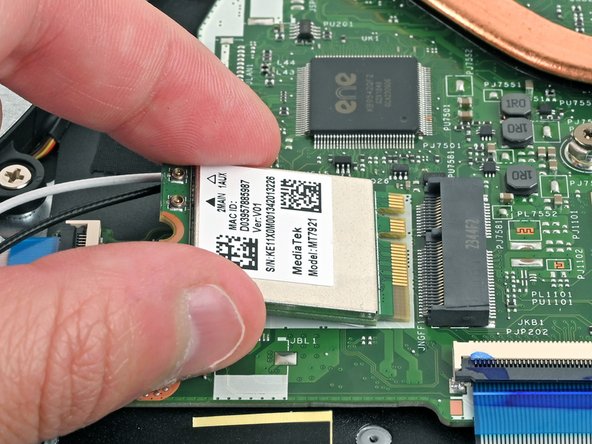
Pull the WLAN card out of its socket and remove it.
-
-
-
Use tweezers or your fingers to lift and remove the tape holding the WLAN cable wires down.
-
-
-
Use your fingers to unroute the WLAN cables from the four cable guides.
-
-
-
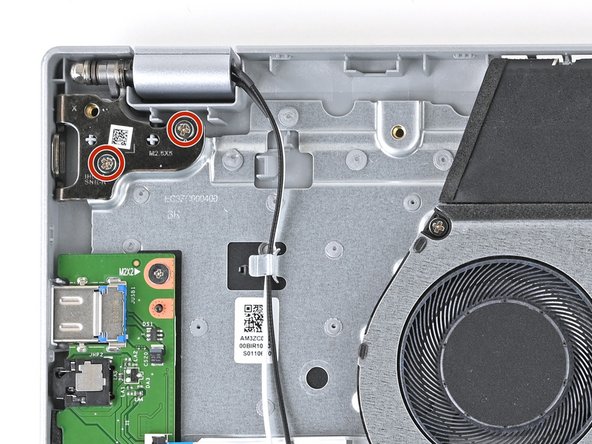
Use a Phillips screwdriver to remove the four 5.6 mm‑long screws on the hinges securing the display assembly.
-
-
-
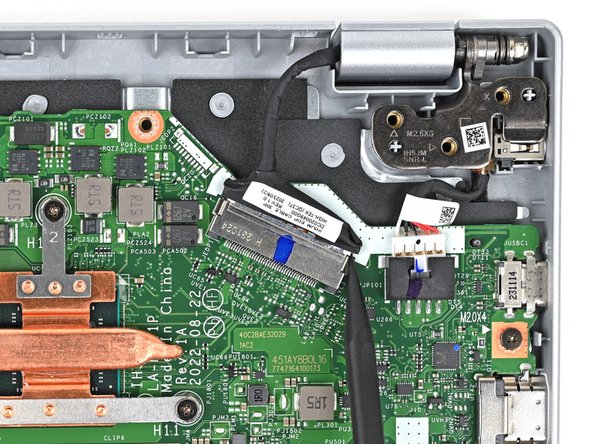
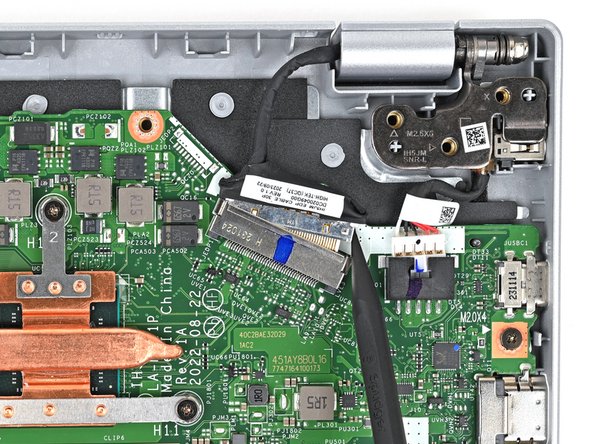
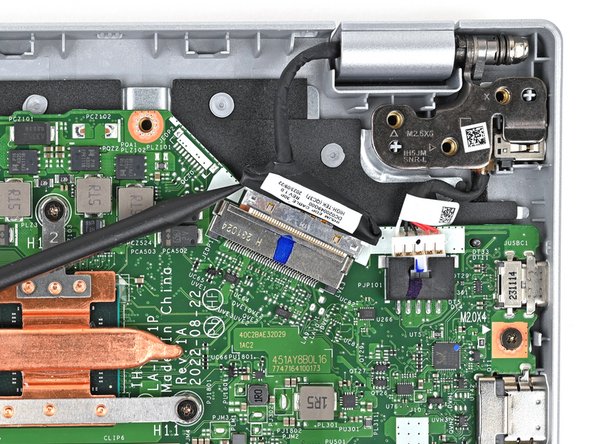
Use the tip of a spudger to push down on either side of the display cable connector until it comes out of its socket.
-
-
-
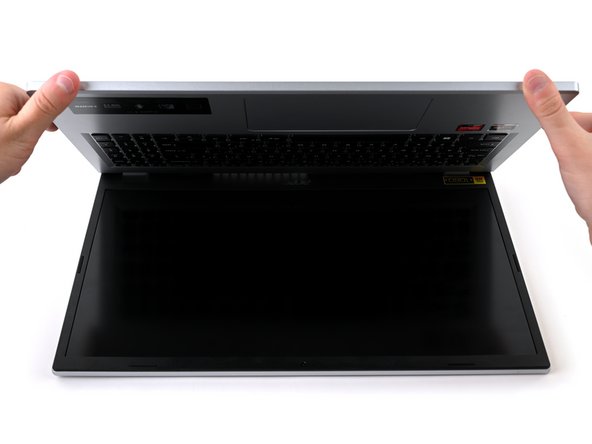
Swing open the laptop slightly to lift the hinges upward.
-
-
-
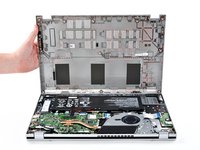
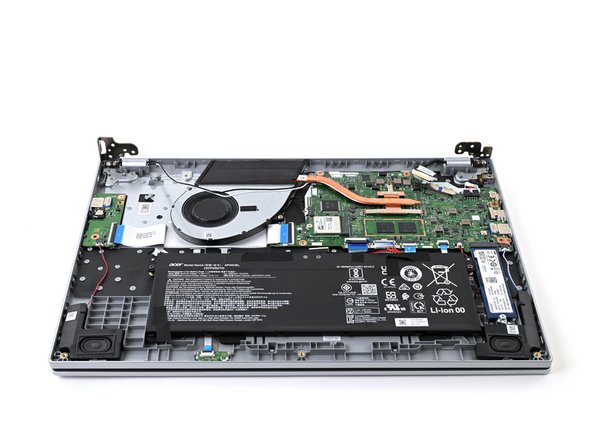
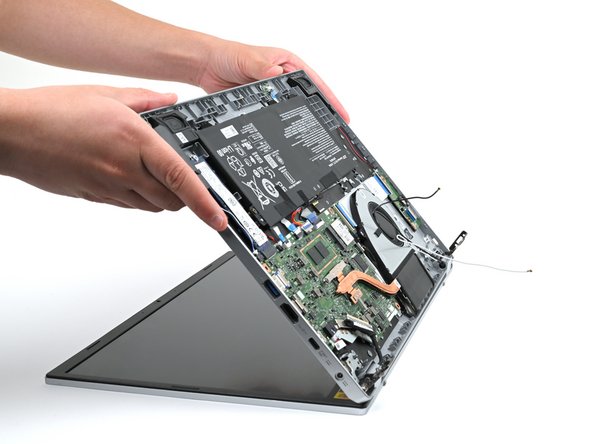
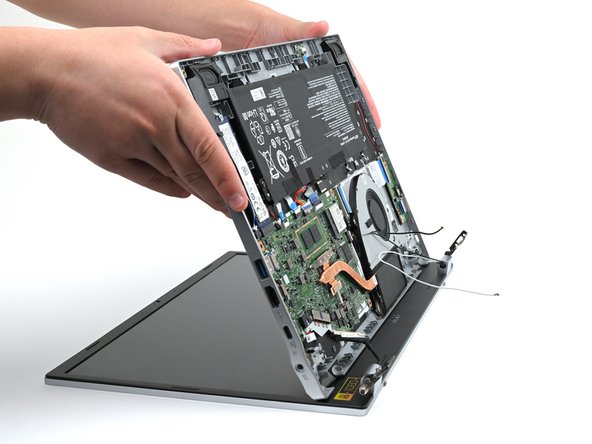
Open the laptop at a slight angle and pull the bottom away from the hinges to separate the bottom from the display assembly.
-
Now you're left with the display assembly for replacment.
-


To reassemble your device, follow these instructions in reverse order.
Take your e-waste to an R2 or e-Stewards certified recycler. Acer partners with different e-waste recycling programs that vary by region, click here to see where you can properly dispose of your e-waste.
Repair didn’t go as planned? Try some basic troubleshooting, or ask our Answers community for help.

