crwdns2915892:0crwdne2915892:0
A common issue laptop owners face is battery failure. As batteries age, they swell and begin to not hold their charge for as long. Whether your battery appears to be intact, or it has swollen like a balloon, a defective laptop battery is an essential fix. These listed steps are specific to the Acer Aspire 3, however they generally apply to most other laptop devices as well.
crwdns2942213:0crwdne2942213:0
-
-
Power off the machine and unplug it from the wall charger.
-
-
-
Close the laptop and flip it over.
-
Remove the eleven 6.5 mm Phillips screws from the lower case.
-
-
-
Insert an opening pick between the lower case and chassis.
-
Pry around the entire perimeter until the lower case releases.
-
Remove the lower case.
-
-
-
crwdns2935267:0crwdne2935267:0Anti-Static Wrist Strap$7.95
-
-
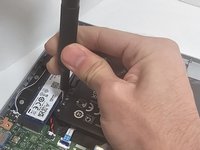
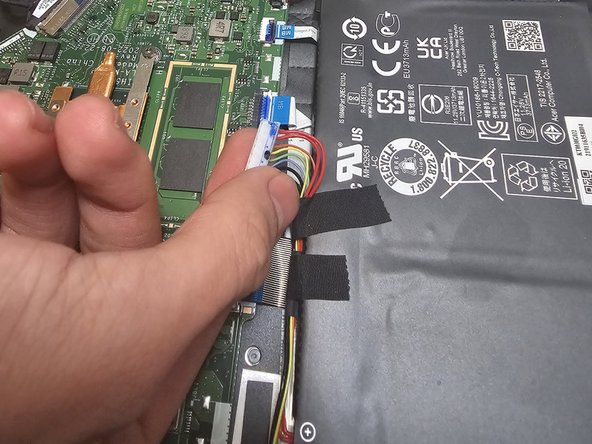
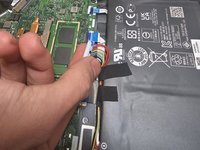
Grip the white battery connector and pull it directly out of its socket.
-
-
-
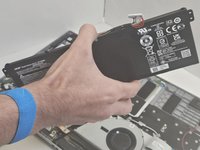
Unscrew the four 4.5 mm Phillips head screws that secure the battery.
-
-
-
Lift the battery up and out of the chassis.
-


To reassemble your device, follow the above steps in reverse order.
For optimal performance, calibrate your newly installed battery after completing this guide.
Compare your new replacement part to the original part—you may need to transfer remaining components or remove adhesive backings from the new part before installing.
Take your e-waste to an R2 or e-Stewards certified recycler.

crwdns2935287:0crwdne2935287:0

Gateway, Team 1-1, Pee Fall 2023 crwdns2935289:0Gateway, Team 1-1, Pee Fall 2023crwdne2935289:0
GCC-PEE-F23S1G1
crwdns2931471:04crwdne2931471:0
crwdns2935297:06crwdne2935297:0