crwdns2933423:0crwdne2933423:0

ASUS TUF Gaming FX505GT Battery Replacement

crwdns2942213:0crwdne2942213:0

  1. ASUS TUF Gaming FX505GT Battery Replacement, Battery: crwdns2935265:01crwdnd2935265:01crwdnd2935265:02crwdne2935265:0 ASUS TUF Gaming FX505GT Battery Replacement, Battery: crwdns2935265:01crwdnd2935265:02crwdnd2935265:02crwdne2935265:0
    • Shut down the device completely by pressing the power button for about five to ten seconds, and unplug the charger.

  2. ASUS TUF Gaming FX505GT Battery Replacement: crwdns2935265:02crwdnd2935265:01crwdnd2935265:03crwdne2935265:0 ASUS TUF Gaming FX505GT Battery Replacement: crwdns2935265:02crwdnd2935265:02crwdnd2935265:03crwdne2935265:0 ASUS TUF Gaming FX505GT Battery Replacement: crwdns2935265:02crwdnd2935265:03crwdnd2935265:03crwdne2935265:0
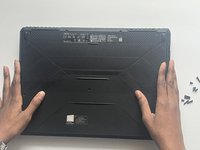
    • Gently flip the laptop so the bottom is facing up.

    • Use a Phillips #1 screwdriver to remove the six 14 mm screws found on the bottom and the left and right sides of the laptop.

    • Remove the five 7 mm PH1 screws found on the top and middle of your device.

  3. ASUS TUF Gaming FX505GT Battery Replacement: crwdns2935265:03crwdnd2935265:01crwdnd2935265:02crwdne2935265:0 ASUS TUF Gaming FX505GT Battery Replacement: crwdns2935265:03crwdnd2935265:02crwdnd2935265:02crwdne2935265:0
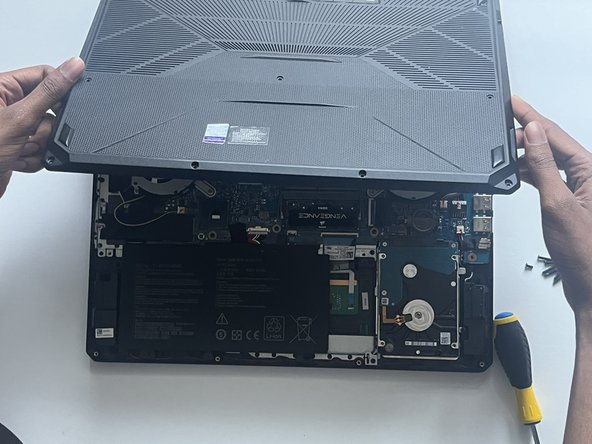
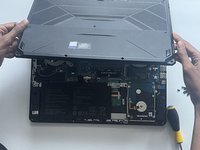
    • Use a spudger to pry the back panel from the laptop.

    • Work around the perimeter between the back case and the base, releasing any clips as you go.

    • Remove the back cover.

  4. ASUS TUF Gaming FX505GT Battery Replacement: crwdns2935265:04crwdnd2935265:01crwdnd2935265:02crwdne2935265:0 ASUS TUF Gaming FX505GT Battery Replacement: crwdns2935265:04crwdnd2935265:02crwdnd2935265:02crwdne2935265:0
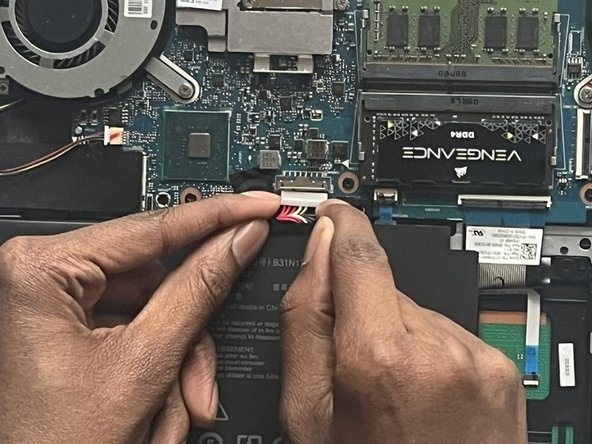
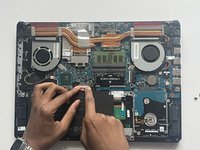
    • Use the point of a spudger to push on alternating sides of the battery connector to "walk" it out of its socket.

  5. ASUS TUF Gaming FX505GT Battery Replacement: crwdns2935265:05crwdnd2935265:01crwdnd2935265:02crwdne2935265:0 ASUS TUF Gaming FX505GT Battery Replacement: crwdns2935265:05crwdnd2935265:02crwdnd2935265:02crwdne2935265:0
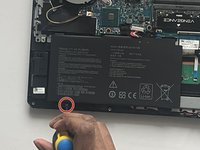
    • Use a Phillips #1 screwdriver to remove the 7 mm screw securing the battery.

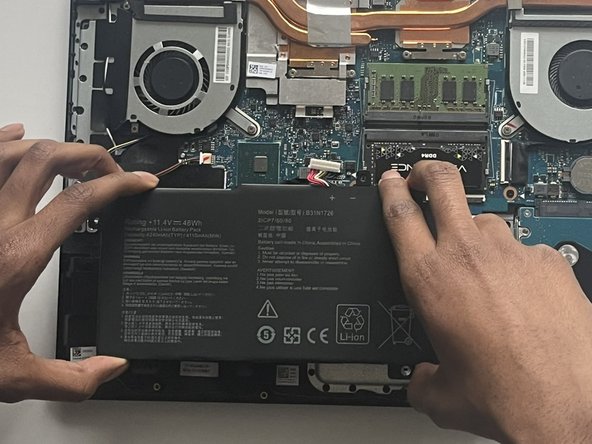
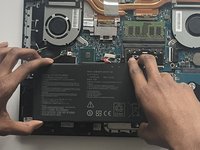
    • Carefully lift the battery out of the laptop.

crwdns2915888:0crwdne2915888:0

To reassemble your device, follow these instructions in reverse order. For optimal performance, calibrate your newly installed battery after completing this guide. Take your e-waste to an R2 or e-Stewards certified recycler.

crwdns2935227:0crwdne2935227:0

Matthew Harewood

crwdns2935283:002/07/24crwdne2935283:0

136 crwdns2915208:0crwdne2915208:0

crwdns2935295:0crwdne2935295:0

crwdns2915084:0crwdne2915084:0

York University, Team M-4, Allen Winter 2024 crwdns2935289:0York University, Team M-4, Allen Winter 2024crwdne2935289:0

YORK-ALLEN-W24SMG4

crwdns2931471:03crwdne2931471:0

crwdns2935303:01crwdne2935303:0

crwdns2947412:00crwdne2947412:0

crwdns2917038:0crwdne2917038:0

crwdns2936625:0crwdne2936625:0:

crwdns2936751:024crwdne2936751:0 0

crwdns2936753:07crwdne2936753:0 16

crwdns2936753:030crwdne2936753:0 71

crwdns2942667:0crwdne2942667:0 665