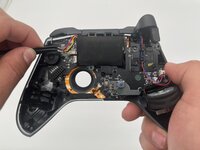
crwdns2933423:0crwdne2933423:0

ASUS ROG Raikiri Pro Motherboard Replacement

crwdns2942213:0crwdne2942213:0

  1. ASUS ROG Raikiri Pro Motherboard Replacement, Battery: crwdns2935265:01crwdnd2935265:01crwdnd2935265:03crwdne2935265:0 ASUS ROG Raikiri Pro Motherboard Replacement, Battery: crwdns2935265:01crwdnd2935265:02crwdnd2935265:03crwdne2935265:0 ASUS ROG Raikiri Pro Motherboard Replacement, Battery: crwdns2935265:01crwdnd2935265:03crwdnd2935265:03crwdne2935265:0
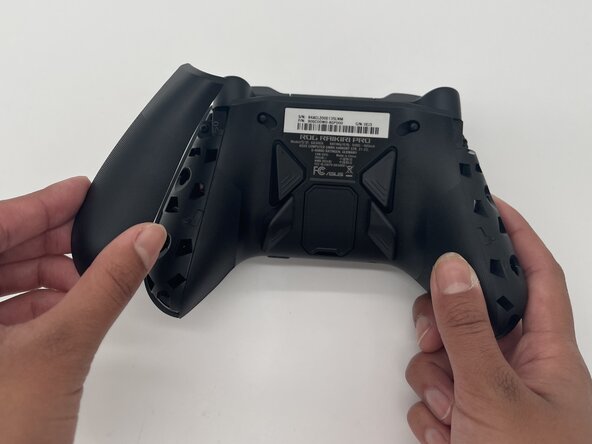
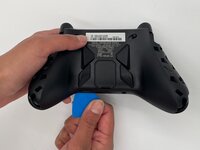
    • Make sure your controller is completely turned off before proceeding.

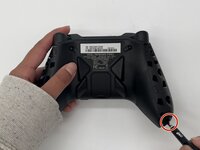
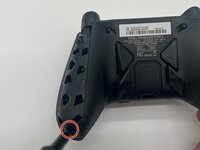
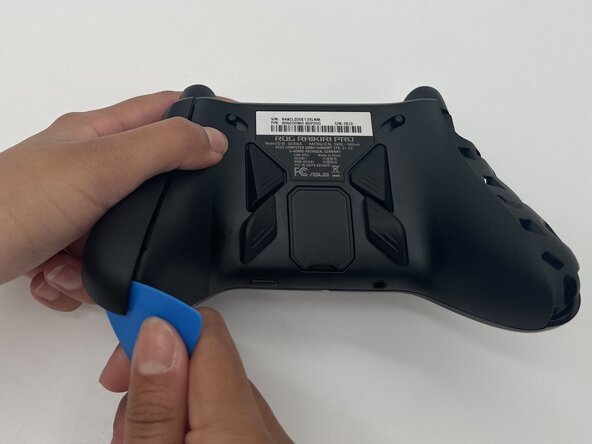
    • Insert the tip of an opening pick into the seam of the top left handle cover.

    • Slide it down to release the clips connecting the handle cover to the controller.

    • Remove the left handle-cover.

    • Repeat the steps to remove the right handle cover.

  2. ASUS ROG Raikiri Pro Motherboard Replacement: crwdns2935265:02crwdnd2935265:01crwdnd2935265:03crwdne2935265:0 ASUS ROG Raikiri Pro Motherboard Replacement: crwdns2935265:02crwdnd2935265:02crwdnd2935265:03crwdne2935265:0 ASUS ROG Raikiri Pro Motherboard Replacement: crwdns2935265:02crwdnd2935265:03crwdnd2935265:03crwdne2935265:0
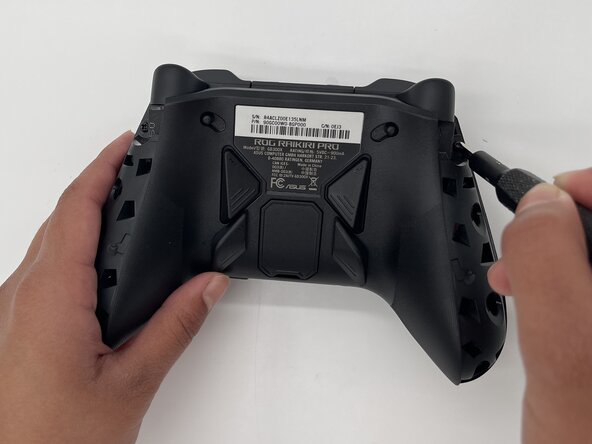
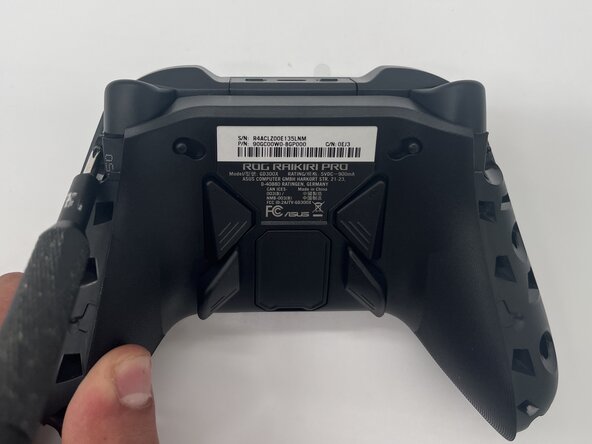
    • Use a Phillips #1 screwdriver to remove an 11 mm screw from the top of each handle.

  3. ASUS ROG Raikiri Pro Motherboard Replacement: crwdns2935265:03crwdnd2935265:01crwdnd2935265:02crwdne2935265:0 ASUS ROG Raikiri Pro Motherboard Replacement: crwdns2935265:03crwdnd2935265:02crwdnd2935265:02crwdne2935265:0
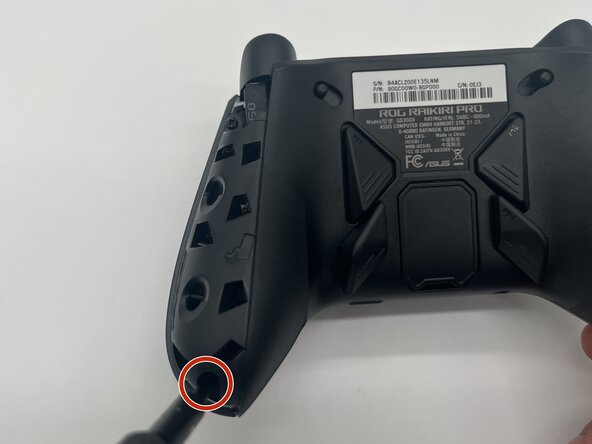
    • Use a Phillips #1 screwdriver to remove an 11 mm screw from the bottom corner of each handle.

  4. ASUS ROG Raikiri Pro Motherboard Replacement: crwdns2935265:04crwdnd2935265:01crwdnd2935265:02crwdne2935265:0 ASUS ROG Raikiri Pro Motherboard Replacement: crwdns2935265:04crwdnd2935265:02crwdnd2935265:02crwdne2935265:0
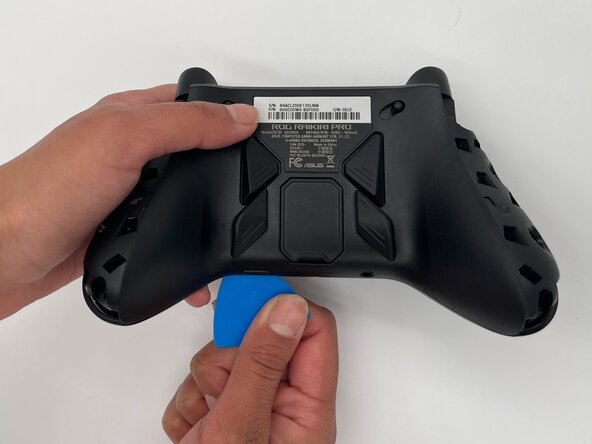
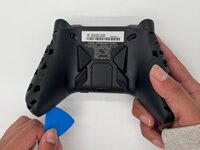
    • Place the tip of an opening pick or spudger in the seam of the back center panel.

    • Gently slide the pick from left to right along the seam to release the clips connecting the top and bottom of the controller.

    • Separate the top and bottom of the device.

  5. ASUS ROG Raikiri Pro Motherboard Replacement: crwdns2935265:05crwdnd2935265:01crwdnd2935265:02crwdne2935265:0 ASUS ROG Raikiri Pro Motherboard Replacement: crwdns2935265:05crwdnd2935265:02crwdnd2935265:02crwdne2935265:0
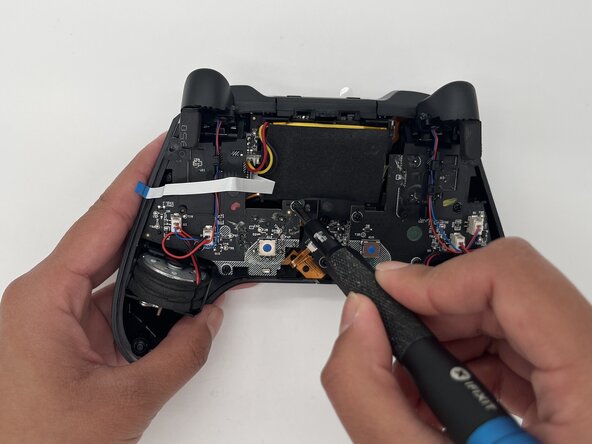
    • Use a Phillips #1 screwdriver to remove the three 8 mm screws securing the left board.

  6. ASUS ROG Raikiri Pro Motherboard Replacement: crwdns2935265:06crwdnd2935265:01crwdnd2935265:02crwdne2935265:0 ASUS ROG Raikiri Pro Motherboard Replacement: crwdns2935265:06crwdnd2935265:02crwdnd2935265:02crwdne2935265:0
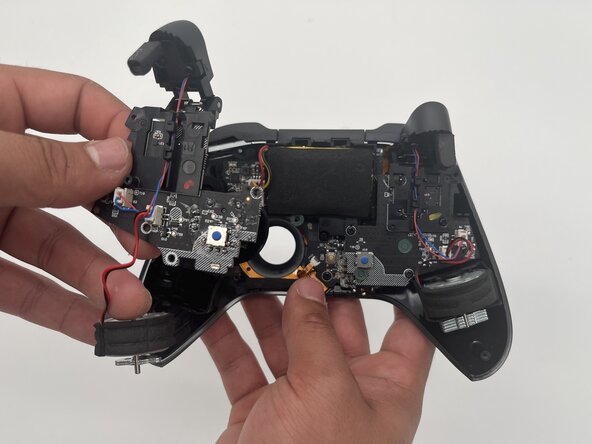
    • Use a spudger to carefully remove the main board.

    • Don't pull it hard as the board is connected to some cables and the left rumble motor.

  7. ASUS ROG Raikiri Pro Motherboard Replacement: crwdns2935265:07crwdnd2935265:01crwdnd2935265:02crwdne2935265:0 ASUS ROG Raikiri Pro Motherboard Replacement: crwdns2935265:07crwdnd2935265:02crwdnd2935265:02crwdne2935265:0
  8. ASUS ROG Raikiri Pro Motherboard Replacement: crwdns2935265:08crwdnd2935265:01crwdnd2935265:01crwdne2935265:0
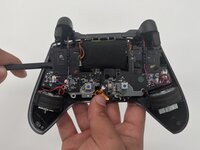
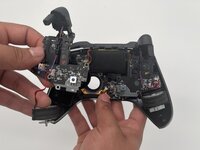
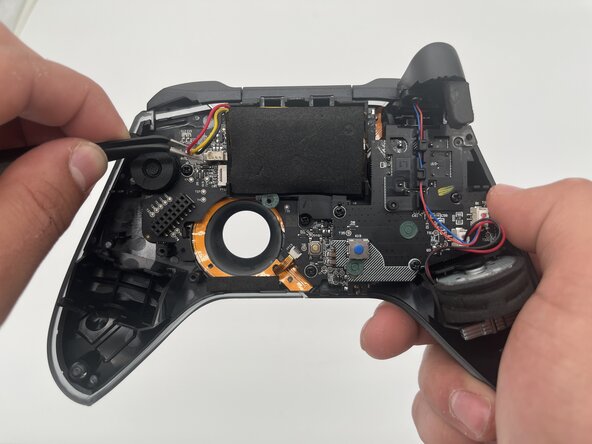
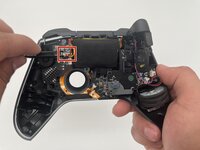
    • Gently remove the battery from its enclosure.

  9. ASUS ROG Raikiri Pro Motherboard Replacement, Motherboard: crwdns2935265:09crwdnd2935265:01crwdnd2935265:01crwdne2935265:0
    • Use a Phillips #1 screwdriver to remove the three 8 mm screws securing the right board.

  10. ASUS ROG Raikiri Pro Motherboard Replacement: crwdns2935265:010crwdnd2935265:01crwdnd2935265:01crwdne2935265:0
    • Use a spudger to carefully remove the right board.

  11. ASUS ROG Raikiri Pro Motherboard Replacement: crwdns2935265:011crwdnd2935265:01crwdnd2935265:01crwdne2935265:0
    • Use a spudger or a clean fingernail to flip up the locking flap of the ZIF connector—this is the unlocked position.

    • Use the widest tool possible to avoid damaging the delicate hinge pins.

    • Use tweezers or your fingers to gently pull the cable out of its socket.

    • To reconnect, make sure the locking flap is flipped up and gently reinsert the cable. Then, flip the locking flap down to secure the cable. The cable should slide into the socket with little to no force. If you're having trouble, remove it, check that the flap is fully unlocked, and try again.

  12. ASUS ROG Raikiri Pro Motherboard Replacement: crwdns2935265:012crwdnd2935265:01crwdnd2935265:01crwdne2935265:0
    • Using a Phillips #1 screwdriver to remove the six 8 mm screws holding the motherboard to the case.

  13. ASUS ROG Raikiri Pro Motherboard Replacement: crwdns2935265:013crwdnd2935265:01crwdnd2935265:01crwdne2935265:0
    • Use tweezers to disconnect the ribbon cable from the top of the motherboard.

  14. ASUS ROG Raikiri Pro Motherboard Replacement: crwdns2935265:014crwdnd2935265:01crwdnd2935265:01crwdne2935265:0
    • Remove the motherboard from the case.

    • Be careful when removing the motherboard so you don't damage the USB-C connector.

crwdns2915888:0crwdne2915888:0

To reassemble your device, follow these instructions in reverse order. Take your e-waste to an R2 or e-Stewards certified recycler.

Hector Martinez

crwdns2935283:002/12/25crwdne2935283:0

205 crwdns2915208:0crwdne2915208:0

crwdns2935297:02crwdne2935297:0

crwdns2915084:0crwdne2915084:0

University of North Texas, Team 1-3, Kilpatrick Spring 2025 crwdns2935289:0University of North Texas, Team 1-3, Kilpatrick Spring 2025crwdne2935289:0

UNT-KILPATRICK-S25S1G3

crwdns2931471:03crwdne2931471:0

crwdns2935297:05crwdne2935297:0

crwdns2947412:00crwdne2947412:0

crwdns2917038:0crwdne2917038:0

crwdns2936625:0crwdne2936625:0:

crwdns2936751:024crwdne2936751:0 7

crwdns2936753:07crwdne2936753:0 9

crwdns2936753:030crwdne2936753:0 9

crwdns2942667:0crwdne2942667:0 43