crwdns2933423:0crwdne2933423:0

ASUS ROG Raikiri Pro Joystick Cover Replacement

crwdns2942213:0crwdne2942213:0

  1. ASUS ROG Raikiri Pro Joystick Cover Replacement, Joystick Cover: crwdns2935265:01crwdnd2935265:01crwdnd2935265:03crwdne2935265:0 ASUS ROG Raikiri Pro Joystick Cover Replacement, Joystick Cover: crwdns2935265:01crwdnd2935265:02crwdnd2935265:03crwdne2935265:0 ASUS ROG Raikiri Pro Joystick Cover Replacement, Joystick Cover: crwdns2935265:01crwdnd2935265:03crwdnd2935265:03crwdne2935265:0
    • Make sure your controller is completely turned off before proceeding.

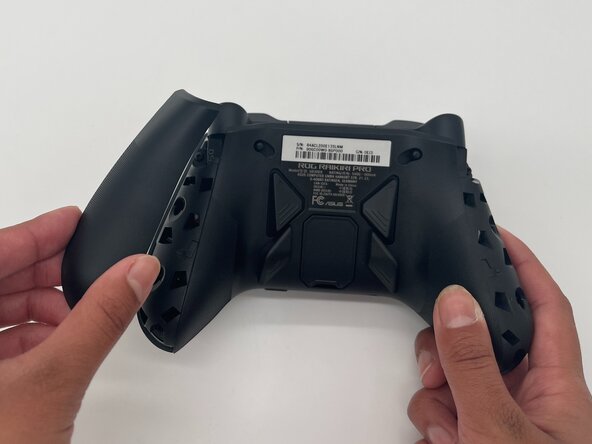
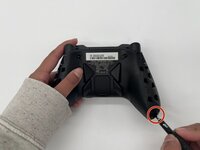
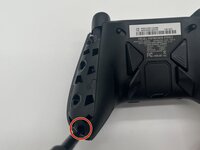
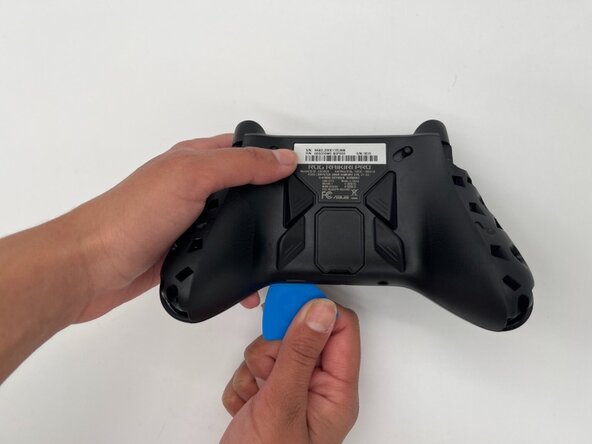
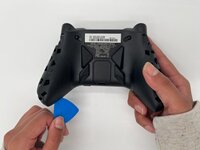
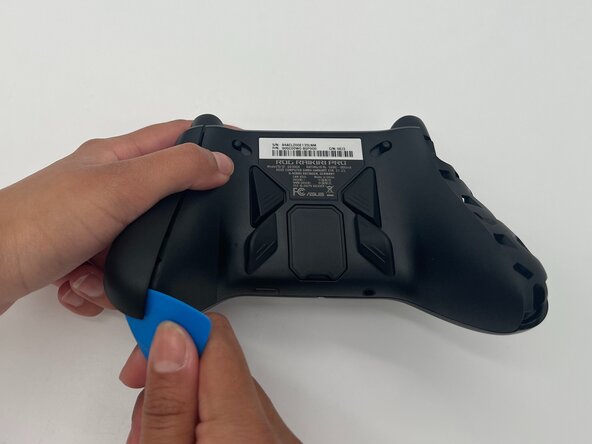
    • Insert the tip of an opening pick into the seam of the top left handle cover.

    • Slide it down to release the clips connecting the handle cover to the controller.

    • Repeat the steps to remove the right handle cover.

    • Remove the handle covers.

  2. ASUS ROG Raikiri Pro Joystick Cover Replacement: crwdns2935265:02crwdnd2935265:01crwdnd2935265:03crwdne2935265:0 ASUS ROG Raikiri Pro Joystick Cover Replacement: crwdns2935265:02crwdnd2935265:02crwdnd2935265:03crwdne2935265:0 ASUS ROG Raikiri Pro Joystick Cover Replacement: crwdns2935265:02crwdnd2935265:03crwdnd2935265:03crwdne2935265:0
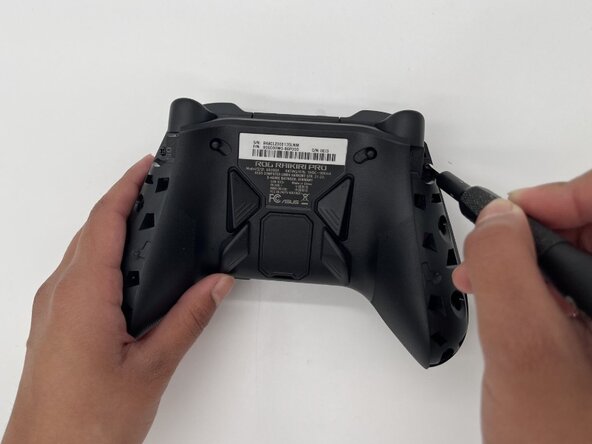
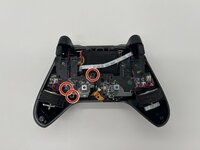
    • Use a Phillips #1 screwdriver to remove an 11 mm screw from the top of each handle.

  3. ASUS ROG Raikiri Pro Joystick Cover Replacement: crwdns2935265:03crwdnd2935265:01crwdnd2935265:02crwdne2935265:0 ASUS ROG Raikiri Pro Joystick Cover Replacement: crwdns2935265:03crwdnd2935265:02crwdnd2935265:02crwdne2935265:0
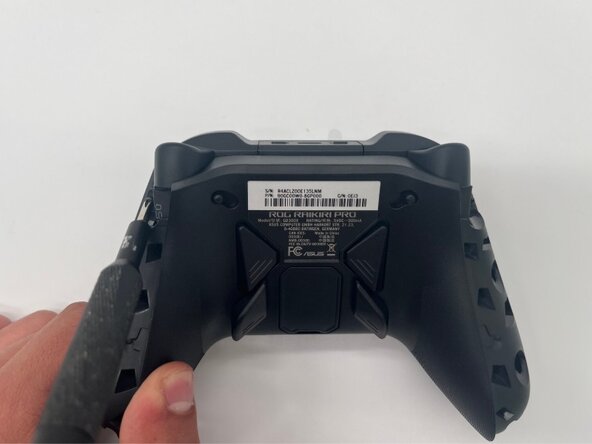
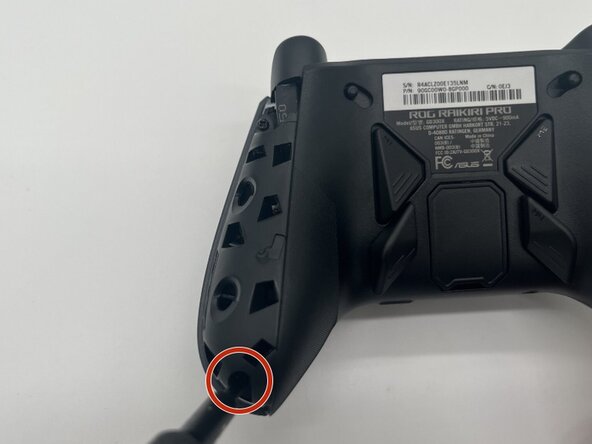
    • Use a Phillips #1 screwdriver to remove an 11 mm screw from the bottom corner of each handle.

  4. ASUS ROG Raikiri Pro Joystick Cover Replacement: crwdns2935265:04crwdnd2935265:01crwdnd2935265:02crwdne2935265:0 ASUS ROG Raikiri Pro Joystick Cover Replacement: crwdns2935265:04crwdnd2935265:02crwdnd2935265:02crwdne2935265:0
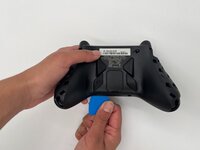
    • Place the tip of an opening pick or spudger in the seam of the back center panel.

    • Gently slide the pick from left to right along the seam to release the clips connecting the top and bottom of the controller.

    • Separate the top and bottom of the device.

  5. ASUS ROG Raikiri Pro Joystick Cover Replacement: crwdns2935265:05crwdnd2935265:01crwdnd2935265:02crwdne2935265:0 ASUS ROG Raikiri Pro Joystick Cover Replacement: crwdns2935265:05crwdnd2935265:02crwdnd2935265:02crwdne2935265:0
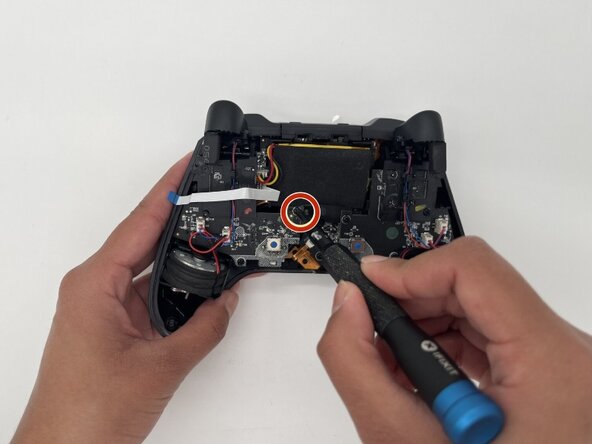
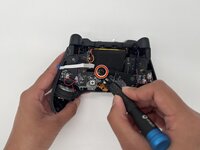
    • Use a Phillips #1 screwdriver to remove the three 8 mm screws securing the left board.

  6. ASUS ROG Raikiri Pro Joystick Cover Replacement: crwdns2935265:06crwdnd2935265:01crwdnd2935265:02crwdne2935265:0 ASUS ROG Raikiri Pro Joystick Cover Replacement: crwdns2935265:06crwdnd2935265:02crwdnd2935265:02crwdne2935265:0
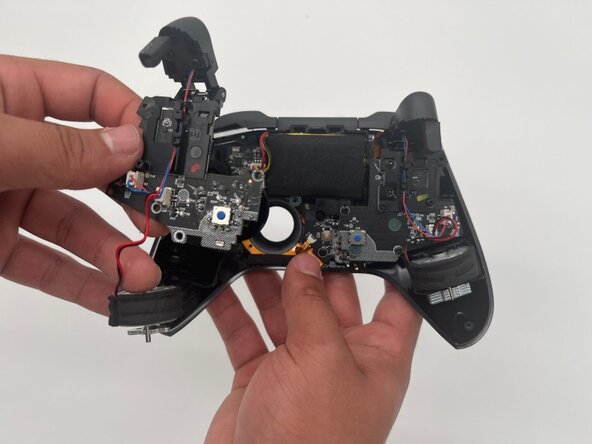
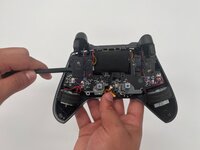
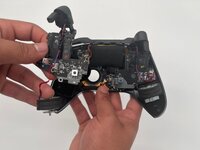
    • Use a spudger to carefully remove the left board.

  7. ASUS ROG Raikiri Pro Joystick Cover Replacement: crwdns2935265:07crwdnd2935265:01crwdnd2935265:02crwdne2935265:0 ASUS ROG Raikiri Pro Joystick Cover Replacement: crwdns2935265:07crwdnd2935265:02crwdnd2935265:02crwdne2935265:0
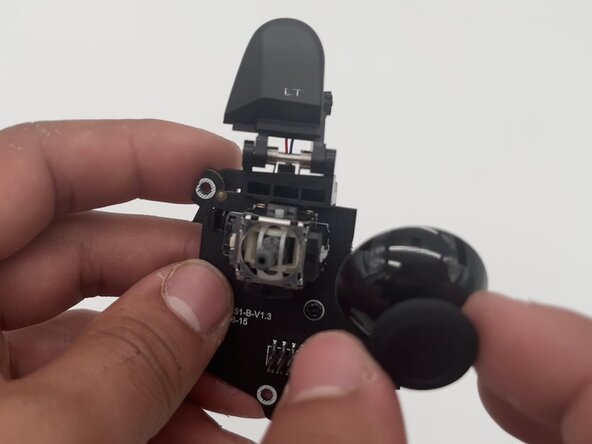
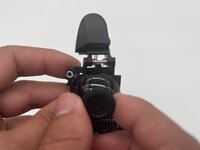
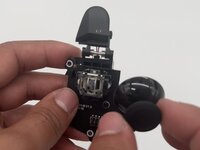
    • Flip the board over and remove the joystick cover.

crwdns2915888:0crwdne2915888:0

To reassemble your device, follow these instructions in reverse order. Take your e-waste to an R2 or e-Stewards certified recycler.

Zoe Ewing

crwdns2935283:002/12/25crwdne2935283:0

279 crwdns2915208:0crwdne2915208:0

crwdns2935297:02crwdne2935297:0

crwdns2915084:0crwdne2915084:0

University of North Texas, Team 1-3, Kilpatrick Spring 2025 crwdns2935289:0University of North Texas, Team 1-3, Kilpatrick Spring 2025crwdne2935289:0

UNT-KILPATRICK-S25S1G3

crwdns2931471:03crwdne2931471:0

crwdns2935297:05crwdne2935297:0

crwdns2947412:00crwdne2947412:0

crwdns2917038:0crwdne2917038:0

crwdns2936625:0crwdne2936625:0:

crwdns2936751:024crwdne2936751:0 9

crwdns2936753:07crwdne2936753:0 9

crwdns2936753:030crwdne2936753:0 9

crwdns2942667:0crwdne2942667:0 15