crwdns2915892:0crwdne2915892:0
This guide will teach you how to remove the entire back panel to reach the internal components.
crwdns2942213:0crwdne2942213:0
-
-
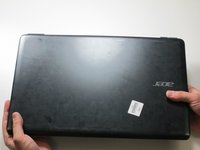
Flip your laptop over so the back panel is facing upwards.
-
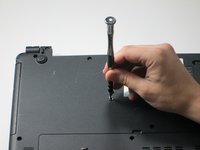
Locate the lock switch below the battery.
-
-
-
Slide the lock switch to the right using your finger or a spudger.
-
At the same time, grasp the battery with your other hand and slide it out of the laptop.
-
Remove the battery.
-
-
-
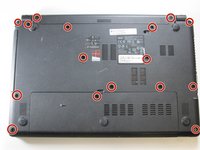
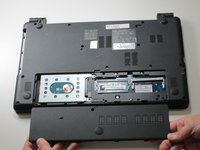
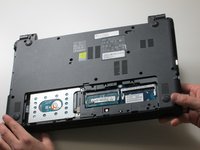
Remove the 16 2.5 x 8mm Phillips #0 screws from the back panel.
If you just want to replace the screen then skip this step and all the following steps up to Step 13.
I’ve followed this procedure several times trying to fix a dodgy screen on the same laptop. After the 4th time I realised that you do not need to disassemble the base part of the laptop at all. Just skip to Step 13, remove the 2 hinge screws and pull off the black screen surround. It needs a bit of jiggling but its much, much easier than trying to fight with the 3 ribbon cable connectors for the keyboard.
If you do actually need to replace the screen cable, then you have to follow the complete process.
-
-
-
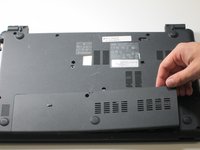
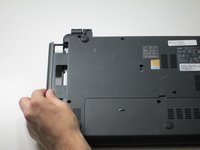
Remove the back panel by carefully disengaging it around the edges and then pull upwards.
-
-
-
-
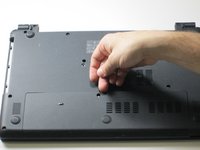
Unscrew the two remaining 2.5 x 8mm Phillips #0 screws from inside the bottom panel as designated in the image.
-
-
-
Slide out the plastic insert located on the left side, and remove, before returning the laptop to the face-up position.
-
-
-
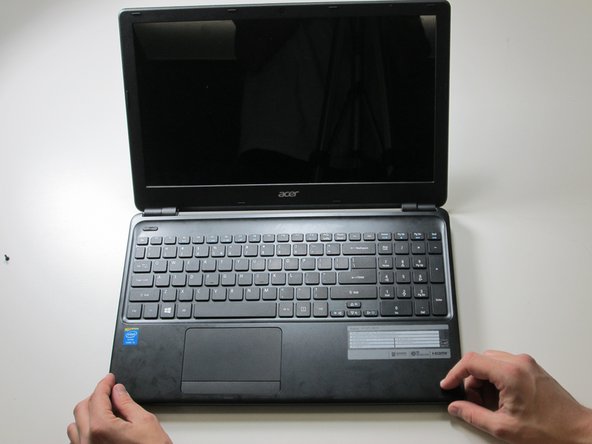
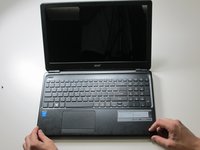
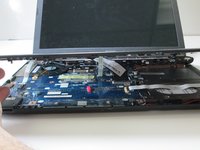
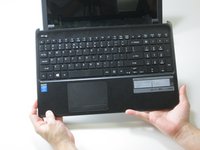
Carefully flip your laptop back over and open it up.
-
-
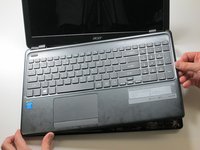
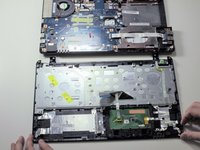
The sides and front edge of the top panel have a lot of moulded in clips holding the top onto the bottom. I needed a spludger to lever the sides of the bottom case out to release the clips from the top
-
-
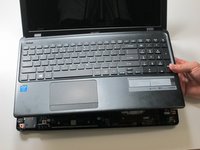
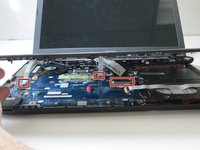
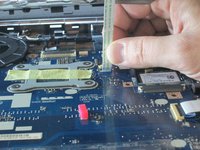
Locate the three ribbons that need to be unplugged, so the two halves of the device may be separated.
-
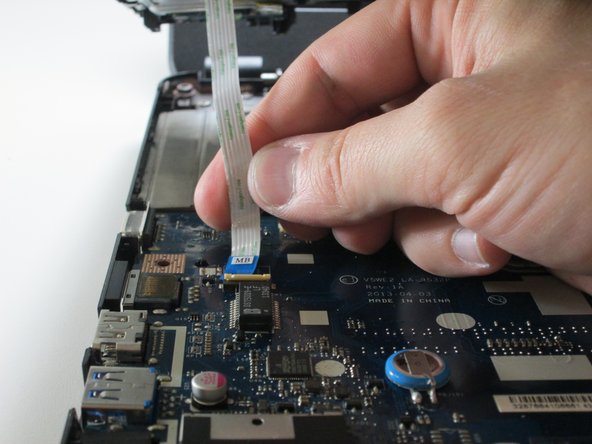
Unplug the large ribbon by sliding the retainer clip backward (toward the hinges), then gently pulling the cable out of the connector.
-
-
-
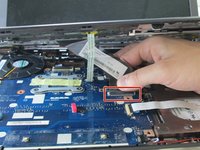
Remove the other two smaller ribbons by flipping open the small plastic tab that holds the ribbon in the connector.
-
Then simply pull the free ribbon out.
-
-
-
Lift the top panel all the way up and your laptop is now split into its two distinct halves.
Thank you, I found the instructions straight forward and easy to understand. Good step by step and photos easy to see. I would use other instructions presented by you. Alan Keirle
Can you show me where the power button is on the inside of my acer e1572-6484. I have tried everything to turn on and start my laptop, which turned on before i disassembled it to reset the CMOS battery. I connected everything. The led light is on indicating fully charged. new RAMS ac charger and battery pack. HELP!
By the way regarding my Acer e1572-6484, after opening it I found it did not have an CMOS battery to reset.
-


To reassemble your device, follow these instructions in reverse order.
To reassemble your device, follow these instructions in reverse order.
crwdns2935221:0crwdne2935221:0
crwdns2935229:03crwdne2935229:0
crwdns2915084:0crwdne2915084:0

Cal Poly, Team 9-6, Banghart Winter 2017 crwdns2935289:0Cal Poly, Team 9-6, Banghart Winter 2017crwdne2935289:0
CPSU-BANGHART-W17S9G6
crwdns2931471:03crwdne2931471:0
crwdns2935297:07crwdne2935297:0
crwdns2947410:01crwdne2947410:0
Muito bem explicado!