crwdns2942213:0crwdne2942213:0
-
-
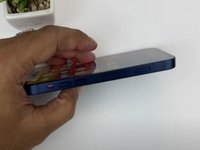
Remove the SIM Card tray using a SIM Card eject tool
-
-
-
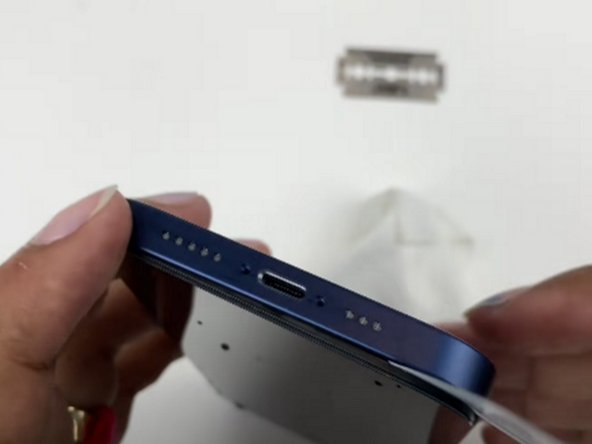
Unscrew the two 6.9 mm long Pentalobe screws.
-
-
-
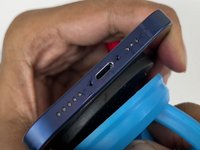
Apply a heated iOpener all around the edge of the screen to loosen the adhesive under the display.
-
Lift the display with a suction cup and insert a thin object to separate the screen from the frame.
-
Slide the fine object along the entire edge to cut the adhesive.
-
Raise the display.
Please explain what you mean by heated iopener on each edge. The link doesn’t work for me. Thank you
-
-
-
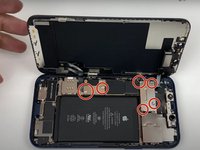
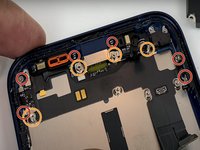
Remove the 6 Phillips # 00 screws.
-
With a spudger or with your fingernails, lift the two connectors.
-
Lift the connector underneath.
-
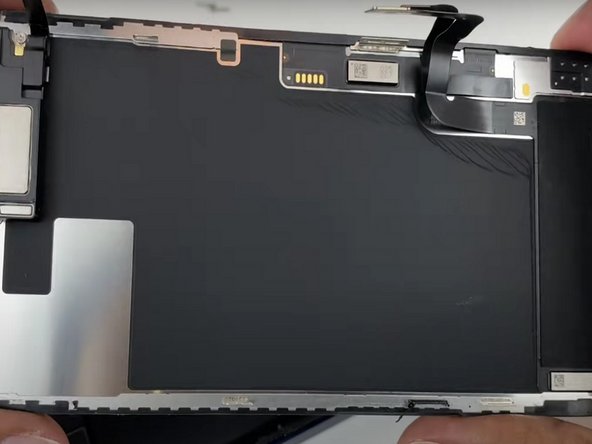
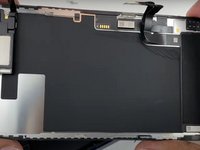
Disconnect the display connector.
-
Raise the display.
-
-
-
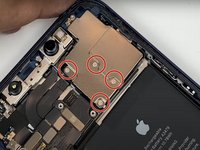
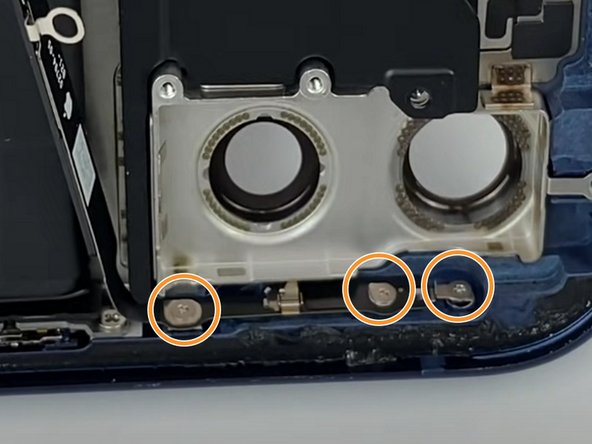
Unscrew the 4 Phillips # 00 screws.
-
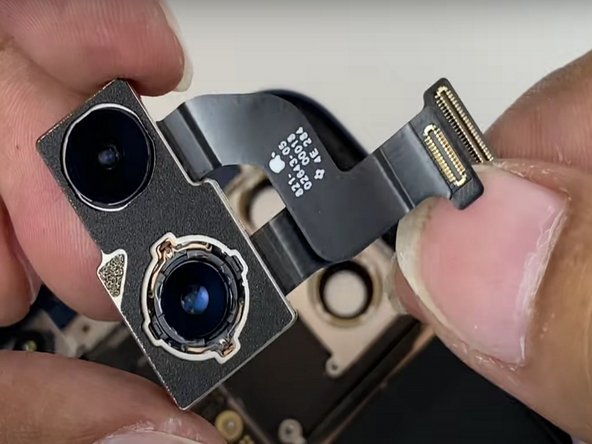
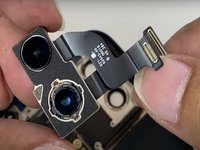
With a spudger or fingernails disconnect the two rear camera connectors.
-
Remove the rear camera.
These are not Philips head screws, they are tri-wing, and also there is an actual Philips head screw at the very top of the plate that also needs removal
-
-
-
-
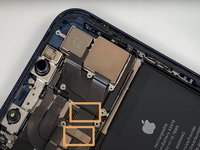
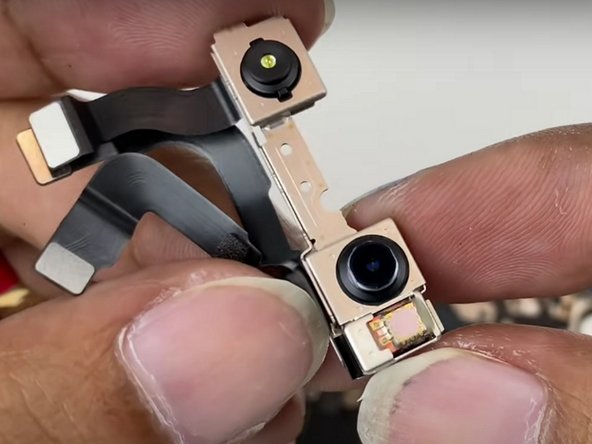
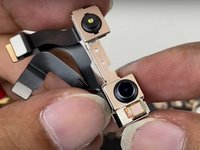
With a spudger or fingernails to disconnect the three connectors that connect the front camera.
-
Remove the front camera.
-
-
-
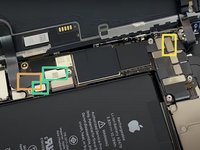
With a spudger or fingernails disconnect the battery holder connector.
-
Unscrew the 3 Phillips # 00 screws.
-
Remove the battery holder.
-
-
-
With a spudger or fingernails disconnect the rear camera flash connector.
-
Unscrew the 3 Phillips # 00 screws.
-
Unscrew the 2 Phillips # 00 screws.
-
Remove the rear camera flash.
-
-
-
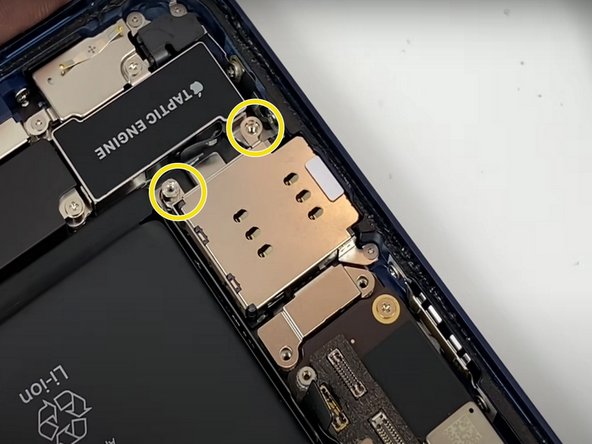
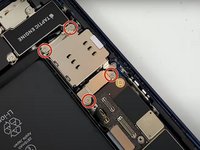
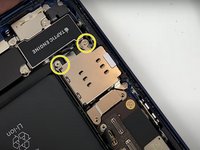
Unscrew the 4 Phillips # 00 screws.
-
Unscrew the 2 screw holders with the suitable screwdriver.
-
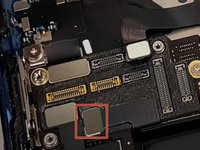
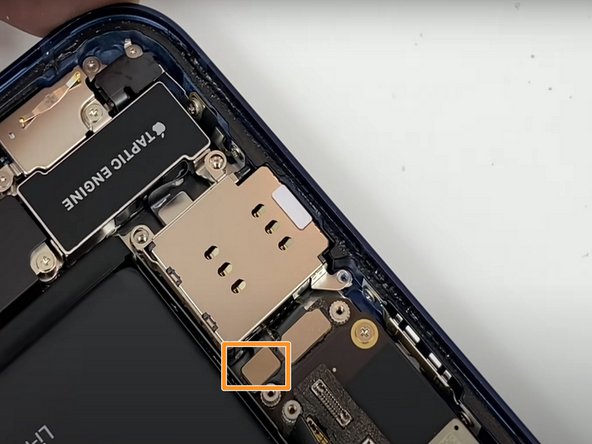
With a spudger or fingernails to disconnect the SIM card holder connector.
-
Remove the SIM card holder.
-
-
-
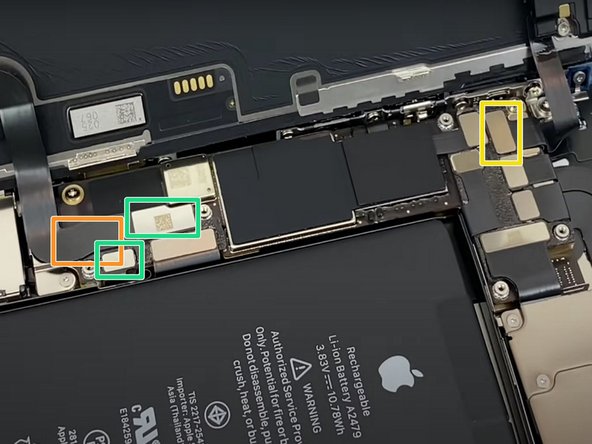
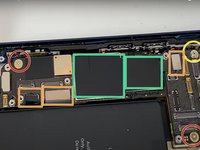
Remove the 2 Phillips # 00 screws.
-
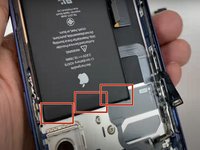
With a spudger or fingernails disconnect the 3 battery connectors.
-
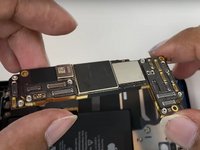
Unscrew the screw holder with a standoff screwdriver for iphone.
-
Remove the film with a spudger.
-
Remove the logic board.
There is an additional screw at the very top that needs removal
-
-
-
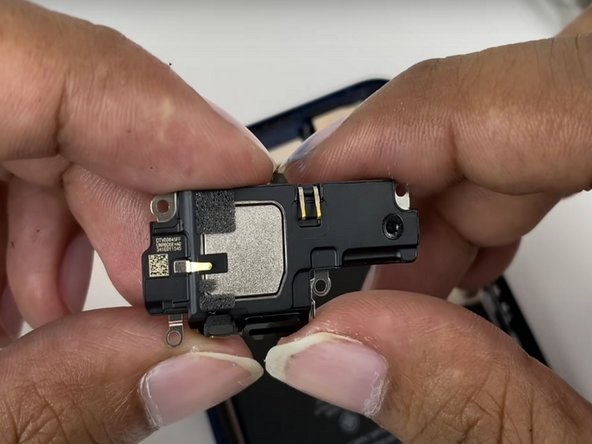
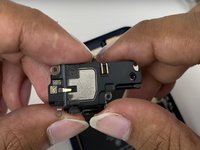
Unscrew the 5 Phillips # 00 screws.
-
Remove the speaker.
-
-
-
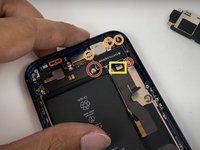
Remove the 2 screw holders with a standoff screwdriver for iphone
-
Unscrew the 3 Phillips # 00 screws.
-
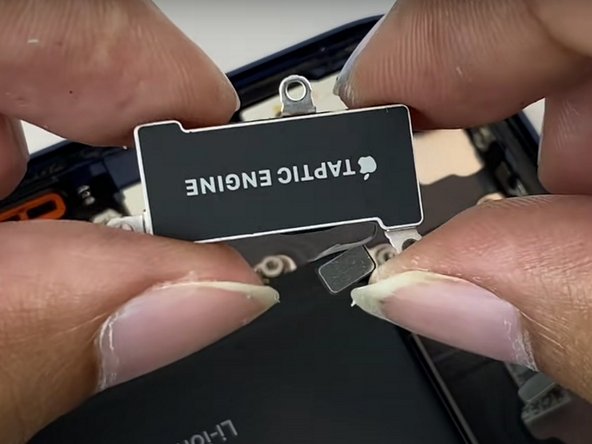
Remove the taptic engine connector with a spudger or fingernail.
-
Remove the taptic engine.
-
-
-
Remove the adhesive under the battery.
-
Remove the battery.
-
-
-
Unscrew 6 Phillips # 00 screws.
-
Remove the 4 screw holders with an iPhone standoff screwdriver.
-
Remove the film with a spudger.
-
Remove the charging port.
-
-
-
And here are all the components that make up the new iPhone 12.
-


crwdns2934873:0crwdne2934873:0
100%


crwdns2934885:0crwdne2934885:0 crwdns2934875:0crwdne2934875:0
crwdns2934877:0crwdne2934877:0 ›

crwdns2915084:0crwdne2915084:0

SussyFixers crwdns2935289:0SussyFixerscrwdne2935289:0
Community
crwdns2931471:03crwdne2931471:0
crwdns2935297:014crwdne2935297:0
crwdns2947412:07crwdne2947412:0
I had problem with nfc. When it was changed. Have any solution?
I don't see any mentioning of the microphone, Is the Microphone an integral part of the charging port harnes?
This guide is missing A LOT of steps
This is definitely not a US iPhone 12! e careful as the antenna can tear easily and potentially ruin a motherboard.
>disconnect battery connector
>disconnetct 3 battery connectors
wtf?)) why do you call any FPC "battery connector"? so NPC
not very detailed, many steps are missing
Step 7: "Remove the battery holder"
That's not a "battery holder (?)" that's the Bluetooth antenna/cable. It's also glued to another cable that is soldered to the bottom of the main board, goes around the top of the battery and down the right side. That cable seems to be missing entirely here.