crwdns2942213:0crwdne2942213:0
-
-
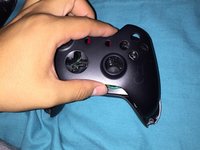
Start off with having an Xbox One Controller (:
-
-
-
Start with removing the battery pack and exposing the T8 security screw. The screw should be hidden behind a warranty sticker.
-
-
-
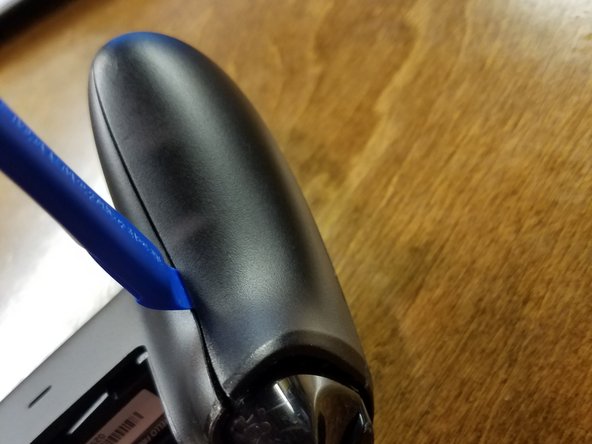
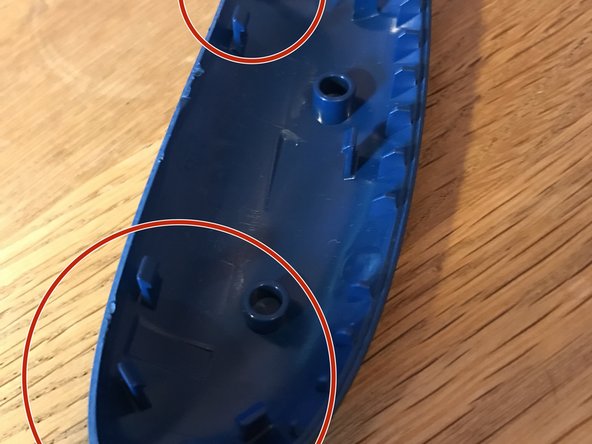
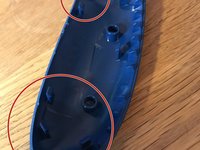
Remove the side panels exposing the second T8 security screw using a spudger, an IFixit Opening Tool, or your nails, each choice is fun.
-
-
-
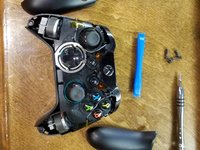
By removing all side panels all 5 TR8 security screws have appeared!
-
-
-
-
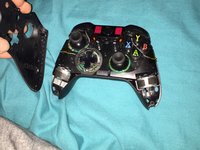
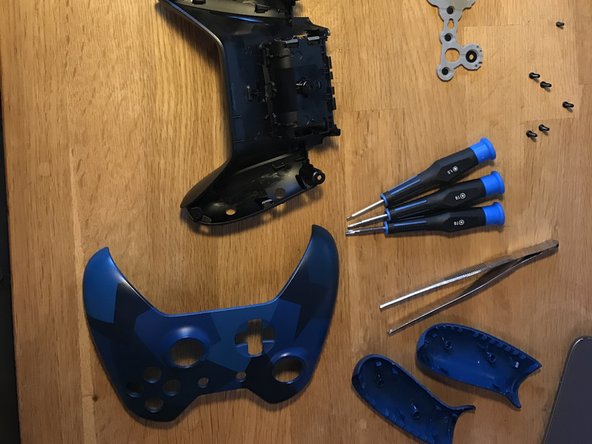
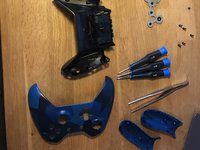
Once you removed the T8 security screws remove the front face plate.
-
-
-
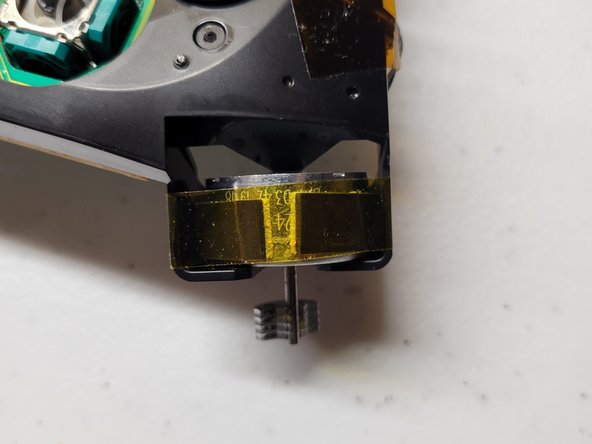
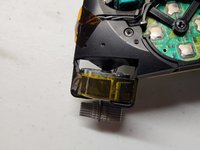
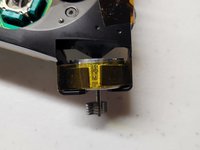
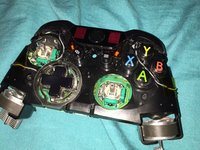
Tape down the rumbler motors to prevent them from falling out.
-
-
-
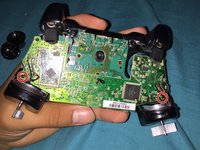
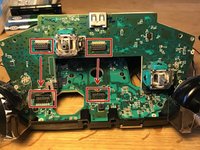
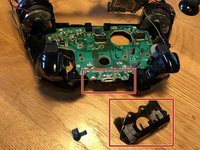
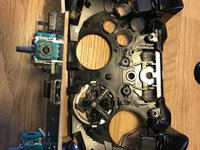
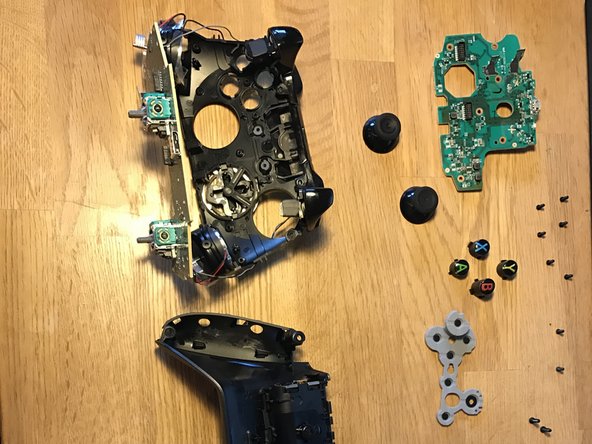
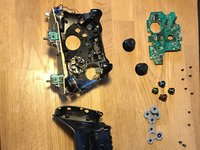
Remove the T6 screws to remove the PCB's.
-
It takes a pull to seperate the connectors.
-
Watch the wires! You can not fully remove the circuit board without removing the wires and it requires soldering.
-
-
-
Remove the top cover, it folds over.
-
There are 6 T6 screws to remove.
-
-
-
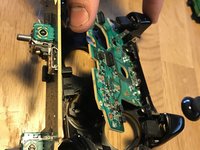
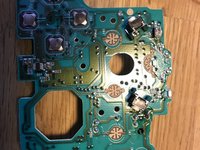
Remove the circuit board
-
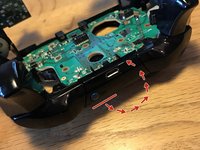
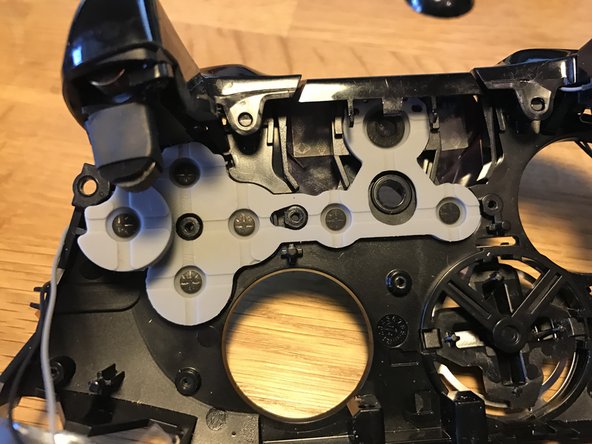
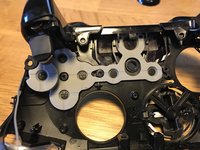
Under the rubber is the A B X Y buttons.
-
-
-
Follow the instructions in reverse to get everything together again. :D
-
crwdns2947412:016crwdne2947412:0
Very good instructions...
Nice instructions. I need to take apart mine and replace the d-pad. The previous owner was a bit... rough. Sometimes it doesn't work or it clicks twice. Cheers!
Do you think that you can label the internals of the controller.
I have a custom controller from the xbox design labs. I want to change the led on the front.
Can someone point out the model/ size led I would need?
How do you put the sync buttom back in? Which way does it face?


