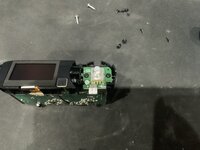
crwdns2915892:0crwdne2915892:0
a teardown for this headsets wireless base / battery charger as no one else has done it yet and mine is basically dead.
crwdns2942213:0crwdne2942213:0
-
-
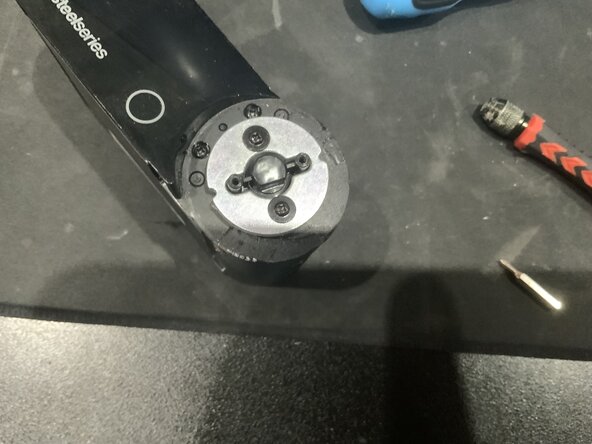
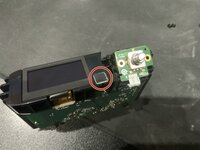
At the front, pry around the knob in a circular motion to evenly remove the metal detail and reveal the screws. Be careful as my may pry the whole knob off and cause irreparable damage. The adhesive is quite strong so add some force to it.
-
-
-
Unscrew the cap and unscrew the screws under said cap, no real danger here aside from strpping screws.
-
-
-
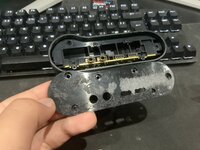
Use the spudger or flat-head screwdriver to remove the rear plastic detail. do this carefully as you may accidentally pry behind the plastic mounted behind the sticker and cause irreparable damage.
-
-
-
-
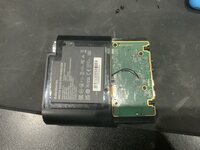
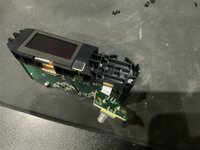
After removing the plastic, unscrew all accessible screws and slide the insides out the body.
-
-
-
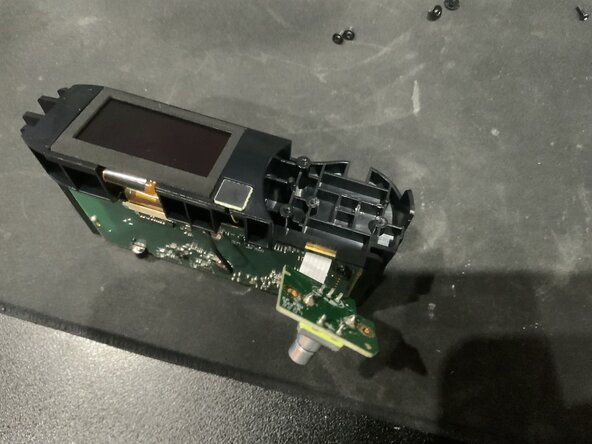
After sliding it out, start with unscrewing the potentiometer board and pushing it to the side.
-
-
-
Heres a tricky part, locate the touch board (the tiny one next to the pot board) and use a small screwdriver or toothpick to push out the board and slide it upwards and out of the notch where the cable resides and push it aside.
-
-
-
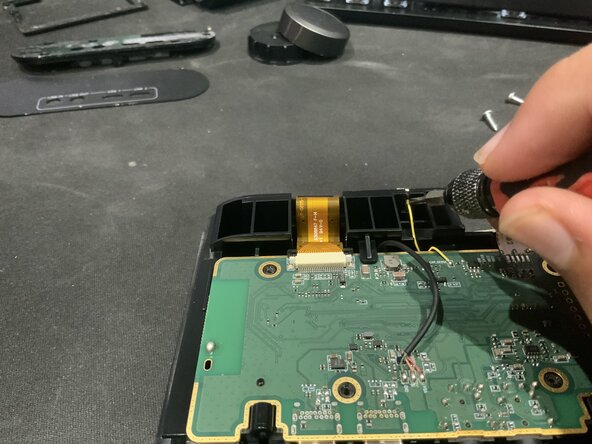
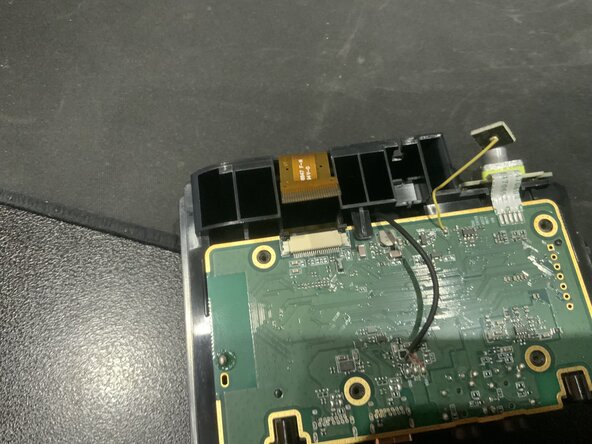
unlatch the cable connecting the screen and push the cable out, disconnecting the screen.
-
-
-
Now that all the daughter boards are unscrewed and out of the way, unscrew the main board and slide it towards you slightly and bring it upwards and out, flipping it forward to not rip the cable underneath.
-
-
-
Unscrew the final daughterboard and remove all the boards from the frame. If the spring is broken here you could cut it off and glue a new one in. I haven't figured a way to remove the screen so if you have a broken screen just pry mercilessly at it
-