crwdns2933423:0crwdne2933423:0

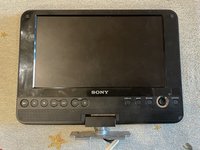
Sony DVP-FX820 Full Teardown

crwdns2942213:0crwdne2942213:0

  1. Sony DVP-FX820 Full Teardown, Overview: crwdns2935265:01crwdnd2935265:01crwdnd2935265:02crwdne2935265:0 Sony DVP-FX820 Full Teardown, Overview: crwdns2935265:01crwdnd2935265:02crwdnd2935265:02crwdne2935265:0
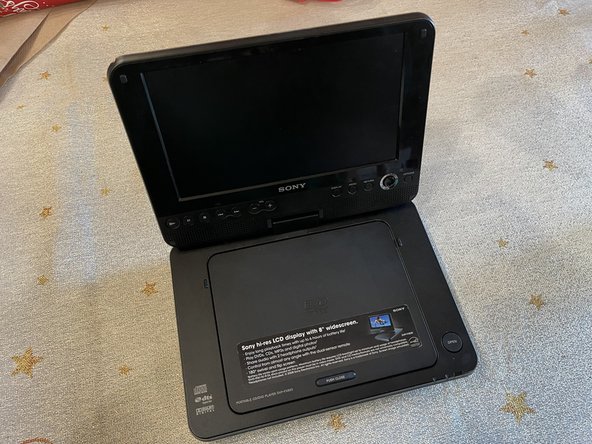
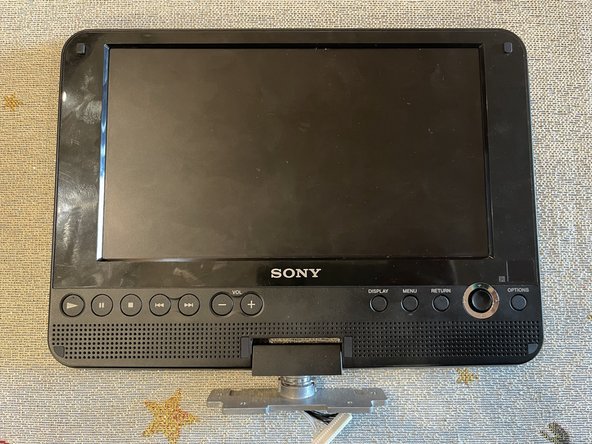
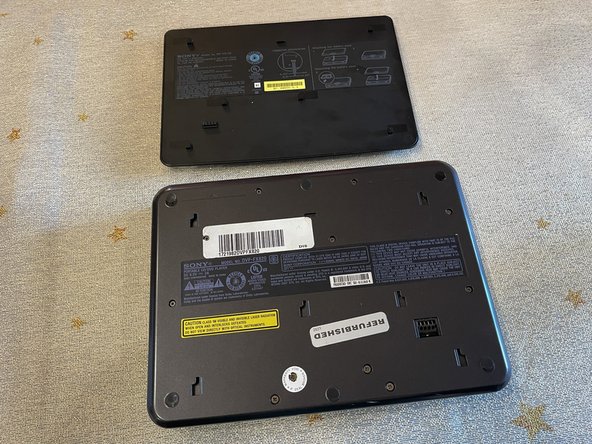
    • Here is the main unit - it consists of the DVD player itself and the battery pack.

    • Because the guide will disassemble both halves of the DVD player, it is wise to keep track of screws and plastic components so that they are not mixed up when the device will be reassembled.

  2. Sony DVP-FX820 Full Teardown, Removing the Battery: crwdns2935265:02crwdnd2935265:01crwdnd2935265:03crwdne2935265:0 Sony DVP-FX820 Full Teardown, Removing the Battery: crwdns2935265:02crwdnd2935265:02crwdnd2935265:03crwdne2935265:0 Sony DVP-FX820 Full Teardown, Removing the Battery: crwdns2935265:02crwdnd2935265:03crwdnd2935265:03crwdne2935265:0
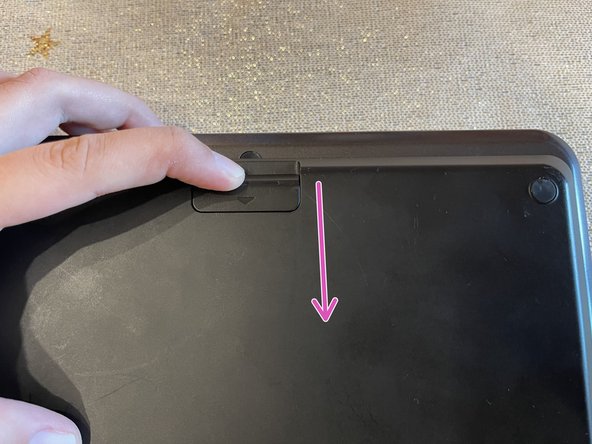
    • Remove the battery pack from the bottom of the unit.

    • This can be done by sliding down the indicated notch, then sliding down the battery itself. The battery can then be lifted straight up off of the bottom of the DVD player.

  3. Sony DVP-FX820 Full Teardown, Finding the screws: crwdns2935265:03crwdnd2935265:01crwdnd2935265:01crwdne2935265:0
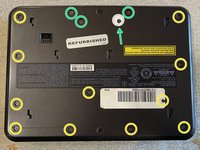
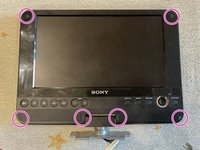
    • There are 10 visible screws on the bottom, 11 if your warranty sticker is broken.

    • If your warranty sticker is unbroken, you'll have to remove or puncture it to continue.

    • The footpads in the corners cover 4 more screws, so we must remove them.

    • The footpads can be removed with an exacto knife by sliding it under them.

  4. Sony DVP-FX820 Full Teardown, Unscrewing the Bottom Shell Screws: crwdns2935265:04crwdnd2935265:01crwdnd2935265:02crwdne2935265:0 Sony DVP-FX820 Full Teardown, Unscrewing the Bottom Shell Screws: crwdns2935265:04crwdnd2935265:02crwdnd2935265:02crwdne2935265:0
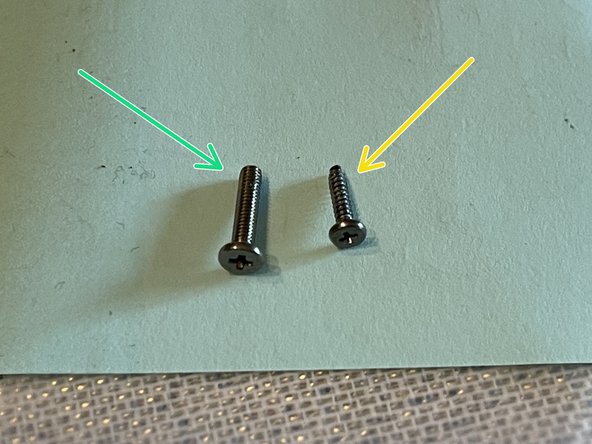
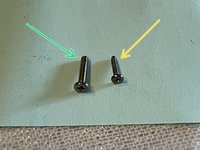
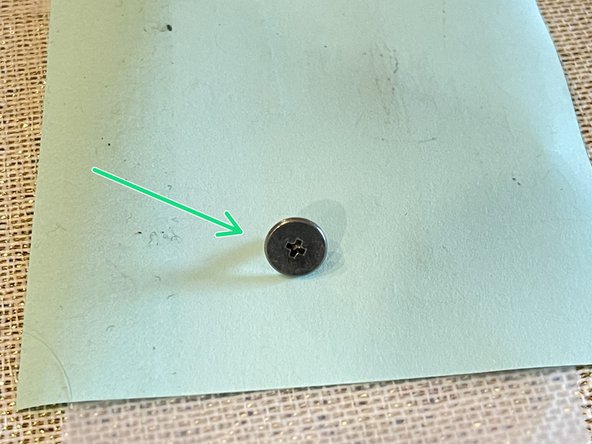
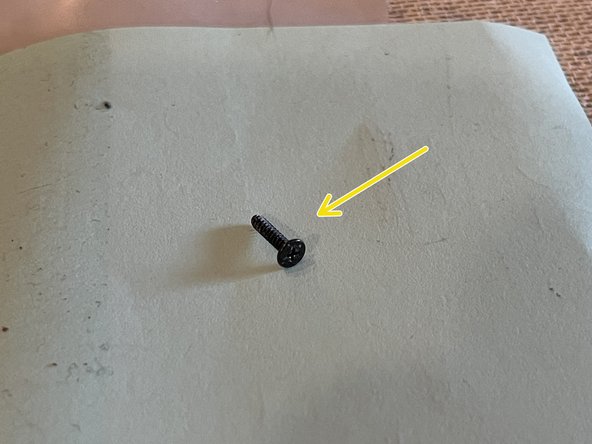
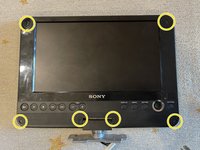
    • Remove the screws with a 2.0 and 2.5 mm Phillips head screwdriver.

    • 2.0mm x 11

    • 2.5mm x 4

  5. Sony DVP-FX820 Full Teardown, Opening the Bottom Cover: crwdns2935265:05crwdnd2935265:01crwdnd2935265:03crwdne2935265:0 Sony DVP-FX820 Full Teardown, Opening the Bottom Cover: crwdns2935265:05crwdnd2935265:02crwdnd2935265:03crwdne2935265:0 Sony DVP-FX820 Full Teardown, Opening the Bottom Cover: crwdns2935265:05crwdnd2935265:03crwdnd2935265:03crwdne2935265:0
    • Please read this entire step before opening the lid.

    • Rotate your unit 90 degrees and lift the cover up slightly, then tilt it towards the hinge (backwards).

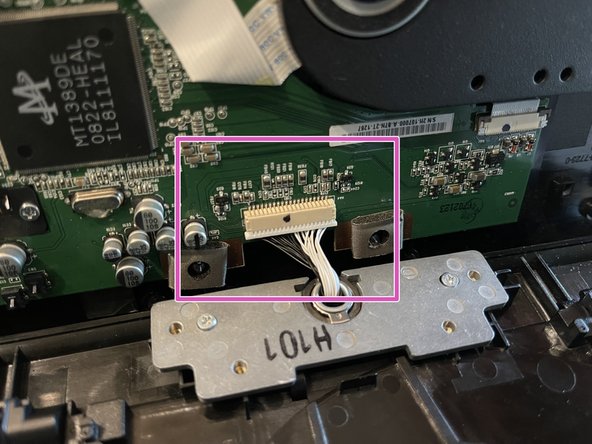
    • There is a cable coming from the hinge that must be unplugged before removing the back cover.

    • Remove the connector of the cable from the motherboard. The bottom half can then be completely separated.

  6. Sony DVP-FX820 Full Teardown, Viewing the Bottom Shell: crwdns2935265:06crwdnd2935265:01crwdnd2935265:01crwdne2935265:0
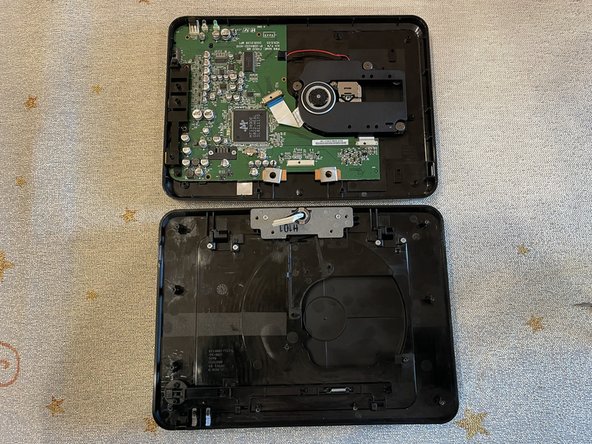
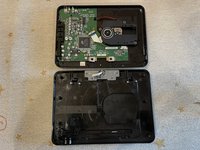
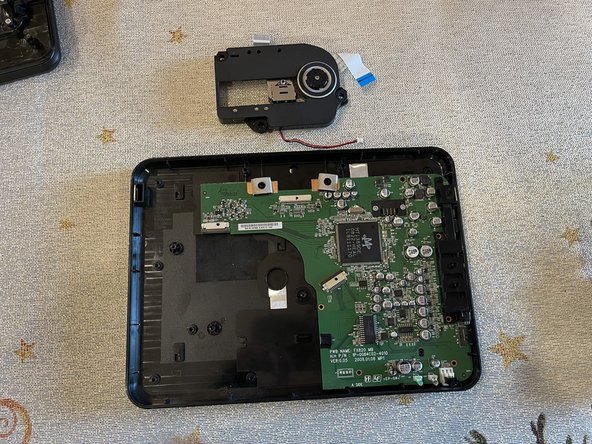
    • The motherboard and laser reader sit on the bottom shell.

    • This can be set aside if you wish to work on the top half only. The top half disassembly begins at Step 12.

  7. Sony DVP-FX820 Full Teardown, Detaching the Laser: crwdns2935265:07crwdnd2935265:01crwdnd2935265:03crwdne2935265:0 Sony DVP-FX820 Full Teardown, Detaching the Laser: crwdns2935265:07crwdnd2935265:02crwdnd2935265:03crwdne2935265:0 Sony DVP-FX820 Full Teardown, Detaching the Laser: crwdns2935265:07crwdnd2935265:03crwdnd2935265:03crwdne2935265:0
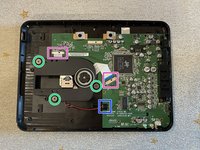
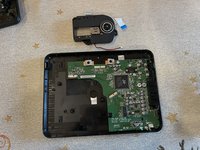
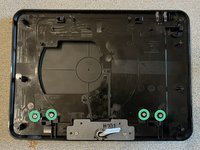
    • Three large screws hold down the laser to the cover, so we must remove them before working with the motherboard.

    • 3 x 2.5mm

    • The laser is still attached to the motherboard by a few cables.

    • 2 x ribbon cables

    • 1 x connector

    • The laser can now be lifted off of the shell.

  8. Sony DVP-FX820 Full Teardown, Removing the Motherboard: crwdns2935265:08crwdnd2935265:01crwdnd2935265:03crwdne2935265:0 Sony DVP-FX820 Full Teardown, Removing the Motherboard: crwdns2935265:08crwdnd2935265:02crwdnd2935265:03crwdne2935265:0 Sony DVP-FX820 Full Teardown, Removing the Motherboard: crwdns2935265:08crwdnd2935265:03crwdnd2935265:03crwdne2935265:0
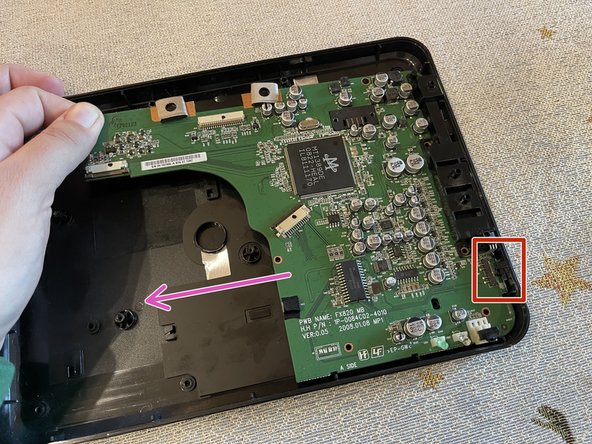
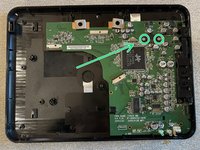
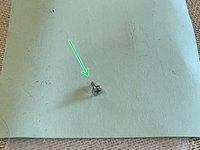
    • Remove the screws near the battery connector that hold the motherboard to the shell.

    • 2 x 2.5mm

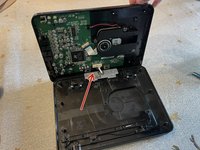
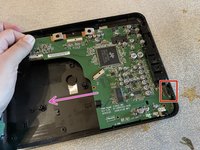
    • Take the motherboard out of the shell by pulling it outwards, so that the plastic connector sockets on the board slide out of the housing.

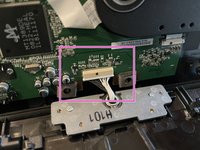
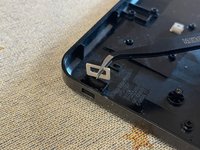
    • When reinstalling, make sure the power switch is properly aligned with the switch on the motherboard (marked in red).

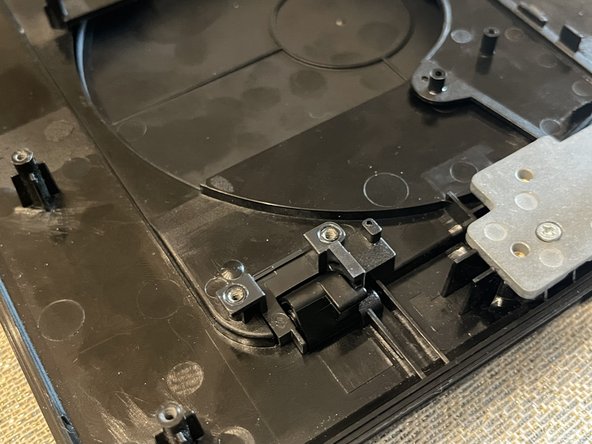
  9. Sony DVP-FX820 Full Teardown, Optional - Open Button: crwdns2935265:09crwdnd2935265:01crwdnd2935265:03crwdne2935265:0 Sony DVP-FX820 Full Teardown, Optional - Open Button: crwdns2935265:09crwdnd2935265:02crwdnd2935265:03crwdne2935265:0 Sony DVP-FX820 Full Teardown, Optional - Open Button: crwdns2935265:09crwdnd2935265:03crwdnd2935265:03crwdne2935265:0
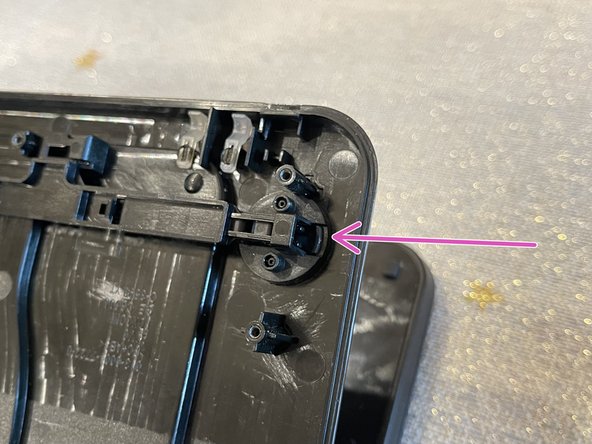
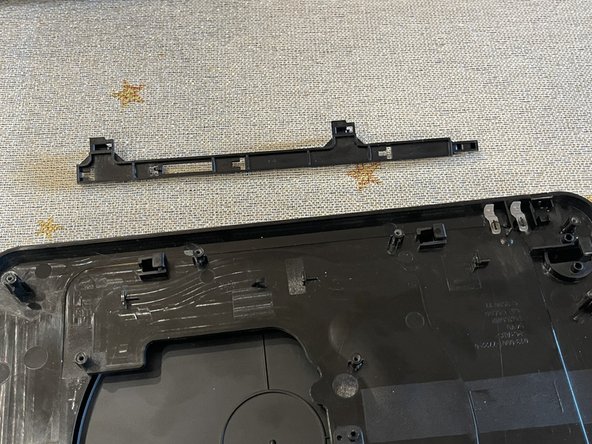
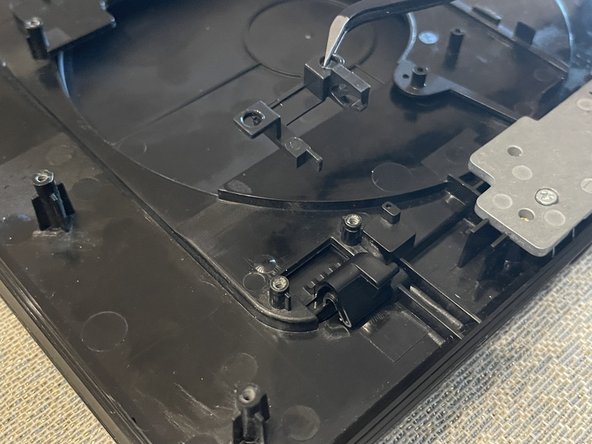
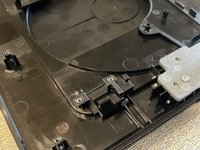
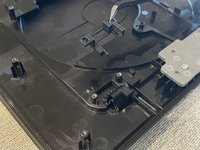
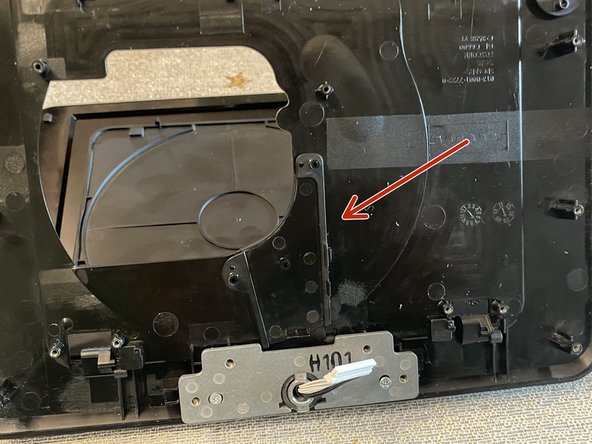
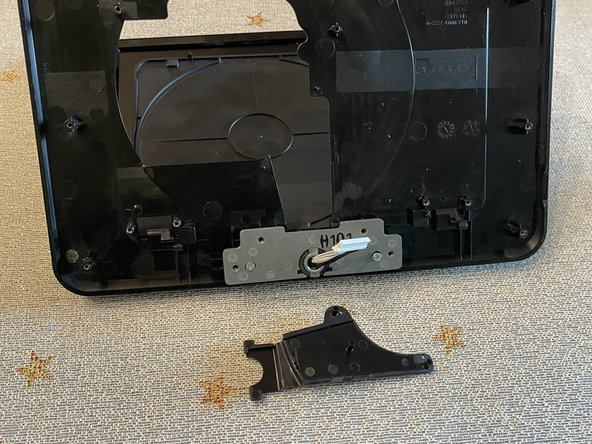
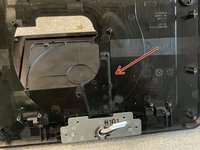
    • We can remove the open button mechanism from the disc tray.

    • Remove the spring that holds the open button in the closed position.

    • This is most easily done by pulling the hooked end of the spring out of the plastic with tweezers.

    • Pop out the open button by pushing the plastic on the edge in and downwards.

    • Push the long plastic away from the open button hole, then lift it out of the cover.

  10. Sony DVP-FX820 Full Teardown, Optional - Metal Piece: crwdns2935265:010crwdnd2935265:01crwdnd2935265:02crwdne2935265:0 Sony DVP-FX820 Full Teardown, Optional - Metal Piece: crwdns2935265:010crwdnd2935265:02crwdnd2935265:02crwdne2935265:0
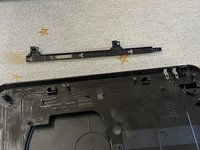
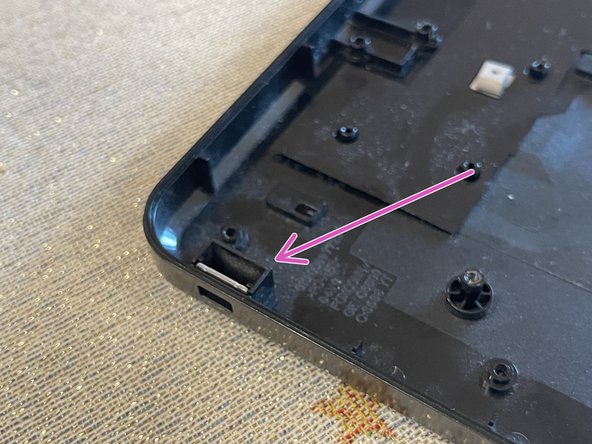
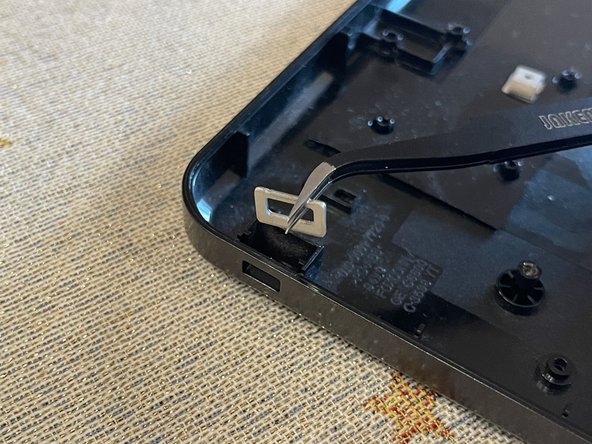
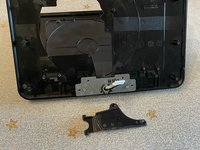
    • There is a metal piece in the corner that can be lifted out with tweezers.

  11. Sony DVP-FX820 Full Teardown, Optional - Connectors: crwdns2935265:011crwdnd2935265:01crwdnd2935265:03crwdne2935265:0 Sony DVP-FX820 Full Teardown, Optional - Connectors: crwdns2935265:011crwdnd2935265:02crwdnd2935265:03crwdne2935265:0 Sony DVP-FX820 Full Teardown, Optional - Connectors: crwdns2935265:011crwdnd2935265:03crwdnd2935265:03crwdne2935265:0
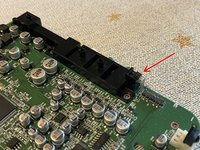
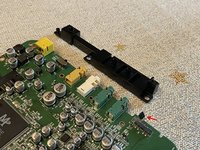
    • If you wish to get a better look at the socket connectors, we can remove another piece of plastic off of the motherboard.

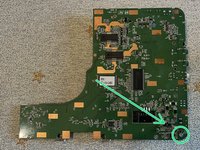
    • Flip the motherboard over and remove the screw in the corner.

    • 1 x 2.5mm

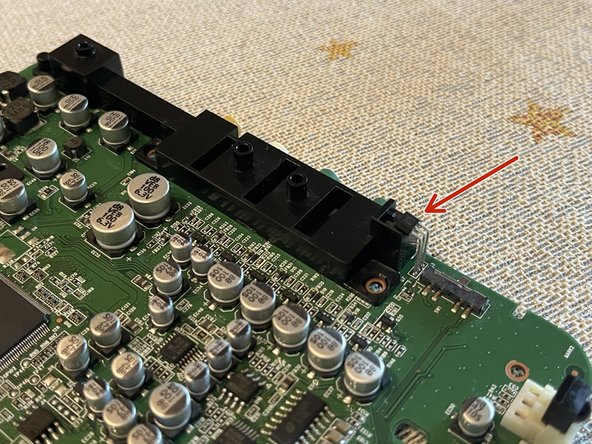
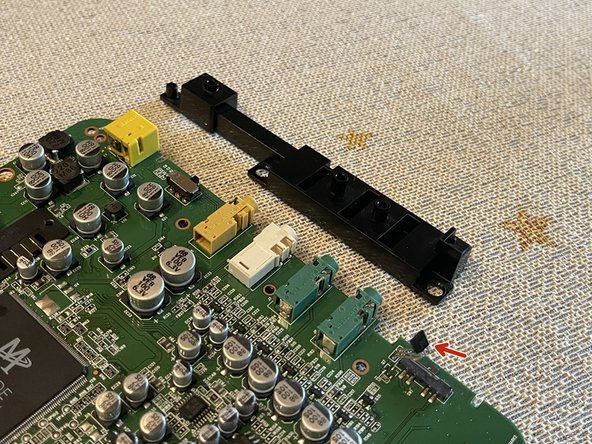
    • Bend the component on the side that keeps the plastic in place.

    • Lift off the black plastic on top of the connectors.

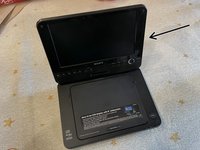
  12. Sony DVP-FX820 Full Teardown, Overview of the Top Cover: crwdns2935265:012crwdnd2935265:01crwdnd2935265:02crwdne2935265:0 Sony DVP-FX820 Full Teardown, Overview of the Top Cover: crwdns2935265:012crwdnd2935265:02crwdnd2935265:02crwdne2935265:0
    • Steps 13 - 18 will detail how to separate the top and bottom halves of the DVD player.

  13. Sony DVP-FX820 Full Teardown, Freeing the Hinge: crwdns2935265:013crwdnd2935265:01crwdnd2935265:03crwdne2935265:0 Sony DVP-FX820 Full Teardown, Freeing the Hinge: crwdns2935265:013crwdnd2935265:02crwdnd2935265:03crwdne2935265:0 Sony DVP-FX820 Full Teardown, Freeing the Hinge: crwdns2935265:013crwdnd2935265:03crwdnd2935265:03crwdne2935265:0
    • There are 4 screws keeping the DVD cover hinges in place that need to be removed.

    • 4 x 2.5mm

    • After removing the screws, the 2 black plastic pieces there can be popped off.

  14. Sony DVP-FX820 Full Teardown: crwdns2935265:014crwdnd2935265:01crwdnd2935265:03crwdne2935265:0 Sony DVP-FX820 Full Teardown: crwdns2935265:014crwdnd2935265:02crwdnd2935265:03crwdne2935265:0 Sony DVP-FX820 Full Teardown: crwdns2935265:014crwdnd2935265:03crwdnd2935265:03crwdne2935265:0
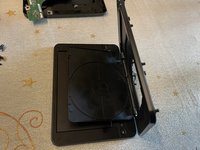
    • Open up the unit to about 90 degrees and open the DVD tray.

    • From the inside of the tray, pop out another black piece of plastic in the center of the tray.

    • It should come out towards you (the inside of the bottom cover) and can be maneuvered out and away from the hinge.

  15. Sony DVP-FX820 Full Teardown: crwdns2935265:015crwdnd2935265:01crwdnd2935265:03crwdne2935265:0 Sony DVP-FX820 Full Teardown: crwdns2935265:015crwdnd2935265:02crwdnd2935265:03crwdne2935265:0 Sony DVP-FX820 Full Teardown: crwdns2935265:015crwdnd2935265:03crwdnd2935265:03crwdne2935265:0
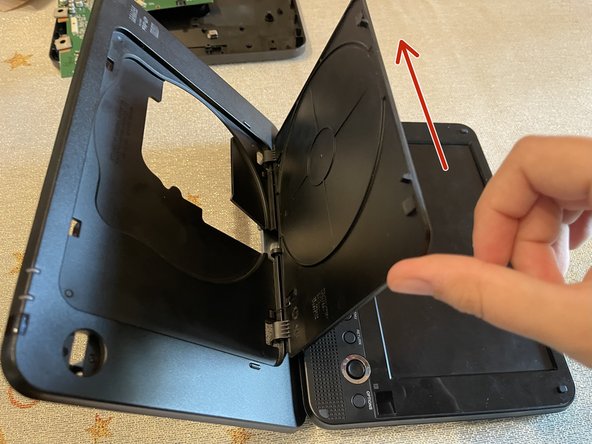
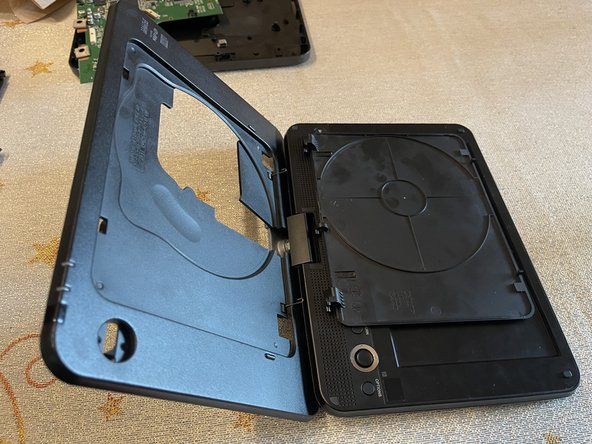
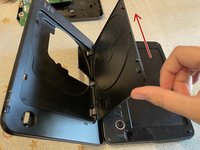
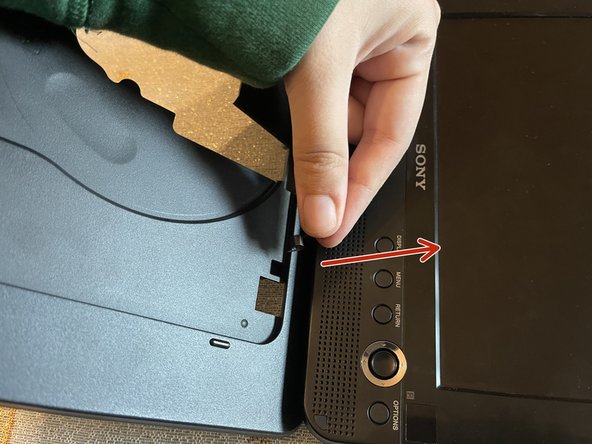
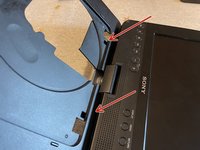
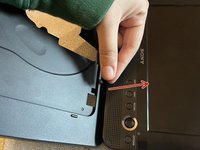
    • Open the unit to more than 90 degrees, and turn it so that the screen is on the right.

    • Gently push the DVD cover away from you. It should pop out and now can be removed.

    • You may hear a snap. These are most likely the springs being forced from their position on the inside of the DVD cover.

  16. Sony DVP-FX820 Full Teardown: crwdns2935265:016crwdnd2935265:01crwdnd2935265:02crwdne2935265:0 Sony DVP-FX820 Full Teardown: crwdns2935265:016crwdnd2935265:02crwdnd2935265:02crwdne2935265:0
    • The two springs that held the cover can be removed by pulling upwards on them.

    • They may need to be maneuvered out and can take a bit of force to remove. It is helpful to hold the base of the spring that is sticking out while pulling.

  17. Sony DVP-FX820 Full Teardown: crwdns2935265:017crwdnd2935265:01crwdnd2935265:01crwdne2935265:0
    • Back on the inside, we have to remove two more screws before the top half can be freed.

    • 2 x 2.5mm

    • Open up the unit again.

    • Now that the bottom and top are no longer attached, we can rotate the top out of the bottom half.

    • This is best done by rotating the top half 90 degrees, and then moving it along the empty space in the disc tray.

    • Fit the hinge into the larger hole in the disc tray, and then pull the top out of the bottom half.

  18. Sony DVP-FX820 Full Teardown, Top Half: crwdns2935265:019crwdnd2935265:01crwdnd2935265:03crwdne2935265:0 Sony DVP-FX820 Full Teardown, Top Half: crwdns2935265:019crwdnd2935265:02crwdnd2935265:03crwdne2935265:0 Sony DVP-FX820 Full Teardown, Top Half: crwdns2935265:019crwdnd2935265:03crwdnd2935265:03crwdne2935265:0
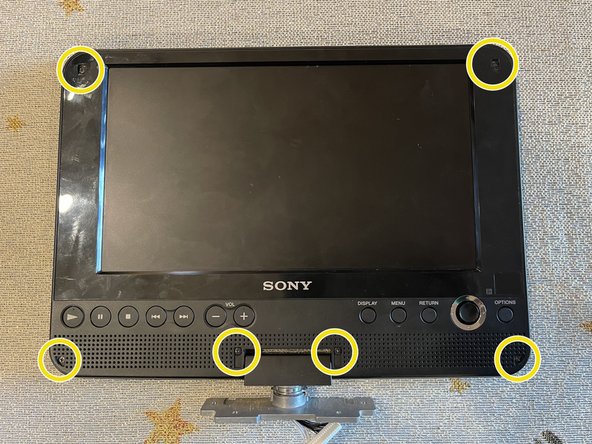
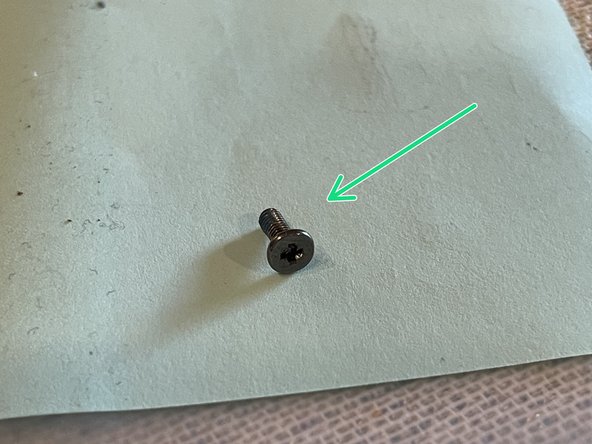
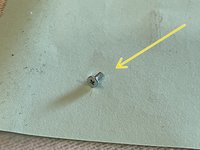
    • There are 6 screws holding the top half in place, all of which are under various pieces of silicone.

    • The top pieces are thick and rectangular, while the bottom corners have pieces that are less thick and look like a quarter of a semicircle. The pieces near the hinge are thin rectangles.

    • 6 x 2.0mm

  19. Sony DVP-FX820 Full Teardown, Internals of the Top: crwdns2935265:020crwdnd2935265:01crwdnd2935265:02crwdne2935265:0 Sony DVP-FX820 Full Teardown, Internals of the Top: crwdns2935265:020crwdnd2935265:02crwdnd2935265:02crwdne2935265:0
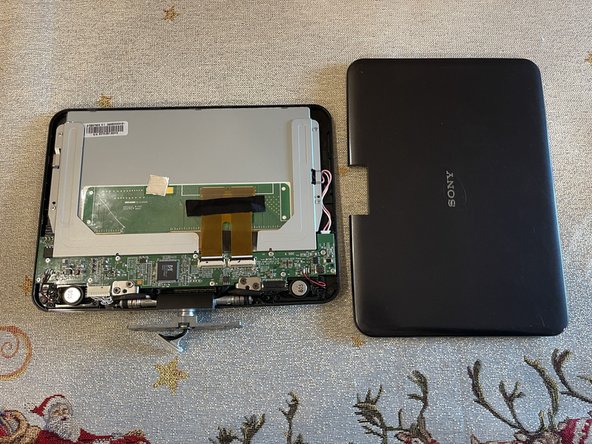
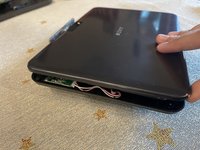
    • Go through with a thin but blunt tool to snap the back of the top cover off of the rest.

    • Do not use a knife, as there are thin wires that sit near the edges.

    • The part that snaps off should say Sony on it.

  20. Sony DVP-FX820 Full Teardown, Removing the Hinge: crwdns2935265:021crwdnd2935265:01crwdnd2935265:03crwdne2935265:0 Sony DVP-FX820 Full Teardown, Removing the Hinge: crwdns2935265:021crwdnd2935265:02crwdnd2935265:03crwdne2935265:0 Sony DVP-FX820 Full Teardown, Removing the Hinge: crwdns2935265:021crwdnd2935265:03crwdnd2935265:03crwdne2935265:0
    • There are 4 screws holding the metal hinge in place.

    • 4 x 2.5mm

    • The hinge also has two connectors that must be removed.

    • 2 x connector

    • The hinge should lift right off.

  21. Sony DVP-FX820 Full Teardown, Freeing the Screen Motherboard: crwdns2935265:022crwdnd2935265:01crwdnd2935265:03crwdne2935265:0 Sony DVP-FX820 Full Teardown, Freeing the Screen Motherboard: crwdns2935265:022crwdnd2935265:02crwdnd2935265:03crwdne2935265:0 Sony DVP-FX820 Full Teardown, Freeing the Screen Motherboard: crwdns2935265:022crwdnd2935265:03crwdnd2935265:03crwdne2935265:0
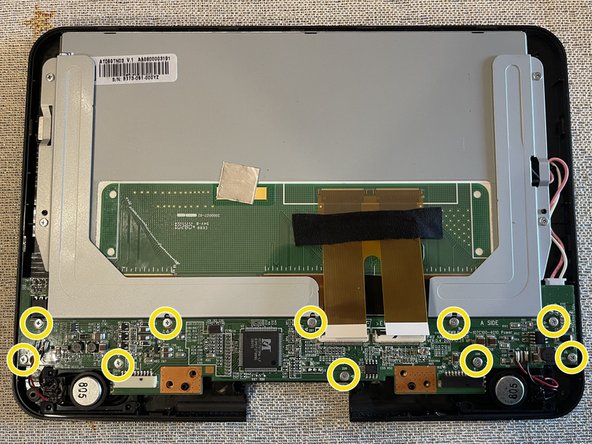
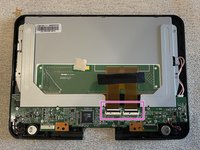
    • It is best to remove the cables connecting the screen to the motherboard before unscrewing it.

    • 2 x ribbon cable

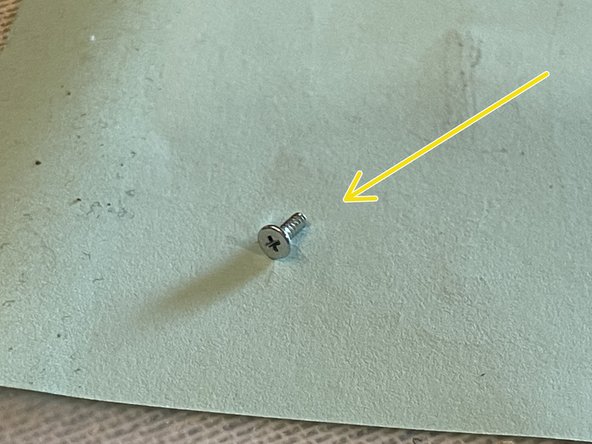
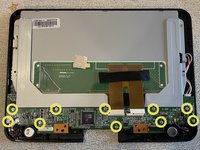
    • There are 10 screws holding the motherboard in place.

    • 10 x 2.0mm

  22. Sony DVP-FX820 Full Teardown: crwdns2935265:023crwdnd2935265:01crwdnd2935265:03crwdne2935265:0 Sony DVP-FX820 Full Teardown: crwdns2935265:023crwdnd2935265:02crwdnd2935265:03crwdne2935265:0 Sony DVP-FX820 Full Teardown: crwdns2935265:023crwdnd2935265:03crwdnd2935265:03crwdne2935265:0
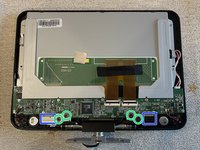
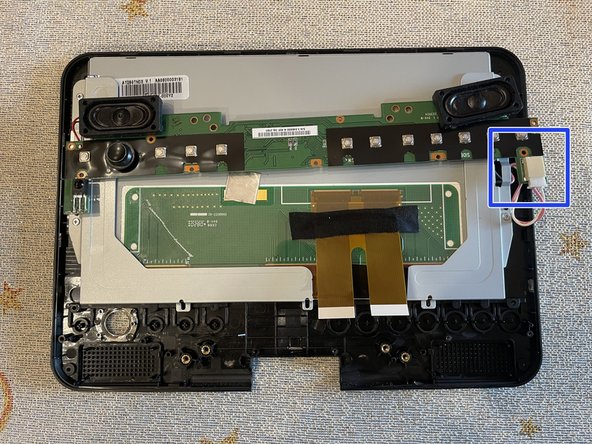
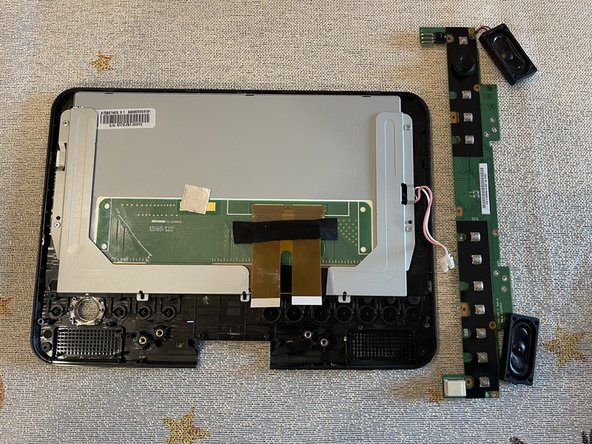
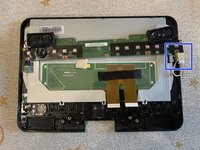
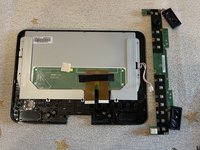
    • There is another connector that we need to remove that is attached to the other side of the motherboard. Take care in lifting the board with the speakers.

    • Flip the motherboard and speakers over to reveal the last connector.

    • 1 x connector

    • The motherboard and speakers are free to be removed.

  23. Sony DVP-FX820 Full Teardown: crwdns2935265:024crwdnd2935265:01crwdnd2935265:01crwdne2935265:0
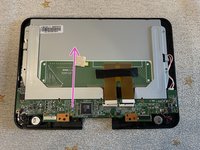
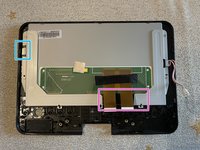
    • There are 4 more screws that hold down some metal parts securing the screen in place.

    • 4 x 2.0mm

  24. Sony DVP-FX820 Full Teardown: crwdns2935265:025crwdnd2935265:01crwdnd2935265:03crwdne2935265:0 Sony DVP-FX820 Full Teardown: crwdns2935265:025crwdnd2935265:02crwdnd2935265:03crwdne2935265:0 Sony DVP-FX820 Full Teardown: crwdns2935265:025crwdnd2935265:03crwdnd2935265:03crwdne2935265:0
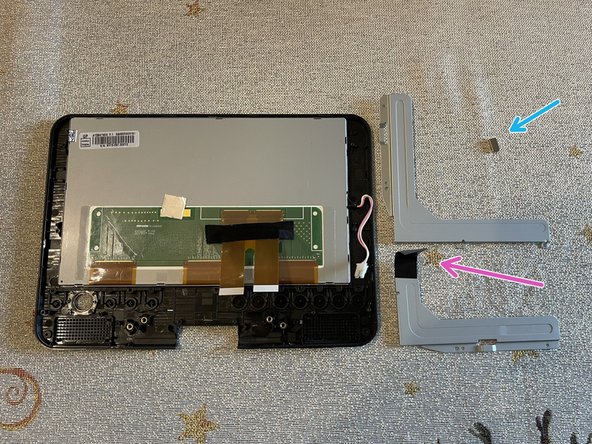
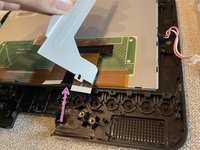
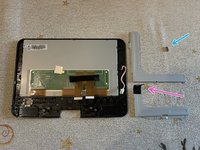
    • The left metal piece has a strong magnet that can be taken off. Take care not to lose it.

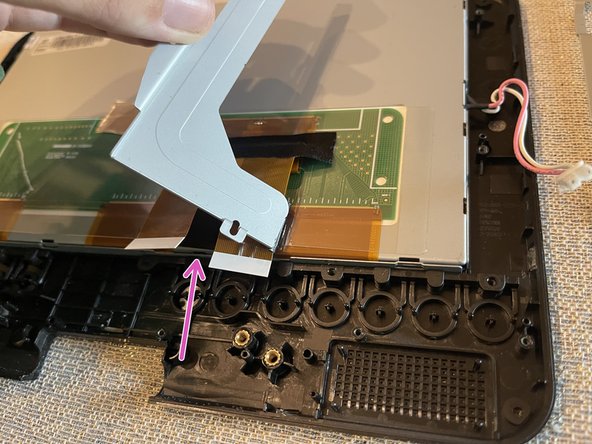
    • The right metal piece is taped onto the screen.

    • If you wish to remove this piece from the screen (ie. replacing the screen), be careful when removing the tape as it sits on top of the screen's ribbon cables.

    • Alternatively, you can leave the tape and metal piece on if you will not be replacing the screen.

  25. Sony DVP-FX820 Full Teardown: crwdns2935265:026crwdnd2935265:01crwdnd2935265:03crwdne2935265:0 Sony DVP-FX820 Full Teardown: crwdns2935265:026crwdnd2935265:02crwdnd2935265:03crwdne2935265:0 Sony DVP-FX820 Full Teardown: crwdns2935265:026crwdnd2935265:03crwdnd2935265:03crwdne2935265:0
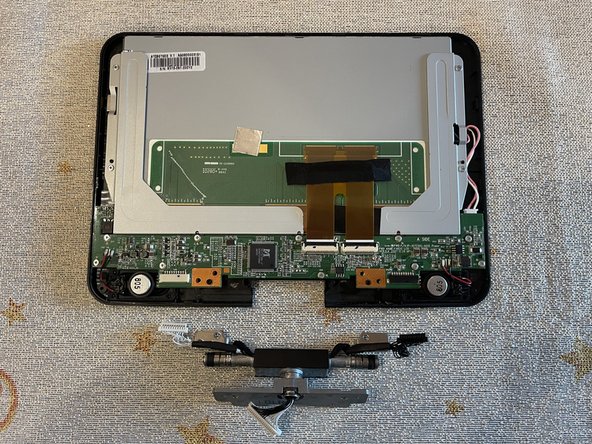
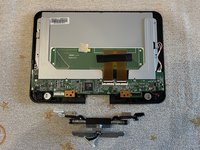
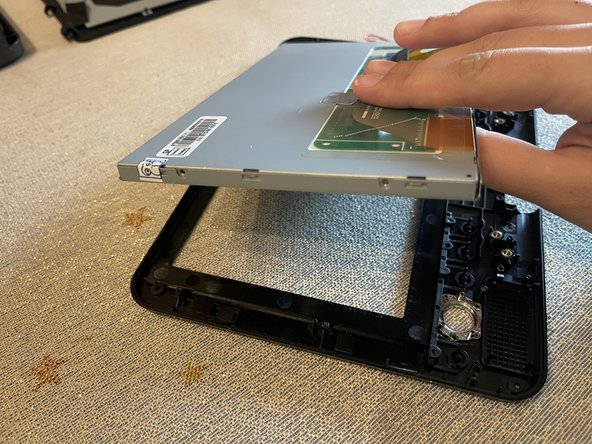
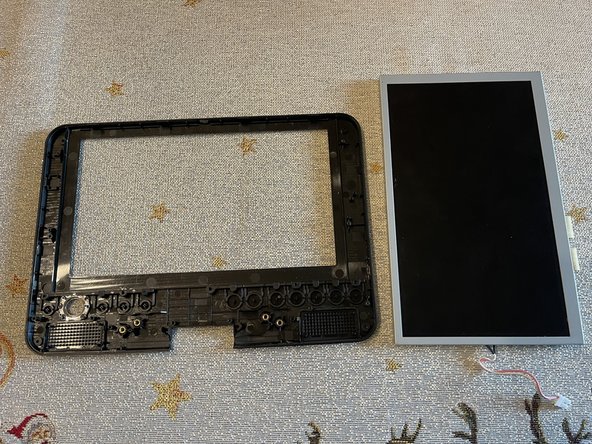
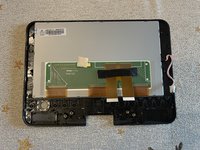
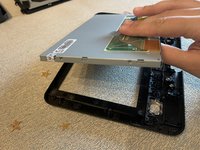
    • The screen can be lifted out of the plastic housing.

    • You can also push it through from the other side, there is no adhesive.

  26. Sony DVP-FX820 Full Teardown: crwdns2935265:027crwdnd2935265:01crwdnd2935265:02crwdne2935265:0 Sony DVP-FX820 Full Teardown: crwdns2935265:027crwdnd2935265:02crwdnd2935265:02crwdne2935265:0
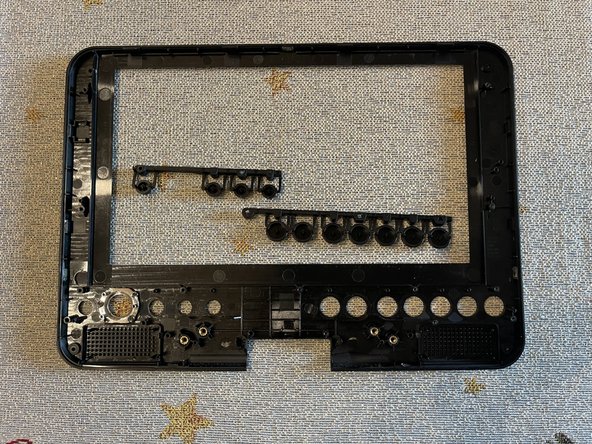
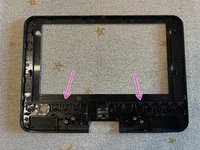
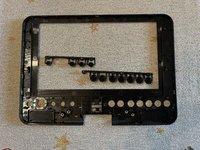
    • Remove the button plastics from the housing.

    • There are two pieces, one on each side of the cover underneath the screen inlay.

  27. Sony DVP-FX820 Full Teardown, Disassembly Overview: crwdns2935265:028crwdnd2935265:01crwdnd2935265:01crwdne2935265:0
    • Final product: all pieces.

crwdns2935217:0crwdne2935217:0

crwdns2935227:0crwdne2935227:0
vicarchive

crwdns2935283:012/16/24crwdne2935283:0

524 crwdns2915208:0crwdne2915208:0

crwdns2935295:0crwdne2935295:0

crwdns2947412:00crwdne2947412:0

crwdns2917038:0crwdne2917038:0

crwdns2936625:0crwdne2936625:0:

crwdns2936751:024crwdne2936751:0 0

crwdns2936753:07crwdne2936753:0 0

crwdns2936753:030crwdne2936753:0 5

crwdns2942667:0crwdne2942667:0 136