crwdns2933423:0crwdne2933423:0

crwdns2935311:0crwdnd2935311:0crwdne2935311:0 crwdns2935313:0Sharp EL-840G calculatorcrwdnd2935313:0crwdnd2935313:0crwdne2935313:0

  1. Sharp EL-840G calculator Teardown, Sharp EL-840G calculator Teardown: crwdns2935265:01crwdnd2935265:01crwdnd2935265:03crwdne2935265:0 Sharp EL-840G calculator Teardown, Sharp EL-840G calculator Teardown: crwdns2935265:01crwdnd2935265:02crwdnd2935265:03crwdne2935265:0 Sharp EL-840G calculator Teardown, Sharp EL-840G calculator Teardown: crwdns2935265:01crwdnd2935265:03crwdnd2935265:03crwdne2935265:0
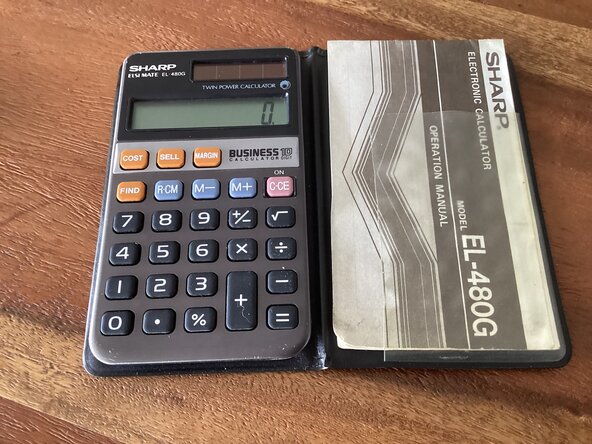
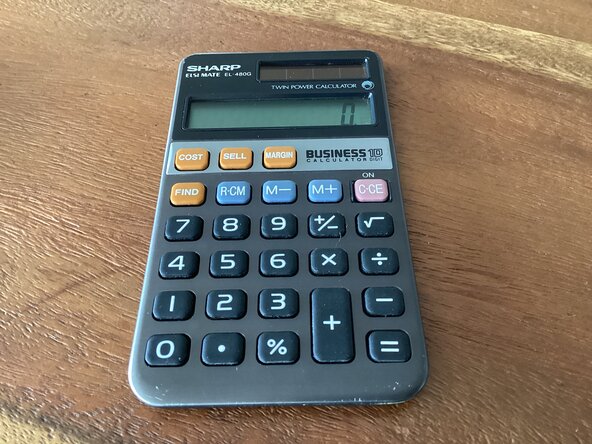
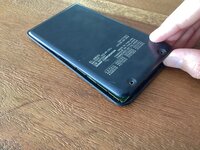
    • This is a sharp EL-840G business calculator from 1992. It is part of my small calculator collection, which I am now taking apart and putting the teardowns on Ifixit.

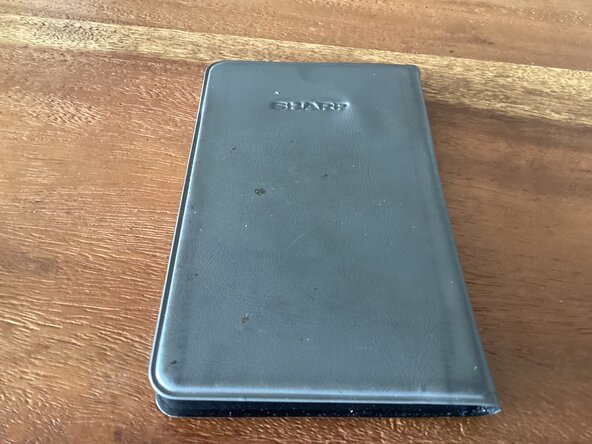
    • I don’t remember where I got this calculator, but at least it came with the original instruction manual.

    • This calculator also has 7 different functions, and is designed for business.

  2. Sharp EL-840G calculator Teardown: crwdns2935265:02crwdnd2935265:01crwdnd2935265:03crwdne2935265:0 Sharp EL-840G calculator Teardown: crwdns2935265:02crwdnd2935265:02crwdnd2935265:03crwdne2935265:0 Sharp EL-840G calculator Teardown: crwdns2935265:02crwdnd2935265:03crwdnd2935265:03crwdne2935265:0
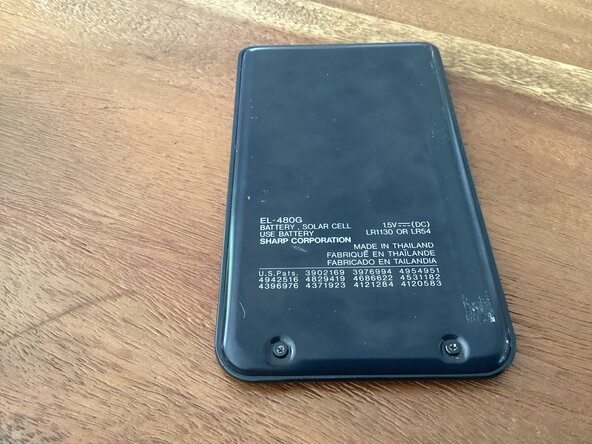
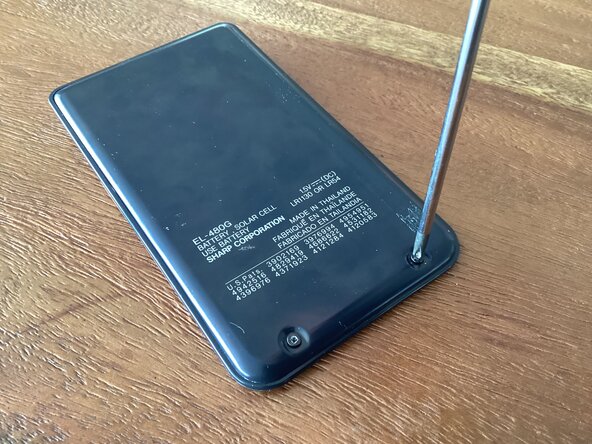
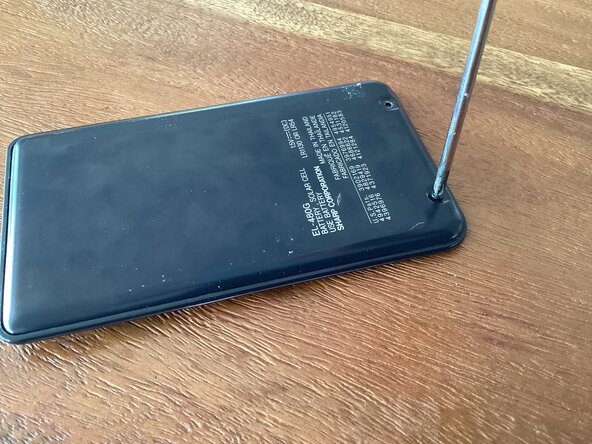
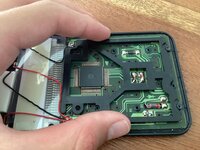
    • To begin disassembly, remove the two screws from the metal case.

    • Keep track of the screws! They are small and could cause potential injury if stepped on!

  3. Sharp EL-840G calculator Teardown: crwdns2935265:03crwdnd2935265:01crwdnd2935265:03crwdne2935265:0 Sharp EL-840G calculator Teardown: crwdns2935265:03crwdnd2935265:02crwdnd2935265:03crwdne2935265:0 Sharp EL-840G calculator Teardown: crwdns2935265:03crwdnd2935265:03crwdnd2935265:03crwdne2935265:0
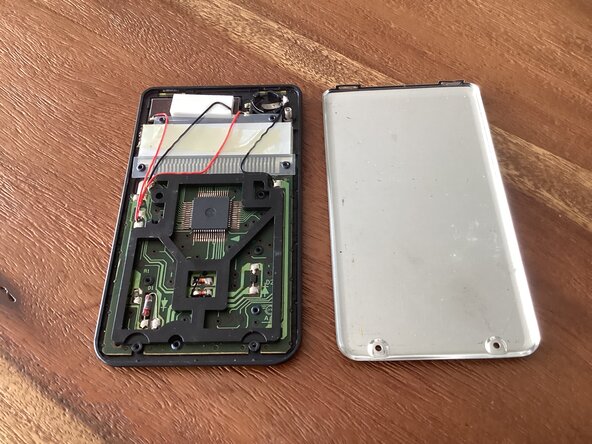
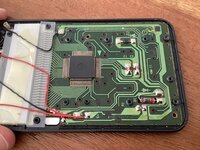
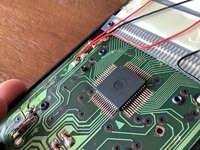
    • Once the two screws are removed, carefully lift up on the lid of the calculator. Next, on the inside, there is a plastic cover on the PCB. Lift up on this cover to fully expose the PCB, so you can see it.

  4. Sharp EL-840G calculator Teardown: crwdns2935265:04crwdnd2935265:01crwdnd2935265:02crwdne2935265:0 Sharp EL-840G calculator Teardown: crwdns2935265:04crwdnd2935265:02crwdnd2935265:02crwdne2935265:0
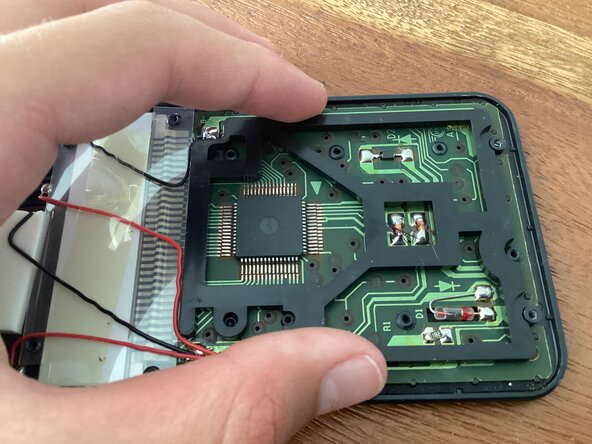
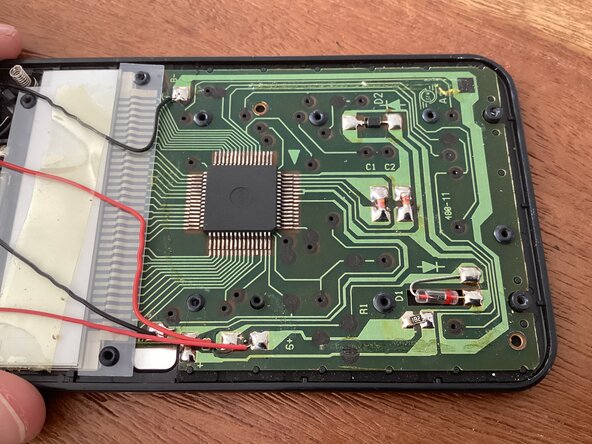
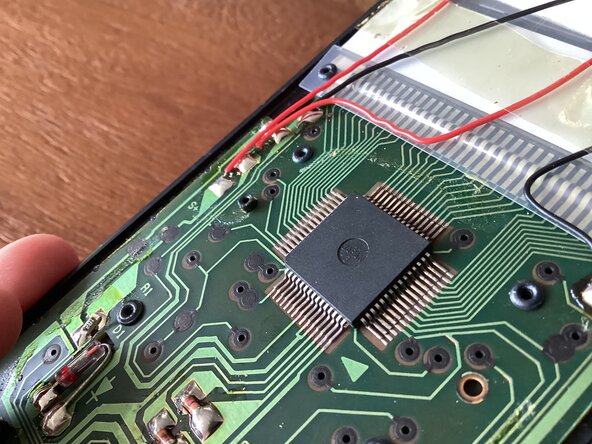
    • The PCB is very simple, with only a small microcontroller, and a few diodes. The only other components are the LCD screen, and the solar panel, which also is connected to an optional lithium coin cell battery.

    • I would provide identification for this chip, but It only says “JAPAN” on it, so I can’t find anything about it. But I now know that it is from Japan.

Calculator PCB

crwdns2935283:004/30/25crwdne2935283:0

841 crwdns2915208:0crwdne2915208:0

crwdns2935297:09crwdne2935297:0

crwdns2947412:00crwdne2947412:0

crwdns2917038:0crwdne2917038:0

crwdns2936625:0crwdne2936625:0:

crwdns2936751:024crwdne2936751:0 10

crwdns2936753:07crwdne2936753:0 37

crwdns2936753:030crwdne2936753:0 37

crwdns2942667:0crwdne2942667:0 37