crwdns2933423:0crwdne2933423:0

crwdns2942213:0crwdne2942213:0

crwdns2935311:0crwdnd2935311:0crwdne2935311:0 crwdns2935313:0Sega Genesis IIcrwdnd2935313:0crwdnd2935313:0crwdne2935313:0

  1. Sega Genesis II Controller Teardown, Disassembling the handle: crwdns2935265:01crwdnd2935265:01crwdnd2935265:01crwdne2935265:0
    • Flip the controller upside down.

    • Using a Phillips #00 screwdriver, remove the five screws holding the controller back cover in place.

  2. Sega Genesis II Controller Teardown: crwdns2935265:02crwdnd2935265:01crwdnd2935265:01crwdne2935265:0
    • Then remove the back cover of the controller, which gives you access to the motherboard of the controller.

    • Carefully put back the 5 screws from step 1 as well as the back cover of the controller

  3. Sega Genesis II Controller Teardown, Disassembling the motherboard: crwdns2935265:03crwdnd2935265:01crwdnd2935265:02crwdne2935265:0 Sega Genesis II Controller Teardown, Disassembling the motherboard: crwdns2935265:03crwdnd2935265:02crwdnd2935265:02crwdne2935265:0
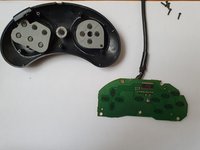
    • Remove the motherboard from the controller body, after releasing the rubber part that holds the cable in the controller body

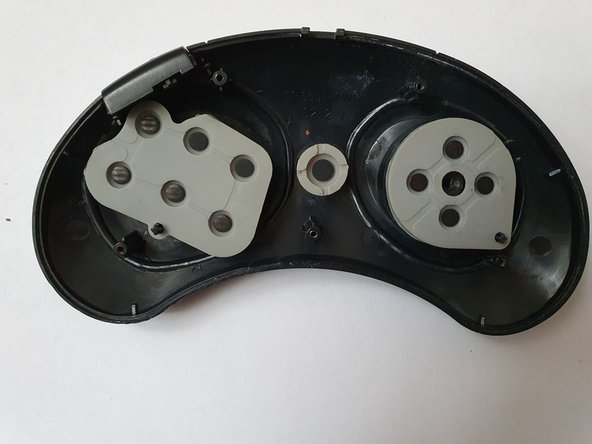
    • This gives you access to the button contact pads

  4. Sega Genesis II Controller Teardown, Dismantling the buttons: crwdns2935265:04crwdnd2935265:01crwdnd2935265:01crwdne2935265:0
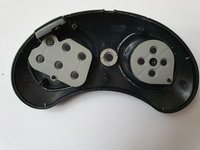
    • Remove the contact pads

    • Then remove the 8 plastic buttons

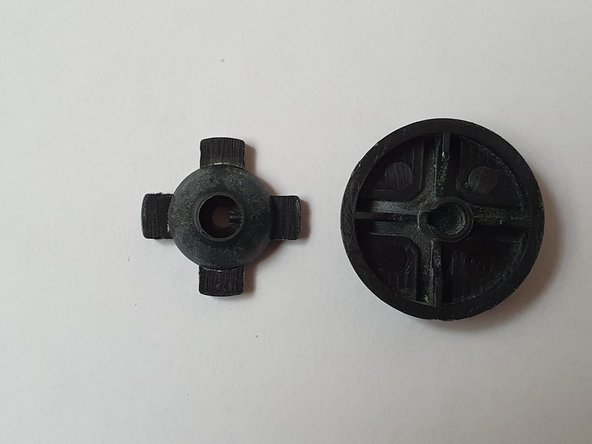
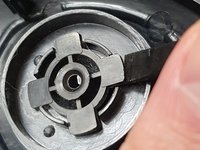
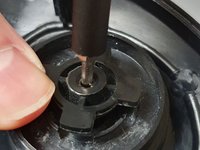
  5. Sega Genesis II Controller Teardown, Dismantling the Directional Pad: crwdns2935265:05crwdnd2935265:01crwdnd2935265:03crwdne2935265:0 Sega Genesis II Controller Teardown, Dismantling the Directional Pad: crwdns2935265:05crwdnd2935265:02crwdnd2935265:03crwdne2935265:0 Sega Genesis II Controller Teardown, Dismantling the Directional Pad: crwdns2935265:05crwdnd2935265:03crwdnd2935265:03crwdne2935265:0
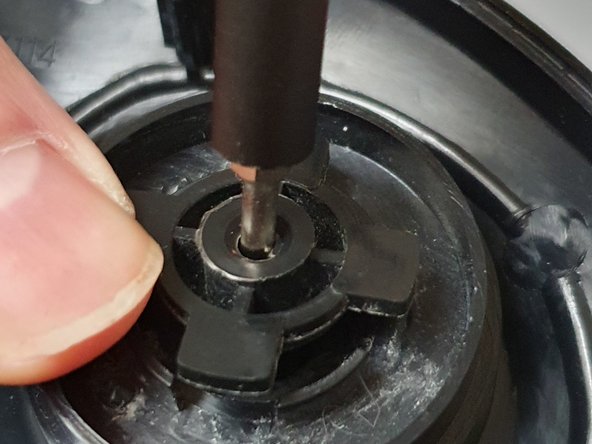
    • In order to disassemble the directional cross, it is necessary to levergentlypreferably with a plastic Spudger, under the 4 retaining tabs.

    • Then, push in the central hole with a fine tool (here a screwdriver), in order to undo the assembly

    • For reassembly, be careful to put the corrector in front of the slot of the outer part!

tayola

crwdns2935283:007/21/22crwdne2935283:0

9,595 crwdns2915208:0crwdne2915208:0

crwdns2935297:044crwdne2935297:0

crwdns2947412:00crwdne2947412:0

crwdns2917038:0crwdne2917038:0

crwdns2936625:0crwdne2936625:0:

crwdns2936751:024crwdne2936751:0 4

crwdns2936753:07crwdne2936753:0 18

crwdns2936753:030crwdne2936753:0 74

crwdns2942667:0crwdne2942667:0 1,420