crwdns2942213:0crwdne2942213:0
-
-
The Scotch TL901 Laminator
-
-
-
Using a small Phillips screwdriver, remove the screws from the bottom of the plastic case.
-
Rubber feet in the four corners must be removed first to gain access to the screws underneath. A sticker may also be covering the middle screw on the left.
Thanks so much for this! I’m a teacher and had to finish gifts yesterday. My laminator ate one of the kids pictures! Thanks to your post, I was able to take apart the laminator, get the picture out, and all was well! I appreciate it!
-
-
-
Pull off the silver plastic cover and gain access to the internal components.
-
The rollers, motor, circuit board, and LEDs are all visible now.
-
-
-
First unplug all three wire headers connected to the circuit board.
-
Unscrew the two screws holding down the circuit board by its corners and remove the board from the laminator.
-
-
-
-
Unhook the spring from the plastic surrounding the motor.
-
-
-
Hold the roller enclosure from both sides, indicated by the markers, and pull upwards and slightly out.
-
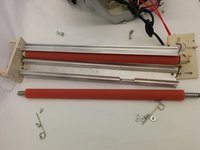
Free access to the motor and rollers is now possible.
-
-
-
Remove the motor from the rollers by unscrewing the three screws holding them together.
-
-
-
Remove the sensor from the roller enclosure by unscrewing the two spring-loaded screws.
-
-
-
Unscrew the two screws and the bar on the other.
-
-
-
Pull the black washers sideways off the metal rod of the roller.
-
Pull the gears off.
-
-
-
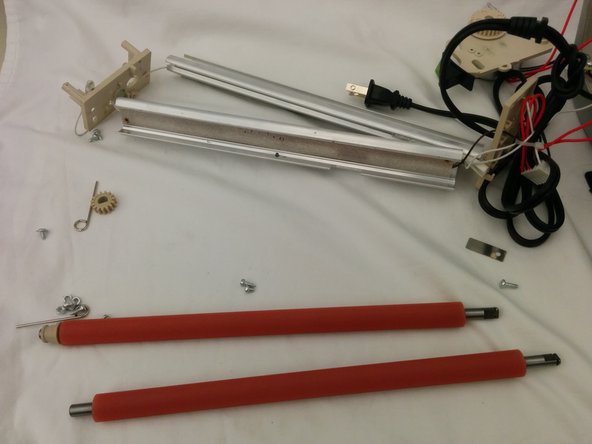
With the gears off, the plastic panel falls off and the rollers come out of the enclosure.
-
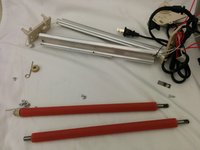
The laminator is now disassembled.
Where can you get circuit boards for these
Thank you so much, this is very helpful! - a grateful teacher
This article was very helpful to me. I learned that the plastic tab over the rectangular opening on base, is where the spring connects to the base was missing. Thus, I had no way to reconnect the spring and re-engage the rollers. I came up with a work-around. I pushed a cotter pin up thru the base and I aligned with the eye of the cotter pin with the top of the vertical section of the base. I bent the cotter pin and secured it to the outside of the base with Gorilla Duct Tape; a thick, strong duct tape with excellent adhesion is needed.
This article was very helpful to me. I learned that the plastic tab over the rectangular opening on base, is where the spring connects to the base was missing. Thus, I had no way to reconnect the spring and re-engage the rollers. I came up with a work-around. I pushed a cotter pin up thru the base and I aligned the eye of the cotter pin with the top of the vertical section of the base. I bent the cotter pin and secured it to the outside of the base with Gorilla Duct Tape; a thick, strong duct tape with excellent adhesion is needed. Then I re-attached the spring the beige plastic hole and eye of the cotter pin.
-


crwdns2947412:016crwdne2947412:0
Why is the screw on the left side so hard to get out?
Thank you..
Putting it back together is more of a challenge.
You're right Frank. For me, getting it to stay together after the tear down and reassembly required superglue and two extra screws. ;) But at least it's working again. Thanks for the great instructions.
Thank you! Just needed to open and remove a jam. Followed your guide and all is well.
KQuinn
Thank you for posting these instructions. I was able to remove a quarter that got trapped inside.
Thank you! My son fed a sheet in the wrong way and it got completely jammed. Following your instructions, I was able to take the cover off and pull the jammed plastic out. I would NEVER have thought to remove the rubber feet to look for screws!!
Can you provide instructions on re-assembly? I seem to be lost on the little bar with the hook.
I have one with the power cord cut completely off, just behind the machine. Theres not even enough cord left, machine side, to splice it back together. Would removing the plug/cord completely and replacing it with a new one (or the rest of the old one) be an option? Or am i just squat outta luck! Thanks
Thanks! Just fixed it!!! mine was jammed
Need to replace the thermal fuse just asking how many degrees is it?
Thank you for this!! I got something stuck in the roller and this saved me so much time and stress!!
I have this unit and bought it new out of the box at a thrift shop. Found out the thermal sensor that rests against the bottom roller was cracked in half, so it didn’t see any use because of this. Is there anyone that happens to know what the value of this sensor is so I could solder in a replacement?
have the TL901 laminator. Still laminates but the ready light does not go on. what could be the issue. thx.
Thank you this was very helpful I appreciate the pictures and the instructions! Hope you have a great day God bless.
None of my Philips head screwdrivers seem to engage properly with the screws. I think they might be pozidriv screws.
My scotch laminator on off button is gone. Where did it go and can it be fixed? Does anyone have an image or picture of the inside of the area in the laminator where the on off button?