crwdns2915892:0crwdne2915892:0
Here we are with a broken, water damaged/bricked Samsung Galaxy S.
I've taken it apart before, so why not now.
Lets go!
crwdns2942213:0crwdne2942213:0
-
-
The phone itself!
-
Notice the bad lighting, dirty phone etc. just proves how hi-tec i am.
-
-
-
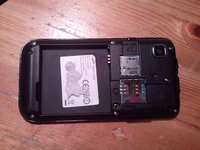
Removing the boring stuff. Back cover, battery etc.
-
-
-
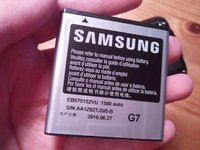
The battery!
-
It shows 1500mAh, decent.
-
also the manufacturing date is shown.
-
I added a piece of sticky tack, to cover up the IMEI code, again showing how hi-tec i am!
-
-
-
This is the point of no return when it comes to warranty.
-
But that's okay, i'm using this phone for spares anyways.
-
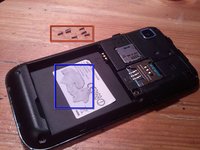
Sticky tack
-
Screws, 7 to be exact!
-
-
-
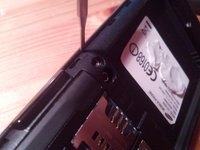
Here comes the first tricky part. it's easiest to start right under the volume button, and work your way from there.
-
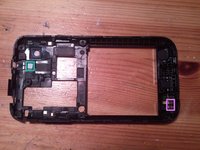
And it's off!
-
-
-
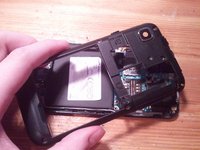
Lets see the innards of this thing.
-
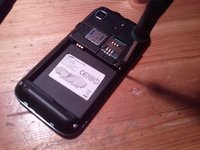
The back camera.
-
And the front facing camera
-
The speaker, actually quite large.
-
Water detector on the plastic cover, as you can see, this is a water damaged phone. normally you would see a purple pattern.
-
Contacts, probably for antennas.
-
-
-
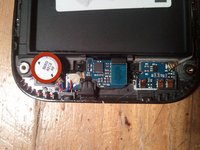
Better close ups of the components.
-
Vibration motor
-
-
-
-
Taking off the speaker.
-
Remember to lift the tab on me!
-
And it's off!
-
-
-
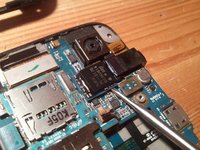
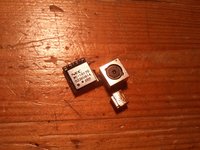
Now for the camera!
-
Both the rear and front camera are a single component.
-
-
-
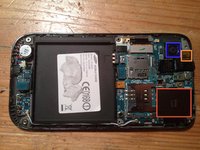
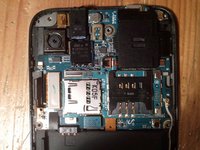
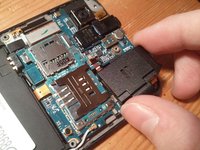
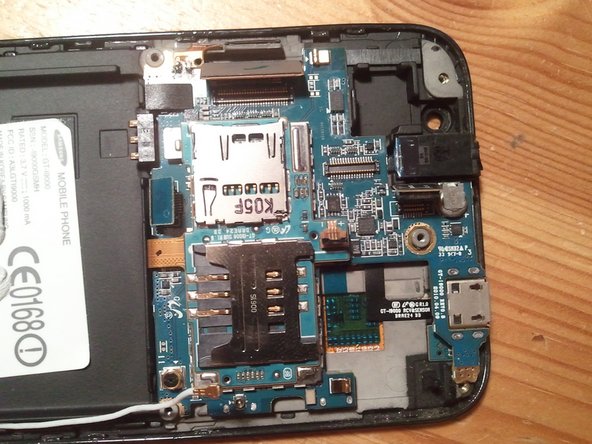
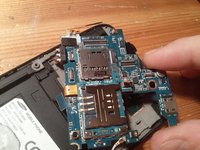
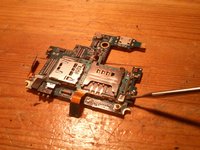
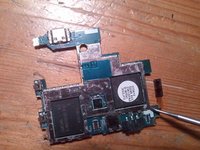
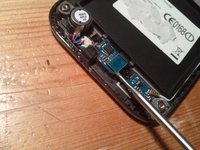
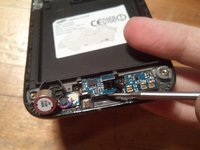
Now for the motherboard!
-
Detach all (4) of these to get the motherboard out.
-
Done! (do not try to remove yet)
-
-
-
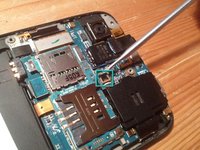
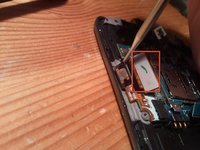
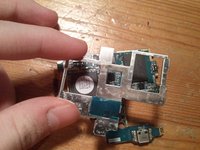
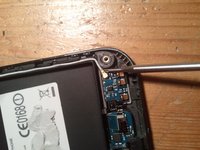
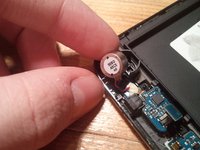
Now detach the power button, its held down by a little bit of glue, not a big deal.
-
Lift it carefully, making sure no connectors are stuck on. Especially the one marked red.
-
-
-
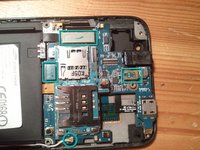
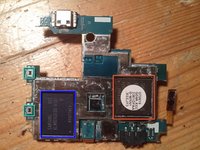
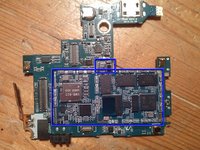
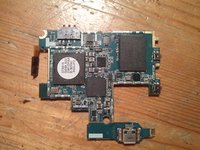
Front/back
-
Flash memory.
-
CPU running at 1Ghz, but can be overclocked.
-
Volume buttons.
-
Ill add more specific specs when i get around to it.
-
-
-
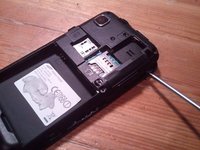
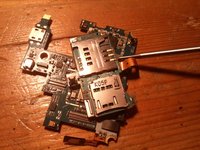
Removing the cable for sim/sd card slot..
-
And it's off.
-
-
-
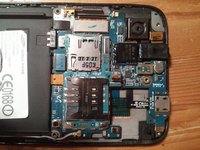
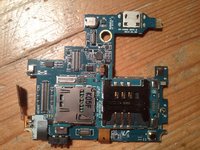
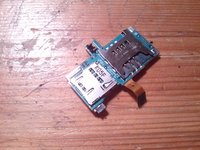
The simcard/sd card slot.
-
And the stuff underneath.
-
-
-
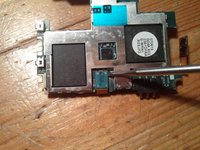
Now for the metal Shielding on the back! again, more specs coming (hopefully) soon.
-
-
-
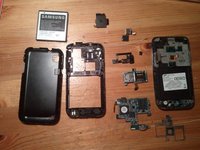
Parts parts parts!
-
And a bad white balance..
-
-
-
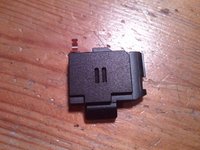
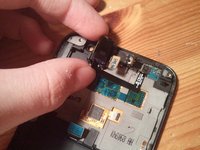
Now for the component that holds the headphone jack, earpiece and both proximity and light sensor.
-
This thing quite literally just pulls off. you can remove it without any special tools!
-
-
-
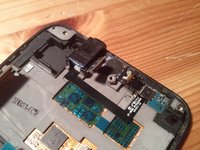
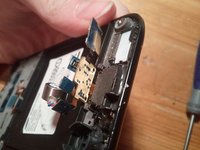
Now for the bottom portion, including the Mic, vibrating engine and the antenna board.
-
We seem to be connected together!
-
-
-
see that? the AMOLED display is actually transparent!
-
Can't go farther than this without a heat gun that I don't have. I tried removing the bezel, but with no luck.
-
That's about it! Thank you for reading, and please give me feedback!
-
This is my first teardown, and pictures were taken with a functional Galaxy s phone.
-


crwdns2947412:08crwdne2947412:0
I would like to replace just the front lens of the phone , cuz the old one got cracked, can you do a tutorial on that , do I have to teardown the hole phone to replace the front panel without the digitizer.
Samsung galaxy s1 i900
You have come a long way from this tear down to the ones done now!
thank you. my son broke his Galaxy S sim card pins(third smart phone in five months!!!) and I am hoping to repair it myself with the help of your fix-it.Will let you know if I succeed.Margaret, April 2014.
Hi I dropped my phone and it the glasses shattered and totally shutdown when dead on me. Wondering any hope for repairs?
What is the part number of the Bluetooth Chip here?Manufacturer?
My phone has problem about on off
When it plug in to charger battery shows charging but it didn't on please tell the solution
The bootleg program broke. Samsung won't send a patch!!!! The would be easily fixed by a download, but they made me buy another phone. I hate these corporations from China! Never again.
This issue came from plugging it in to recharge the battery!
The programers if the bootleg in Germany also refuse to download a fix!!!
Can anyone help with this to allow the phone to get past the M screen And bootup?