crwdns2933423:0crwdne2933423:0

crwdns2942213:0crwdne2942213:0

crwdns2935311:0crwdnd2935311:0crwdne2935311:0 crwdns2935313:0Roborock Auto-empty Dockcrwdnd2935313:0crwdnd2935313:0crwdne2935313:0

  1. Roborock Auto-empty Dock (Onyx): Teardown, Roborock Auto-empty Dock (Onyx): Teardown: crwdns2935265:01crwdnd2935265:01crwdnd2935265:01crwdne2935265:0
    • Let's begin by removing its ramp. Flip it on it's head.

    • Use a PH2 screwdriver to unscrew the screws, then take the ramp off.

  2. Roborock Auto-empty Dock (Onyx): Teardown: crwdns2935265:02crwdnd2935265:01crwdnd2935265:02crwdne2935265:0 Roborock Auto-empty Dock (Onyx): Teardown: crwdns2935265:02crwdnd2935265:02crwdnd2935265:02crwdne2935265:0
    • Remove the marked screws.

    • Circled in red are PH2.

    • Circled in orange are PH1.

    • Then pull the bottom cover off.

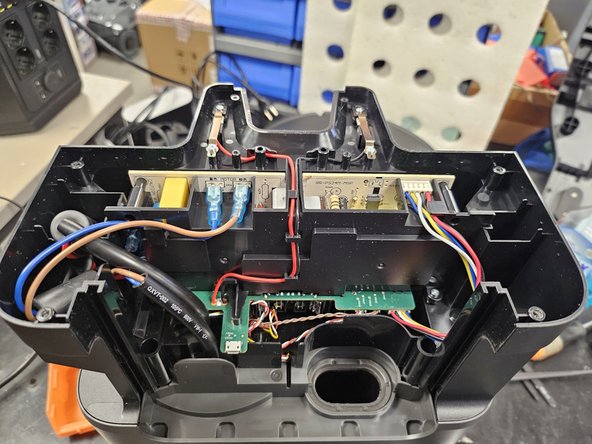
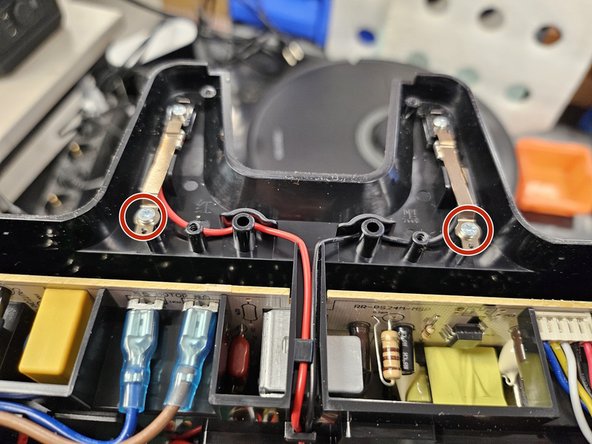
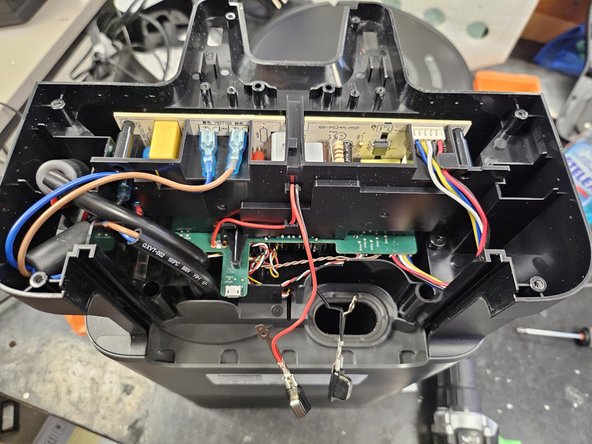
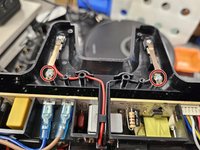
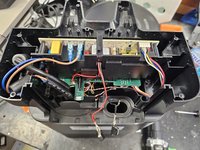
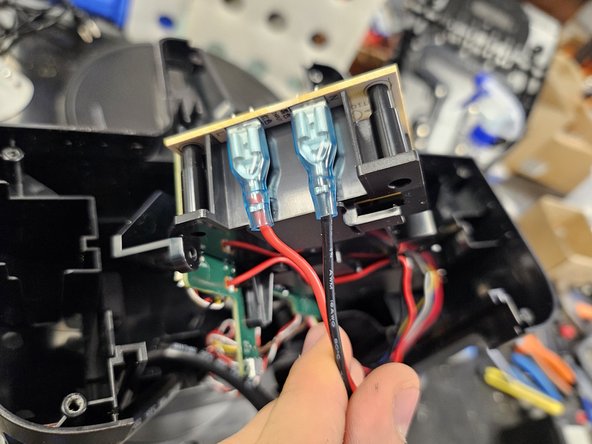
  3. Roborock Auto-empty Dock (Onyx): Teardown: crwdns2935265:03crwdnd2935265:01crwdnd2935265:03crwdne2935265:0 Roborock Auto-empty Dock (Onyx): Teardown: crwdns2935265:03crwdnd2935265:02crwdnd2935265:03crwdne2935265:0 Roborock Auto-empty Dock (Onyx): Teardown: crwdns2935265:03crwdnd2935265:03crwdnd2935265:03crwdne2935265:0
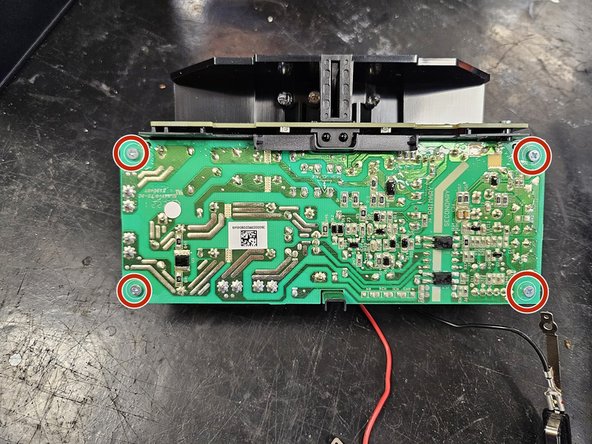
    • Remove the marked screws.

    • All are PH1.

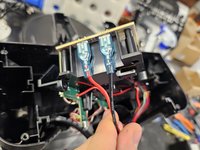
    • Bend the contacts back (img3) to prevent them from shorting the PSU once you pull the assembly out.

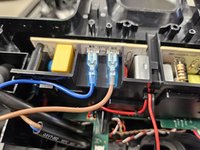
  4. Roborock Auto-empty Dock (Onyx): Teardown: crwdns2935265:04crwdnd2935265:01crwdnd2935265:02crwdne2935265:0 Roborock Auto-empty Dock (Onyx): Teardown: crwdns2935265:04crwdnd2935265:02crwdnd2935265:02crwdne2935265:0
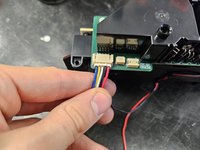
    • Remove the cables.

    • Use these images as reference when reassembling.

  5. Roborock Auto-empty Dock (Onyx): Teardown: crwdns2935265:05crwdnd2935265:01crwdnd2935265:03crwdne2935265:0 Roborock Auto-empty Dock (Onyx): Teardown: crwdns2935265:05crwdnd2935265:02crwdnd2935265:03crwdne2935265:0 Roborock Auto-empty Dock (Onyx): Teardown: crwdns2935265:05crwdnd2935265:03crwdnd2935265:03crwdne2935265:0
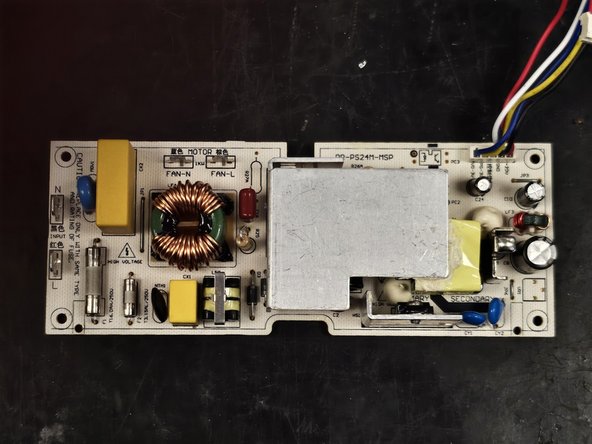
    • Take out the PCBA+PSU assembly.

    • When taking out the assembly, make sure to disconnect the other connectors. I forgot to take pictures of these, so just take it out carefully.

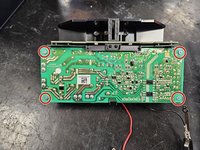
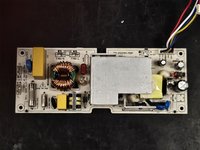
    • Remove the connecting cable between the PSU and the main PBCA.

    • Unscrew the PSU.

    • Remove the PSU.

  6. Roborock Auto-empty Dock (Onyx): Teardown, Cat.: crwdns2935265:06crwdnd2935265:01crwdnd2935265:01crwdne2935265:0
    • I caught her.

DegenFixer

crwdns2935283:009/18/24crwdne2935283:0

4,721 crwdns2915208:0crwdne2915208:0

crwdns2935297:024crwdne2935297:0

crwdns2947412:00crwdne2947412:0

crwdns2917038:0crwdne2917038:0

crwdns2936625:0crwdne2936625:0:

crwdns2936751:024crwdne2936751:0 0

crwdns2936753:07crwdne2936753:0 10

crwdns2936753:030crwdne2936753:0 44

crwdns2942667:0crwdne2942667:0 556