crwdns2915892:0crwdne2915892:0
This is my tear down of the Razer Blade 14. I haven't yet seen anyone dismantle this notebook so i decided to give it as try and went as far as I felt comfortable going.
crwdns2942213:0crwdne2942213:0
-
-
The thin and sleek gaming Notebook from Razer.
-
-
-
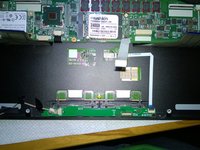
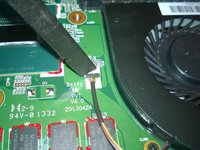
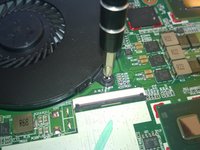
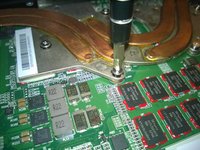
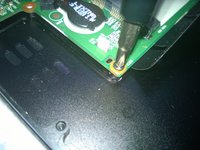
Remove the 10 Screws holding the back Cover on to reveal the mainboard.
-
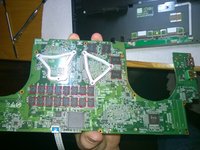
DDR3 Ram chips
-
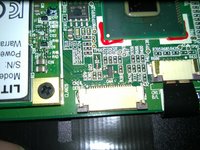
CPU Chipset
-
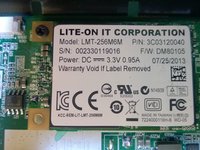
Liteon 256gb SSD (factory installed)
-
Factory WLAN/BT card
-
Battery
-
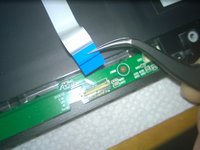
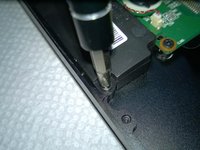
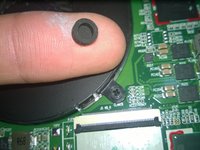
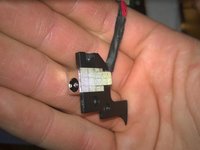
Aftermarket MSata SSD (installation screw not included)
-
-
-
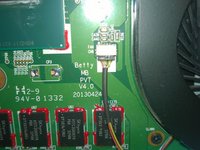
Apparently this notebook was named even before i got it! In my use this battery will last through 4-5 hours of movies on power saver mode.
-
-
-
-
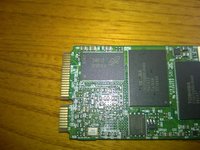
The original mSATA SSD. (the secondary seen earlier was added by myself.
-
-
-
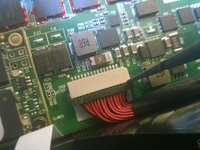
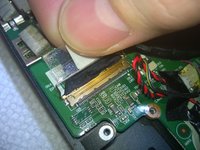
This is the end of the teardown. anything past this point would likely cause damage to the notebook and as i intend to continue using it, this would be undesirable. Just one thing i noticed, that there is an debug ribbon cable plug left on the board, another thing, the power plug is replaceable.
-


crwdns2947412:043crwdne2947412:0
Great work, very, very professional ! And thanks, was really curious to see how one looks on the inside !
Awsome Teardown! Thanks A bunch!
Thanks a bunch everyone! With all the recognition I've gotten with this teardown I decided I would redo it with pictures taken on a proper DSLR and more of them and more indepth captions for the individual steps, I may even make some replacement guides!
Is that a second mSATA slot I see on the left side of the motherboard underneath the large ribbon cable?
Indeed it is! it functions too, the stock is beneath the cable, the unpopulated is the exposed one, that i had installed an Mushkin atlas in and started using without a hitch.
tallme15 -