crwdns2915892:0crwdne2915892:0
This is the last calculator guide that I’m making! I’m sorry if I made too many!
-
-
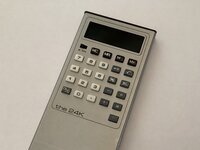
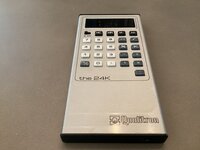
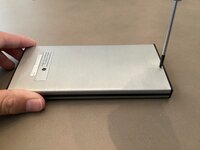
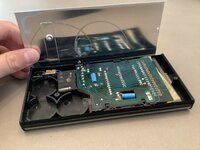
I’m back again from the thrift store with another calculator! This is the last calculator guide I will be making:) Anyways, this weird thing is called the “Qualitron 24K”. It’s some sort of mid 70’s calculator made by “Qualitron”. I have not found much of anything on the internet about this hunk of old metal, but it looks cool.
-
As you can tell, it is currently broken, due to the incredibly annoying non-replaceable 6V lithium cell batteries.
-
-
-
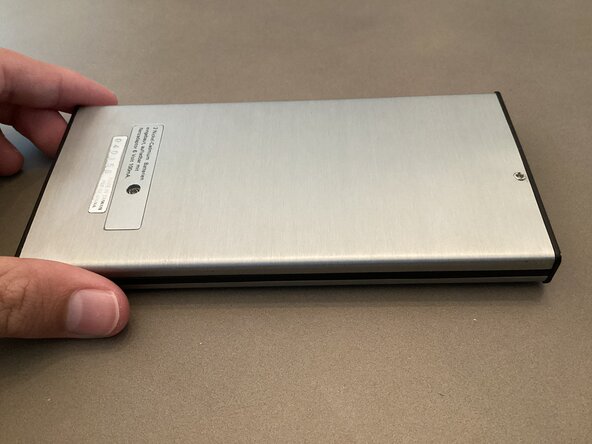
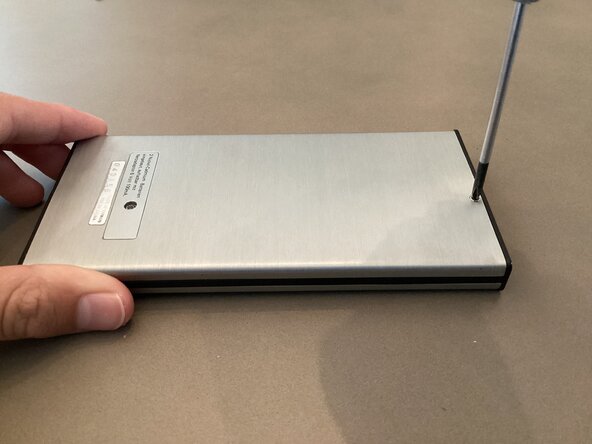
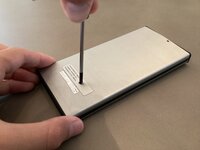
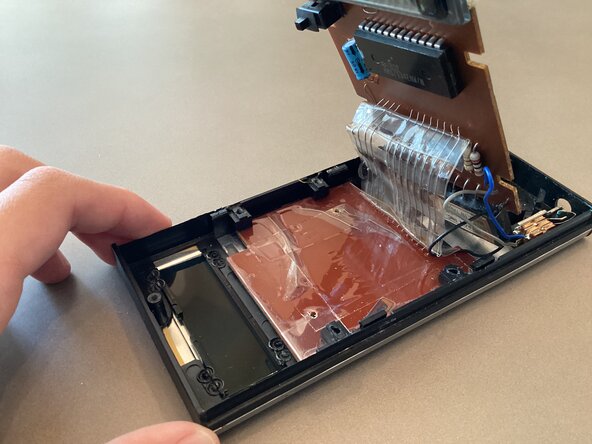
To begin destruction of this already broken calculator, use a Philips head screwdriver to remove the two Philips screws securing the metal backplate in place.
-
Note that there are two different screw sizes! The large one goes where the label is on the bottom, and the small goes on the top!
-
-
-
-
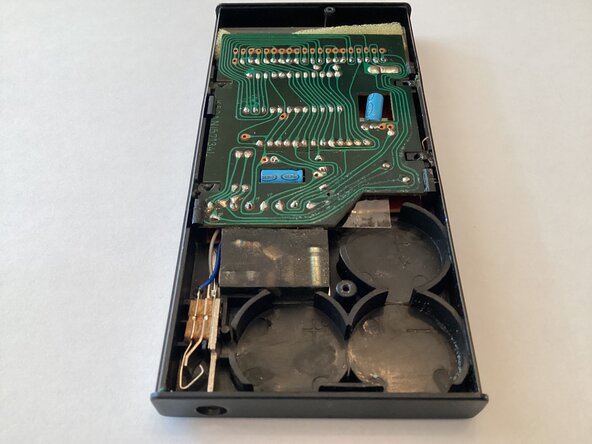
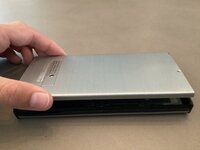
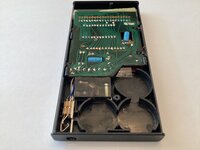
After the screws are removed lift the metal backplate off. The green PCB is now visible.
-
If you noticed the missing batteries, I already opened up this calculator to remove them. (There was lots of battery corrosion everywhere.)
-
I even cut off the wires connecting to the batteries, since it was so gross and disgusting.
-
-
-
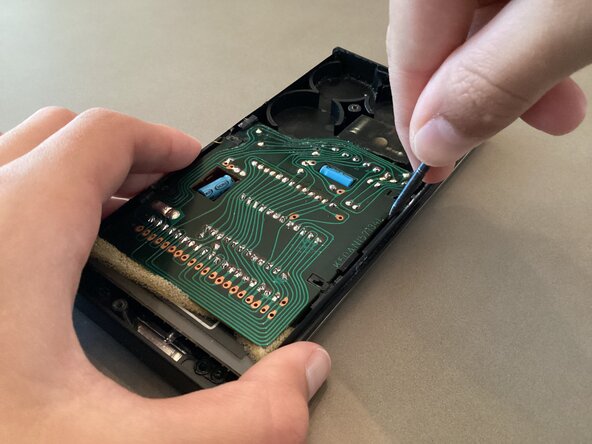
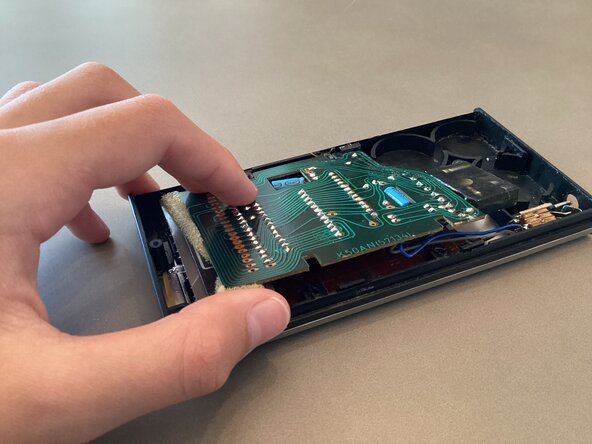
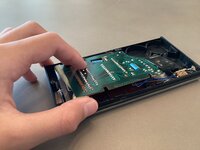
Now, use a flathead screwdriver to unfasten the clips holding the PCB in place. Once two of the four clips are unfastened, pull out the PCB from the calculator.
-
Be careful with the keyboard wires connecting to the PCB!
-
-
-
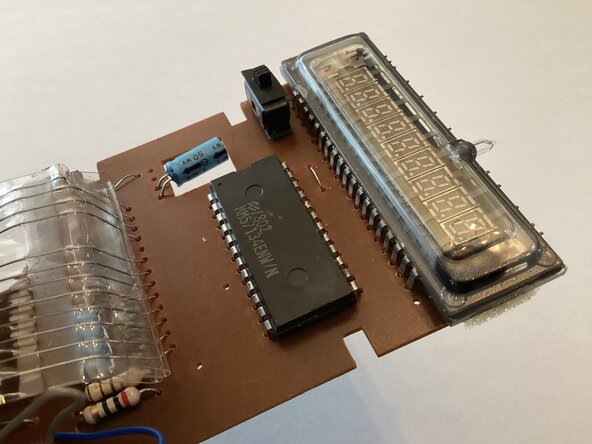
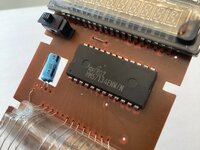
Now you can see the VFD (Vacuum Fluorescent Display) in all of its glory:)
-
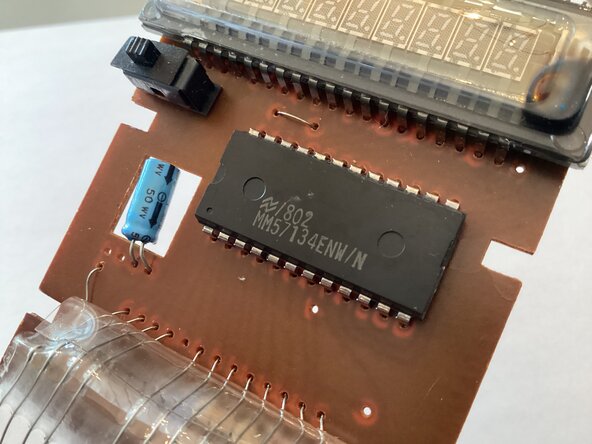
The chip powering this calculator appears to be a National Semiconductor MM57134ENW/N microprocessor. Based on the internet, it was also featured in the Sinclair President calculator, made around the same time.
-